
With RB2B and Vector both shutting down their free plans, you might be looking for alternative B2B website visitor deanonymization solution. Few people know you can actually deanonymize you website visitors practically for free – by using LinkedIn text ads with the website visits objective. So in this guide I’m going to show you how I use this tactic to deanonymize website visitors (on company level) to high intent, mid intent and low intent pages (practically for free) – and can quickly do this too.


You can de-anonymize B2B website visitors almost for free by using LinkedIn text ads with the Website Visits objective, instead of paid website-deanonymization tools.
The tactic works by retargeting visitors to high-, mid-, and low-intent pages (pricing, demo, solutions, high-converting blogs) and serving them low-click text ads that generate impressions but almost no spend.
Because text ads get very few clicks and you bid manually just above minimum, the campaign runs cheaply while still generating company-level ad impression data.
After running the campaign for ~1 week, you can see which companies viewed those ads, effectively deanonymizing website visitors at the company level.
Using ZenABM (or similar tools), those companies can be:
Viewed by campaign and intent level
Synced automatically into HubSpot/Salesforce
Tagged with ABM stages and intent signals
You can optionally push high-intent companies into Clay via webhooks, enrich them with ICP job titles, and automatically:
Find contacts
Fetch work emails
Send prospects into Smartlead / HeyReach outreach sequences
The result is a fully automated pipeline from:
Website visit → LinkedIn ad impression → Company identification → CRM → Clay → Outbound,
powered by first-party intent signals and run at near-zero media cost.
![]()
I am using an example of an audience visiting high intent pages only (I also have one for mid-intent, and I don’t care about the rest at this point – but you can, of course, just use website visitors to your all pages)
Go to LinkedIn Campaign Manager → Plan → Audiences and click Create audience. Choose Create matched audience, then select Website as the retargeting source.
 \
\

Name your audience, for example High-intent pages.
Select specific high-intent pages on your website, such as:
Pricing pages
“Get a demo” pages
Specific solution pages
High-intent blog posts with strong conversion rates
Save the audience and wait until it populates with at least 300 people.
Go to Advertise and create a new Campaign Group called High-intent pages retargeting audience.

Inside this campaign group, create one campaign named Retargeting high-intent pages.
Use the Classic campaign setup and select Website visits as the campaign objective.

Choose Text Ads as the ad format.
Set a daily budget (for example $50, or higher). The campaign will typically not spend the full amount.
Use manual bidding and bid slightly above the minimum suggested bid. This will make sure the ad is running and serving impressions to your target audience.

Since the ad is optimized for clicks – and text ads generally receive very few clicks – this is why you will be able to run them practially for free – all while de-anonymizing that audience (on company level) based on these ads impressions.
Target the High-intent page visitors audience.
Save the campaign.
Create a single image ad inside the campaign:

Now you will need to run this campaign for at least a week to get enough impressions to deanonymize the aduience.
Use a company-level tracking tool such as ZenABM (or a similar tool – e.g. Factors.ai) to track which companies were served the text ads:
Go to Campaign Groups and find the “Retargeting High intent Pages”:

Click on the Retargeting Campaign and go to the “Companies” tab. This allows you to see which companies viewed the ads associated with the high-intent retargeting campaign:
ZenABM synchs the data from the companies de-anonymized from your high intent page website visitors into your CRM (Hubspot/Salesforce) automatically:

Now, if you want to write new companies that have visited your high intent pages into your CRM (if they are not there already) – you need to select that option in ZenABM’s CRM settings:

This will create new companies that have visited your website and seen the text ads into you CRM.
Now that you have the list of companies – let’s see how you can find the best-fit ICPs in them!
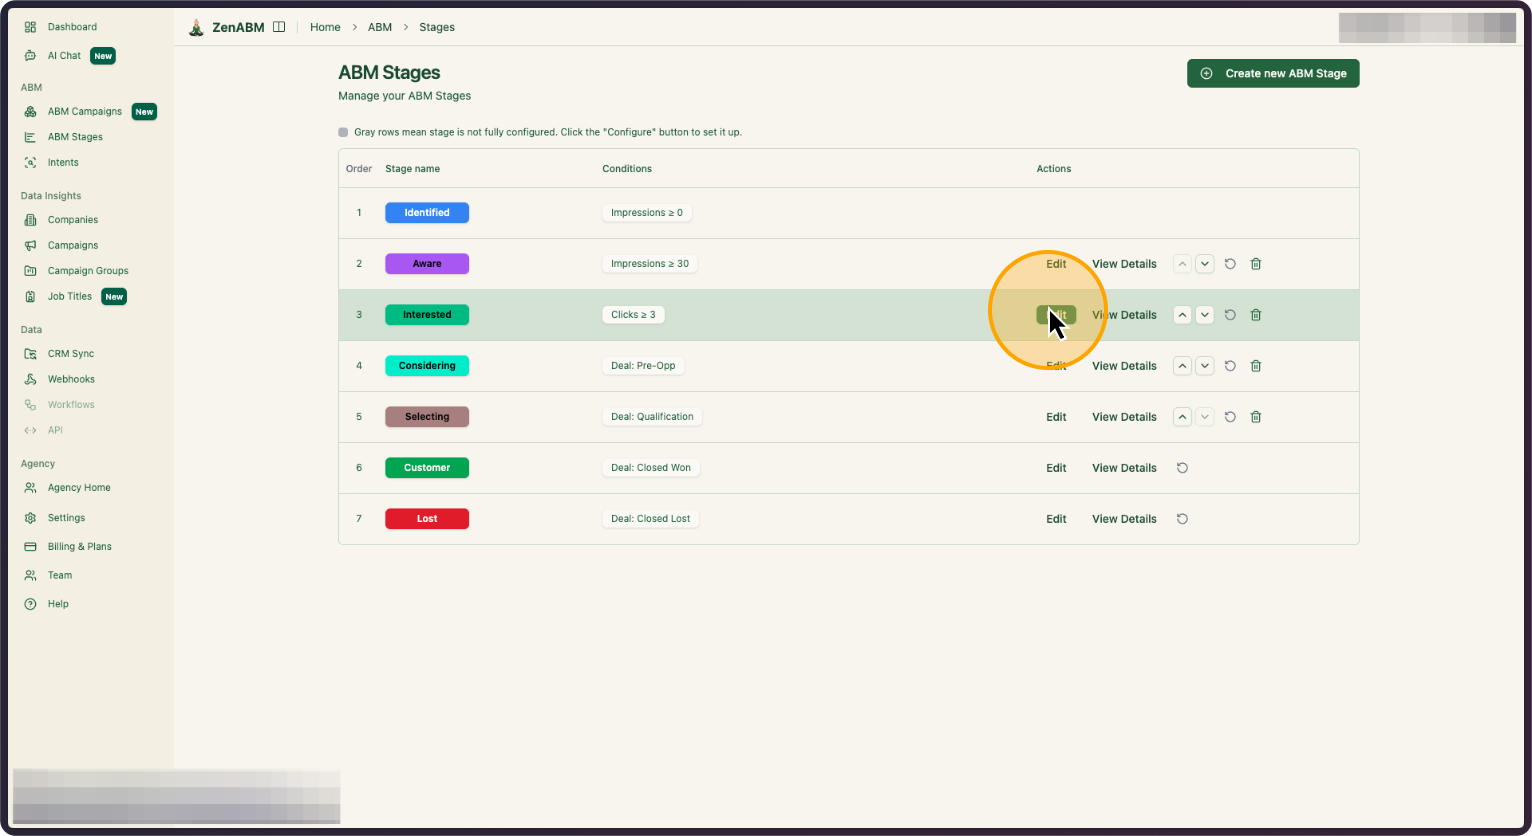
Fist of all – go to that campaign tab in ZenABM again to see which job titles saw your text ad specifically – these will be the job titles of the people in the companies that visited your high intent pages:

OK but now you still need to know how to use the intent signals from account level, that you have in ZenABM – to find prospects for outreach in Clay, and add them to the right respective intent-based outreach sequences.
Below, I will show you how to do that + set up filters, connect your Smartlead (email outreach) account, and configure automatic updates to keep your campaigns running smoothly.
0. Copy the Clay Template from here [LINK – FREE CLAY TEMPLATE].

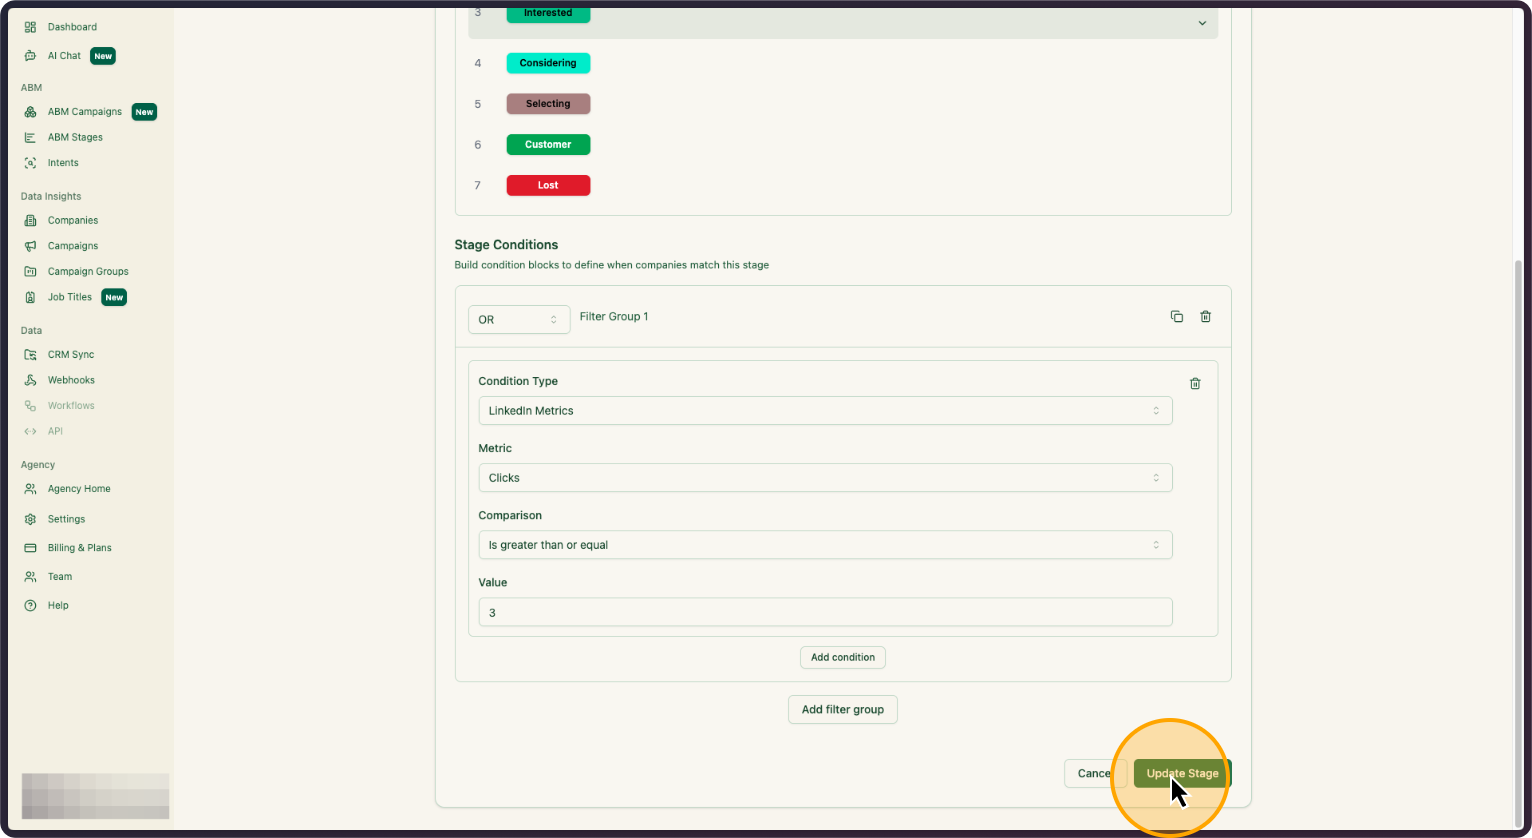
In this example, it’s companies with three or more clicks. Select what you prefer and then, click on “Update Stage”
2. Click on “Update Stage”
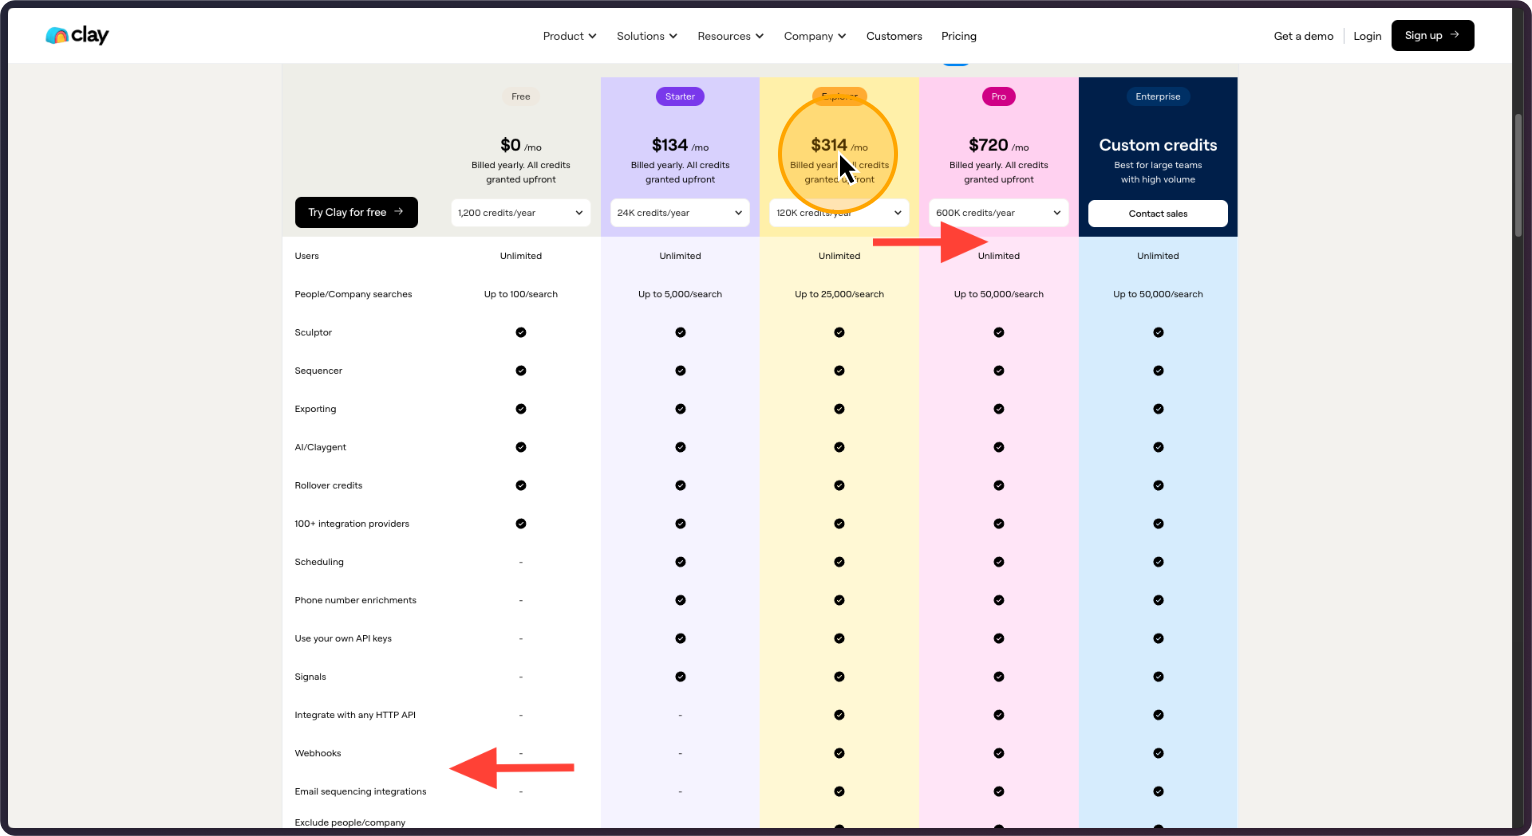
This playbook works only with Clay’s Explorer plan or higher or on the free trial because Webhooks and Email sequence integrations are only available with those plans.
3. You will need Clay’s Explorer plan at least to run this playbook
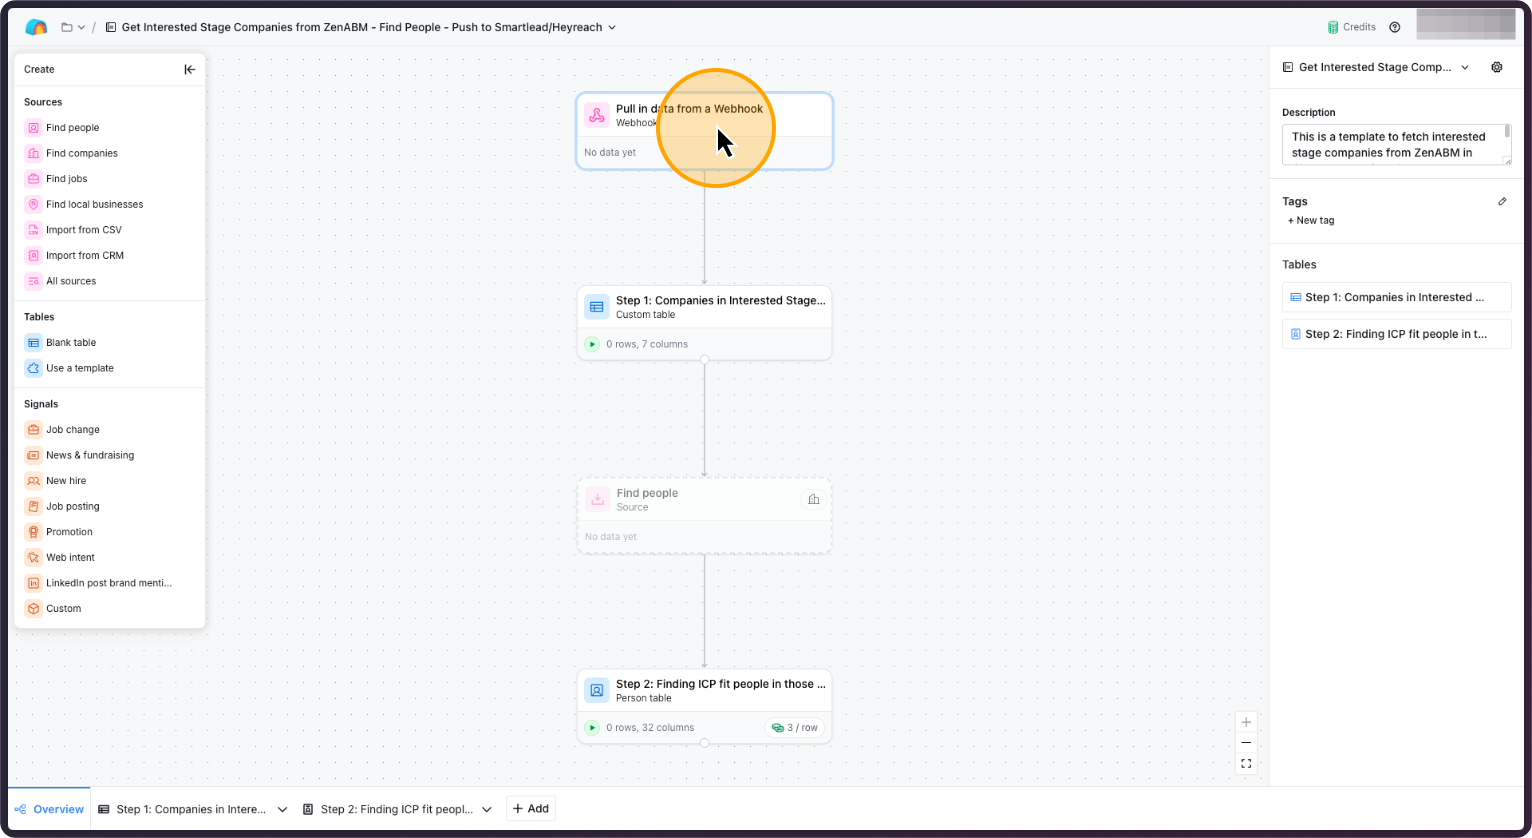
After you copy the Clay template, you will see the full workbook with 2 tables and an Overview.
Go to the first step and click on it.
4. Click on “Pull in data from a Webhook”
5. Double-click here
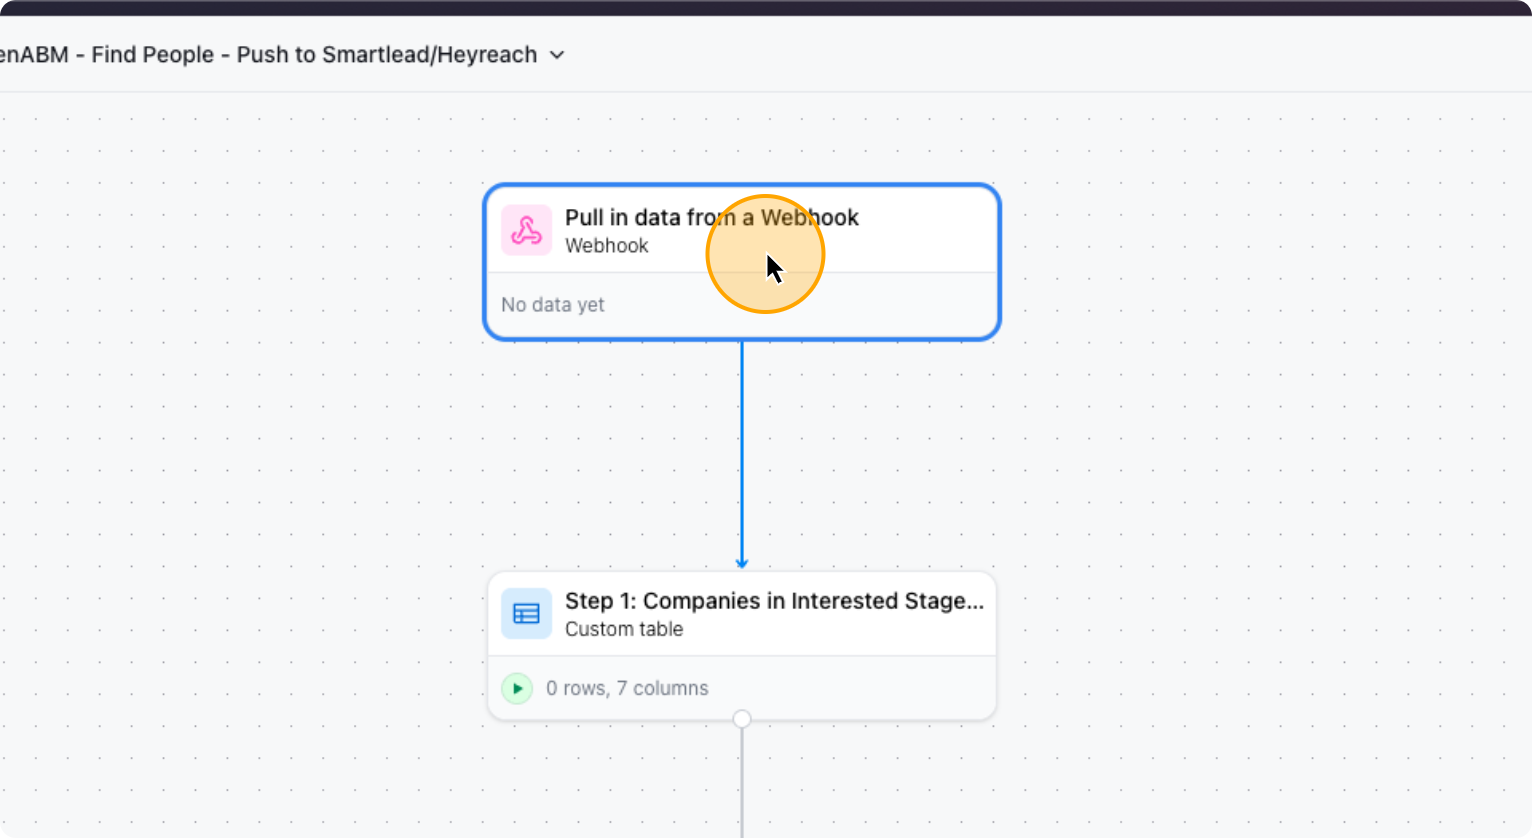
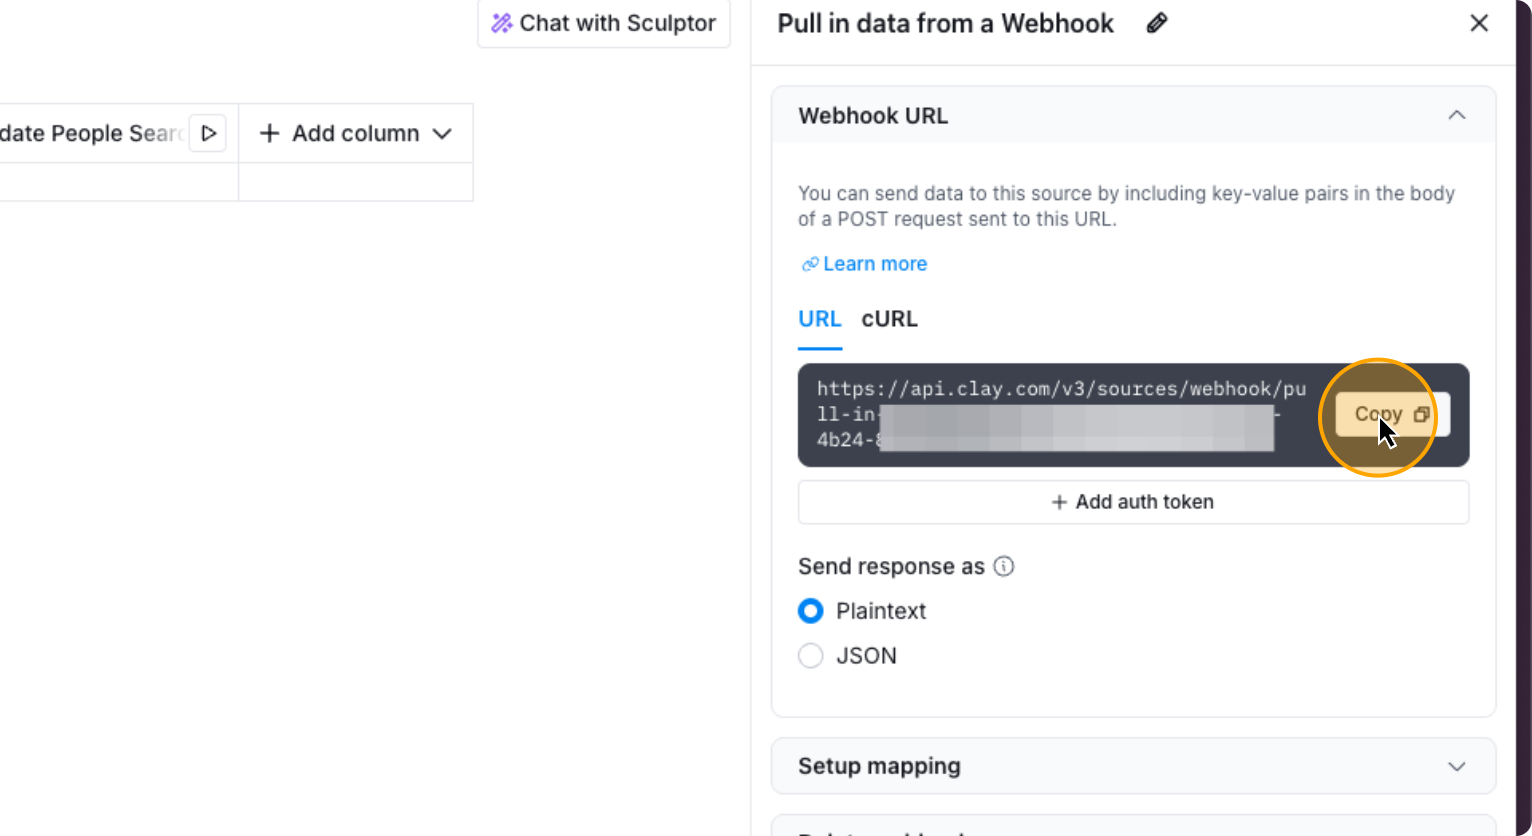
It will take you to step one, where you need to complete the first step. The first step is to copy the webhook URL you see. Copy it, then go to ZenABM. Click on “Webhooks,” and select “Create a new webhook.”
6. Click on “Copy”
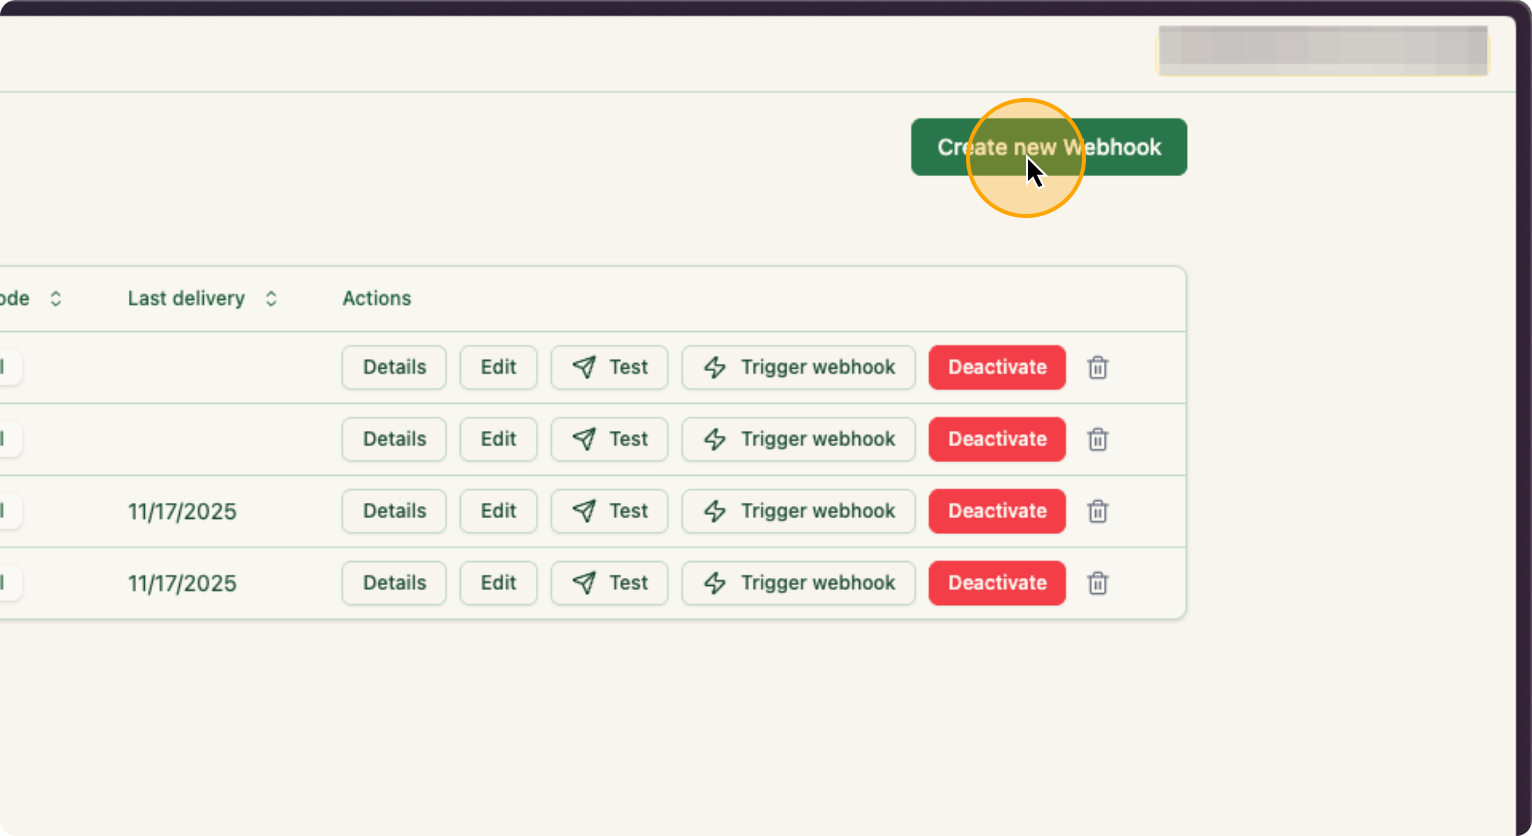
7. Go to ZenABM, Click on “Webhooks”
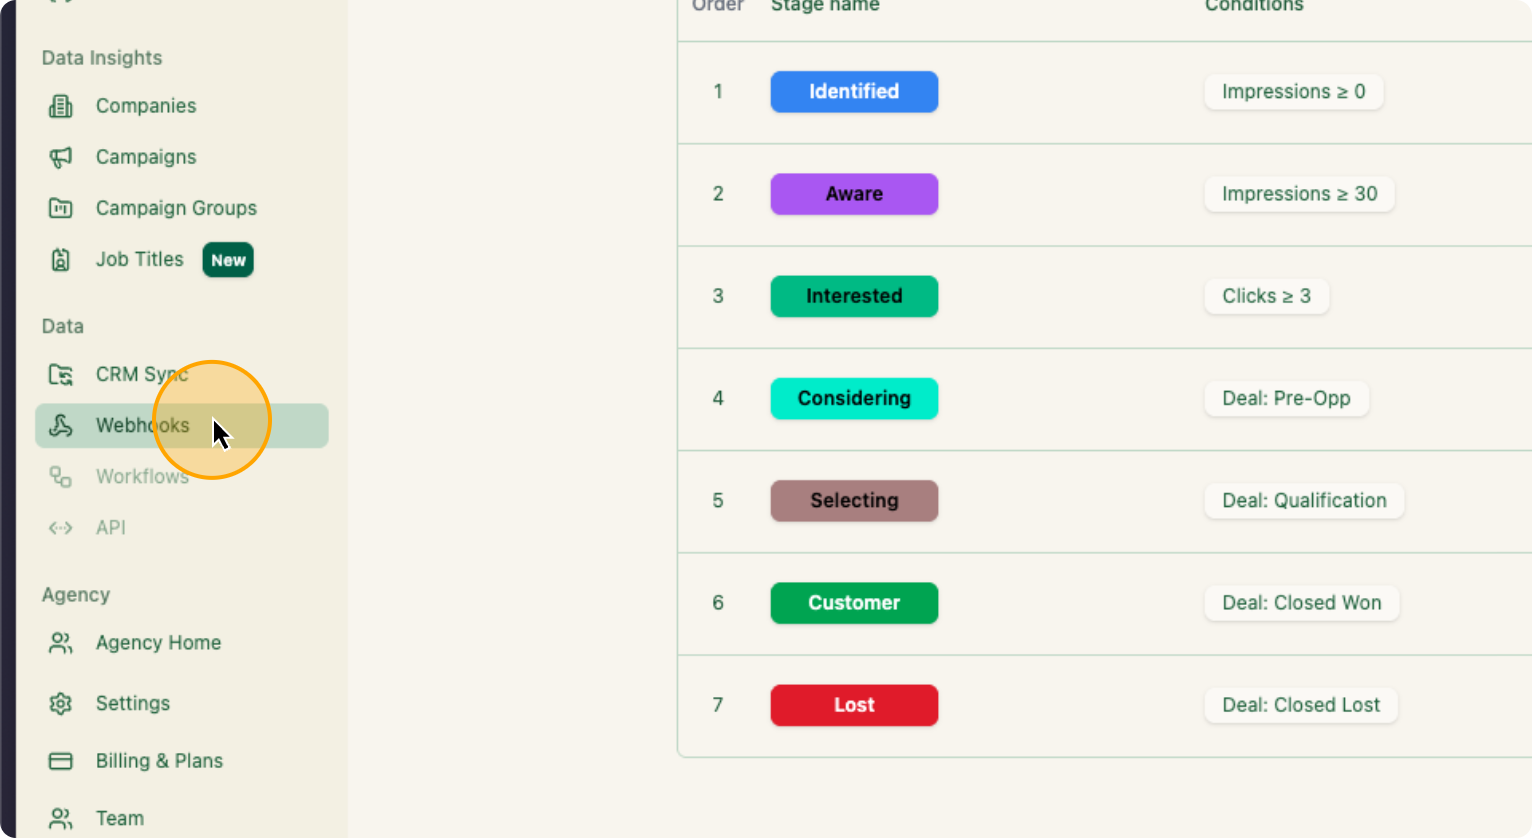
8. Click on “Create new Webhook”
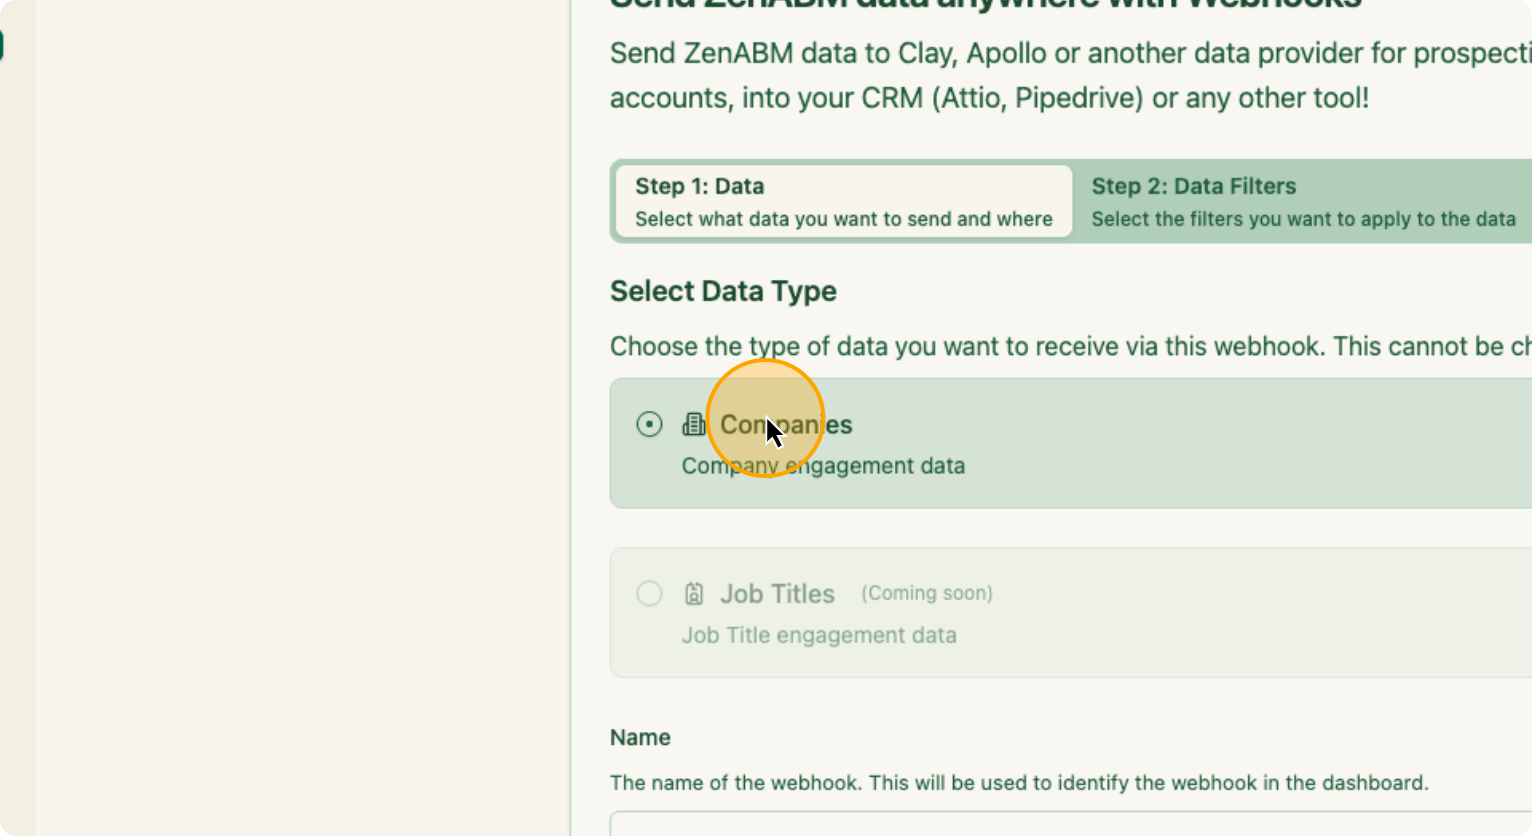
In this webhook, you will select companies and then name the webhook.
9. Click on “Companies”
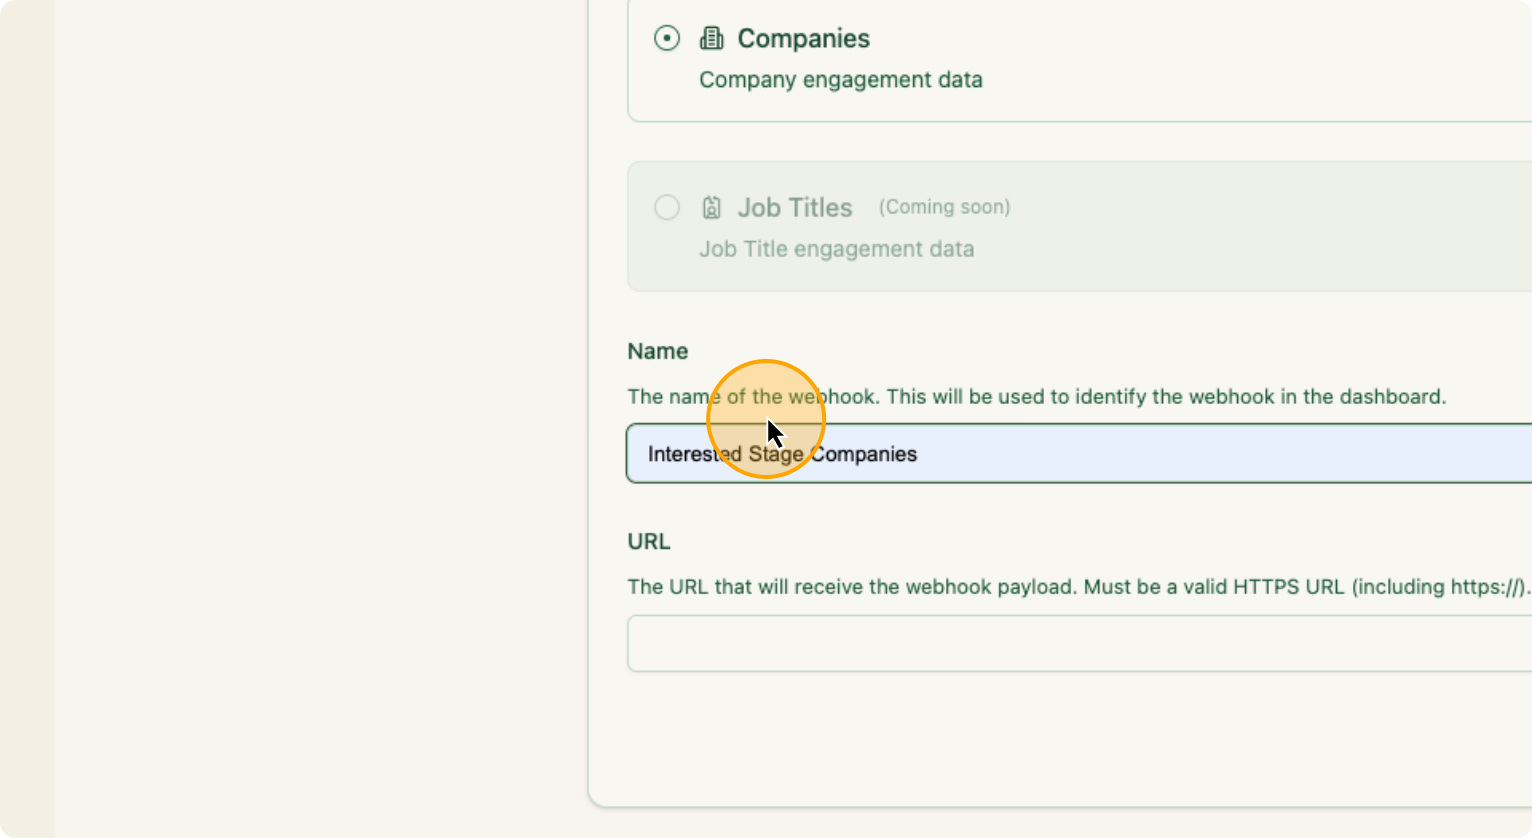
10.Name the Webhook here:
Paste the webhook you just copied from Clay in the “URL”. Click Next.
11. Paste the webhook you just copied from Clay here
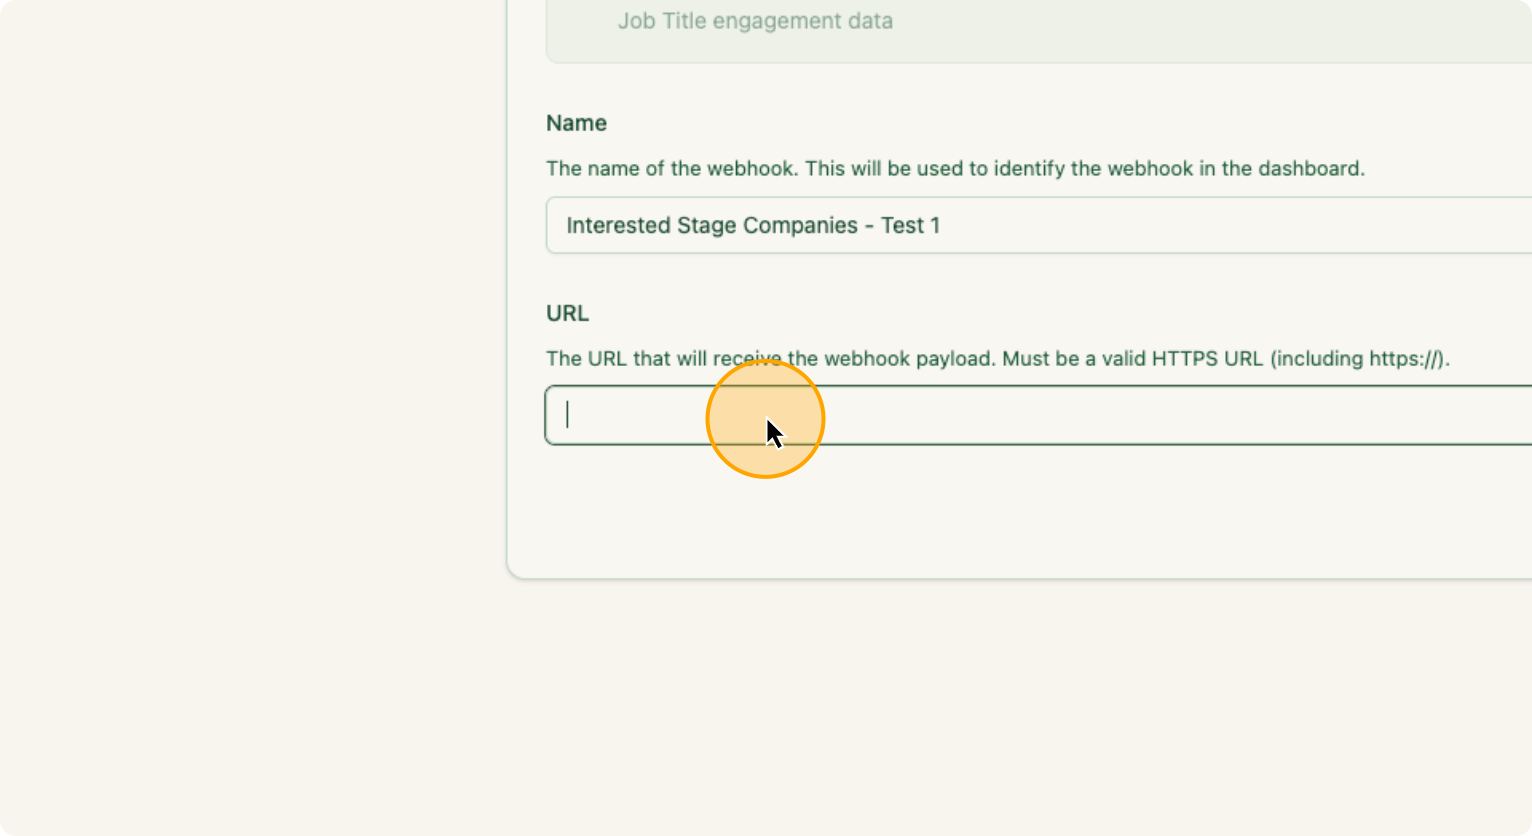
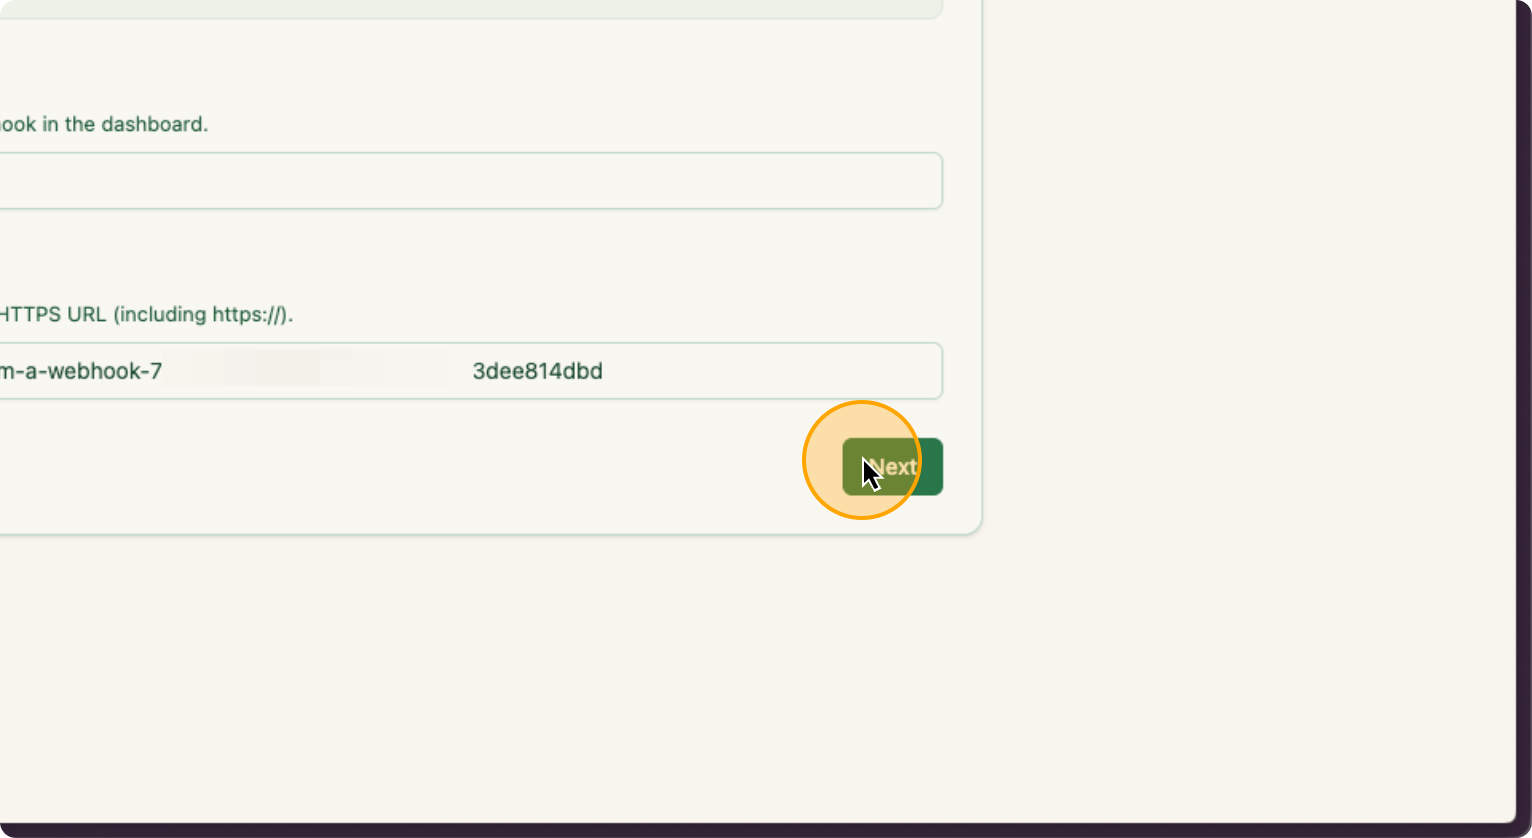
After you paste the webhook, click Next.
12.
Click on “Next”
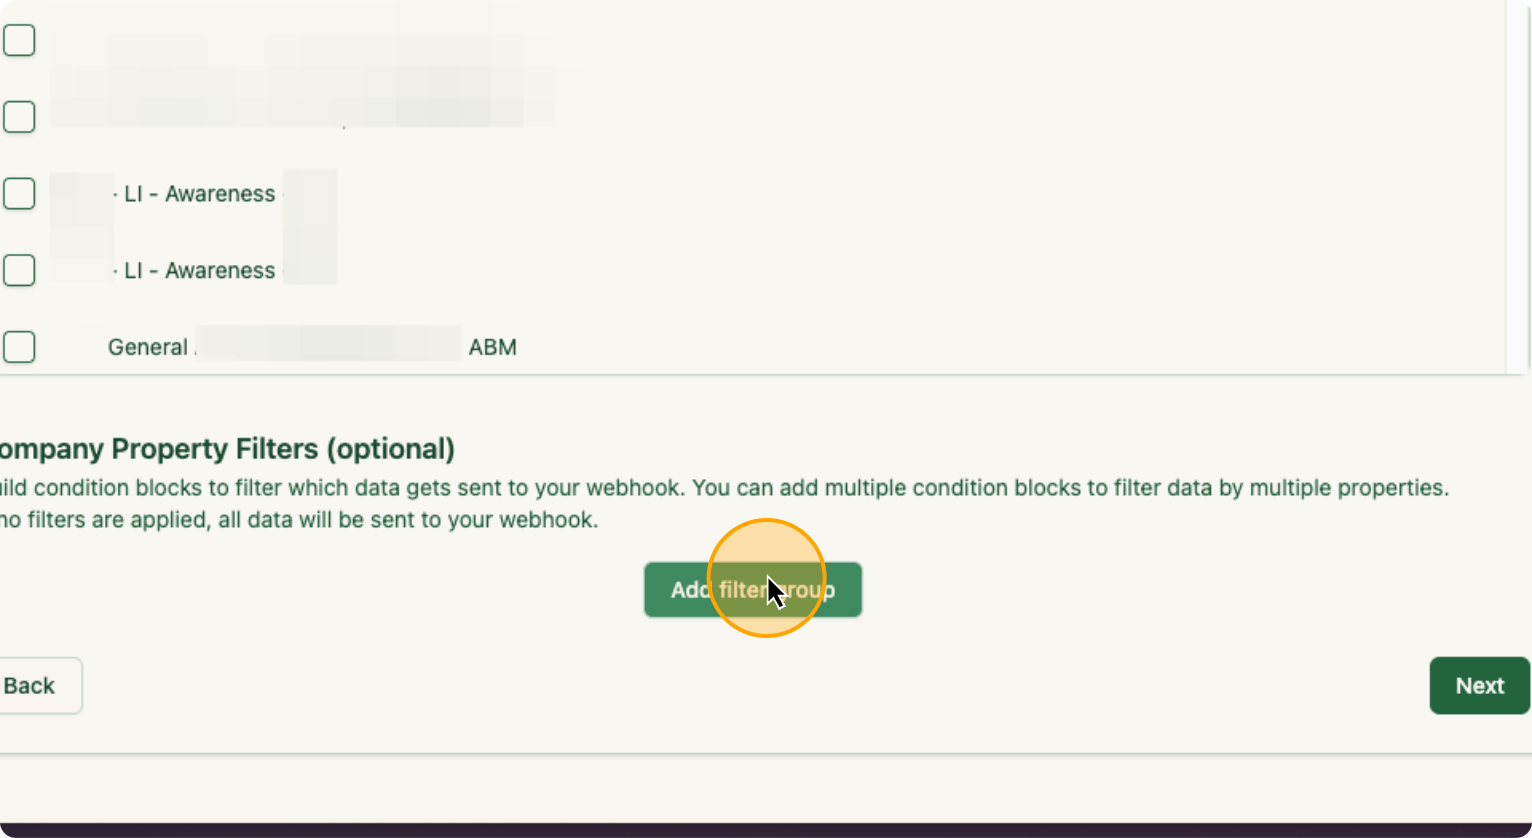
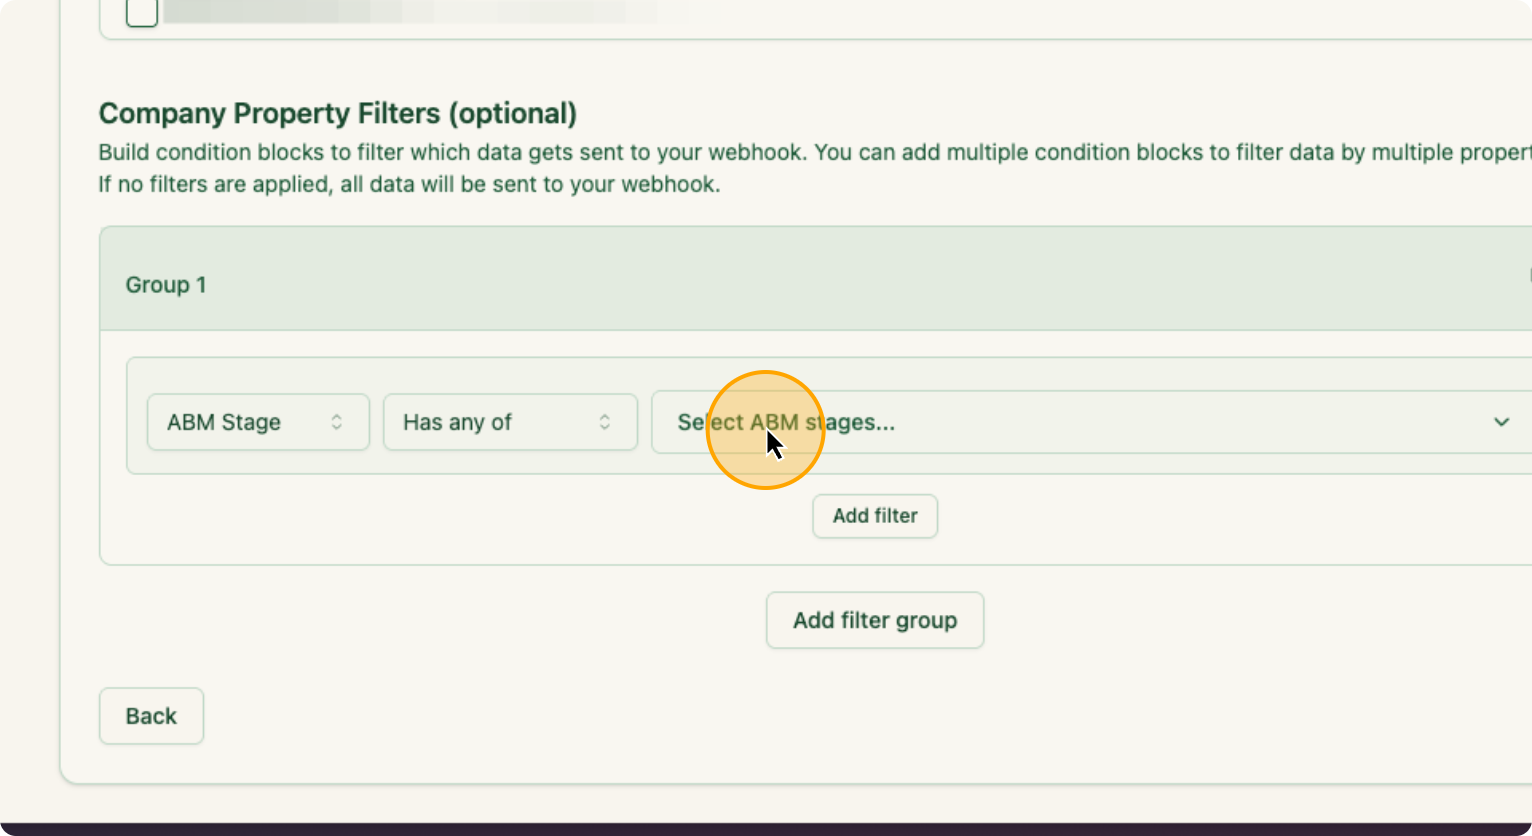
These are the filters. If you want companies from specific campaign groups, campaigns, or ABM campaigns, you can select them. I want everything, so I will ignore this. Click on “Add Filter.” Select “ABM stage” and choose “any of interested.” Ignore the other options.
13. Click on “Add filter group”
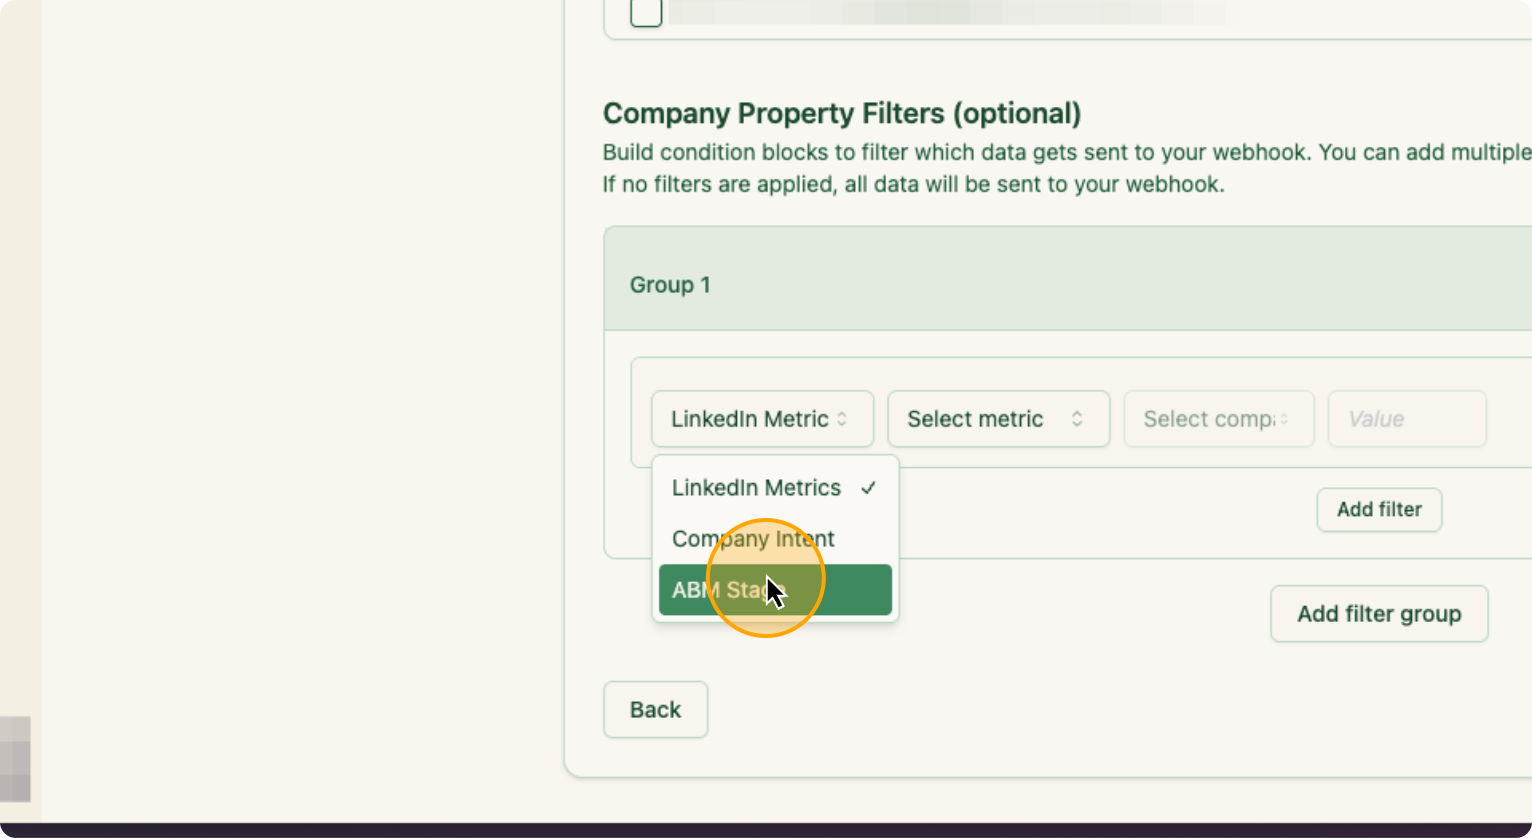
14. Click on “LinkedIn Metric”
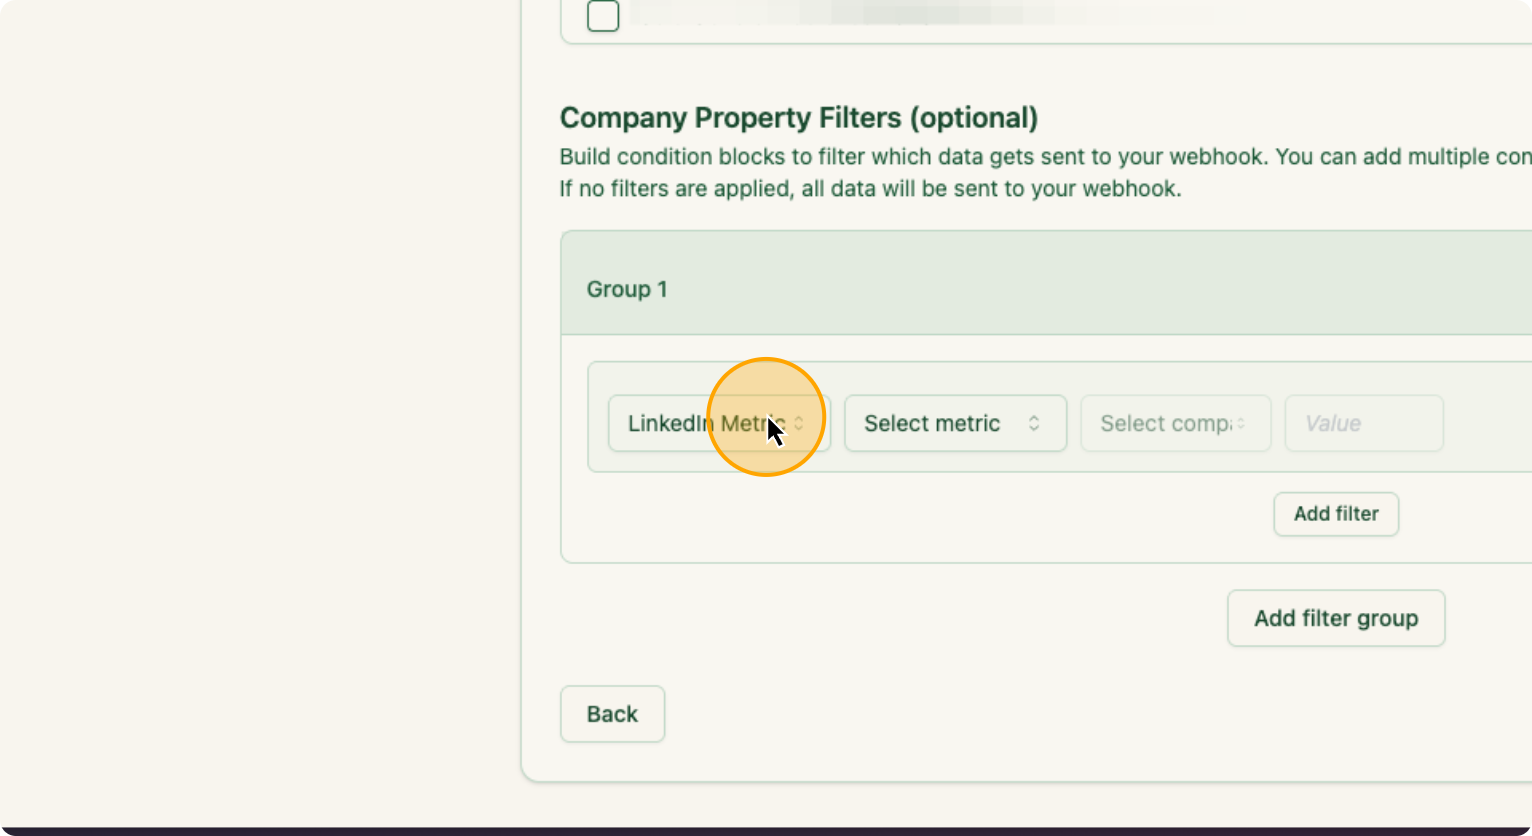
15.
Click on “ABM Stage”
16. Click on “Has any of”

17. Click on “Select ABM stages”
18. Click on “Interested”
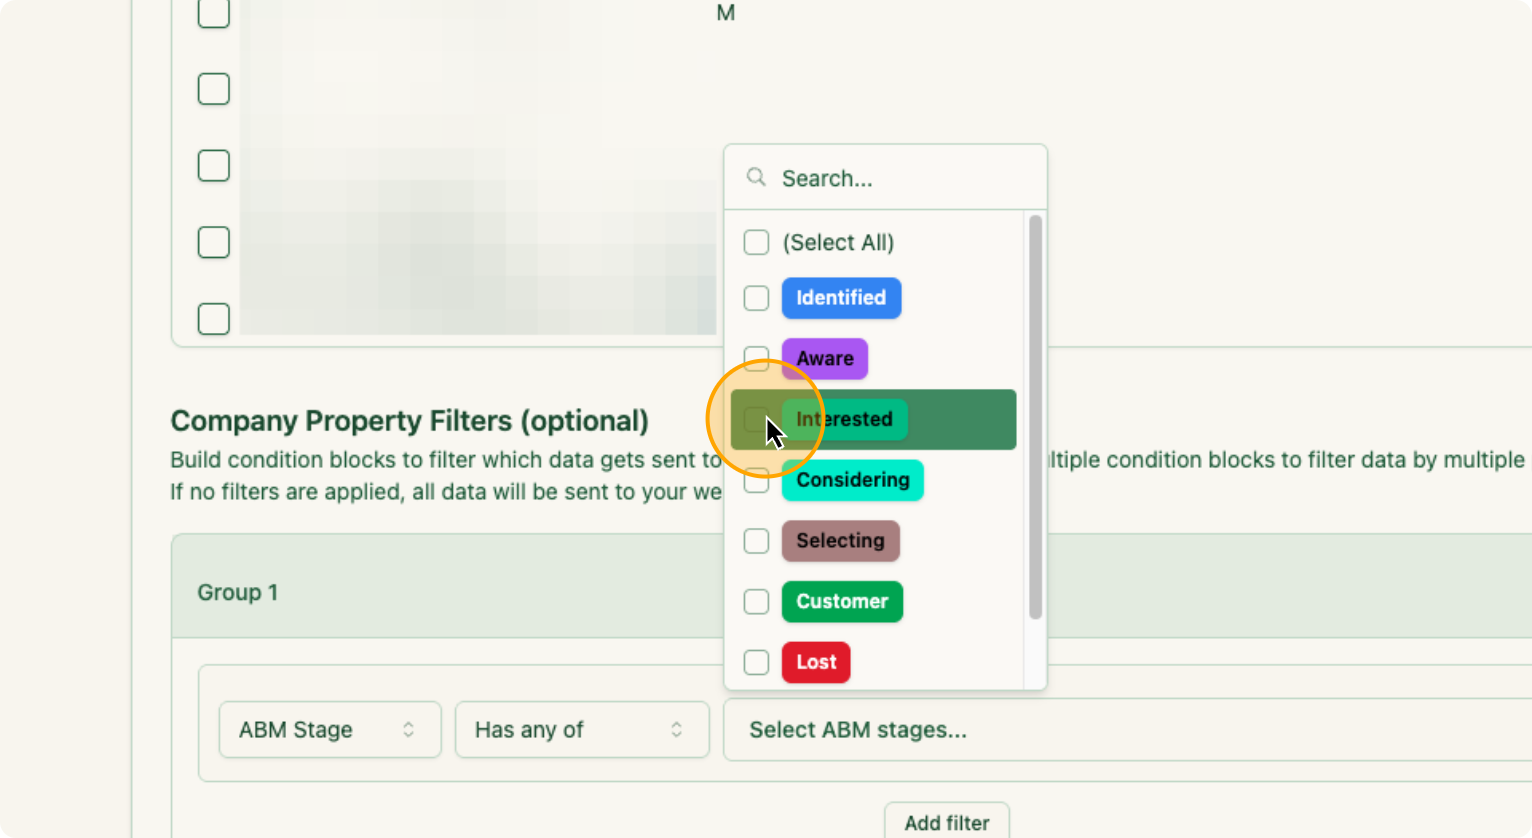
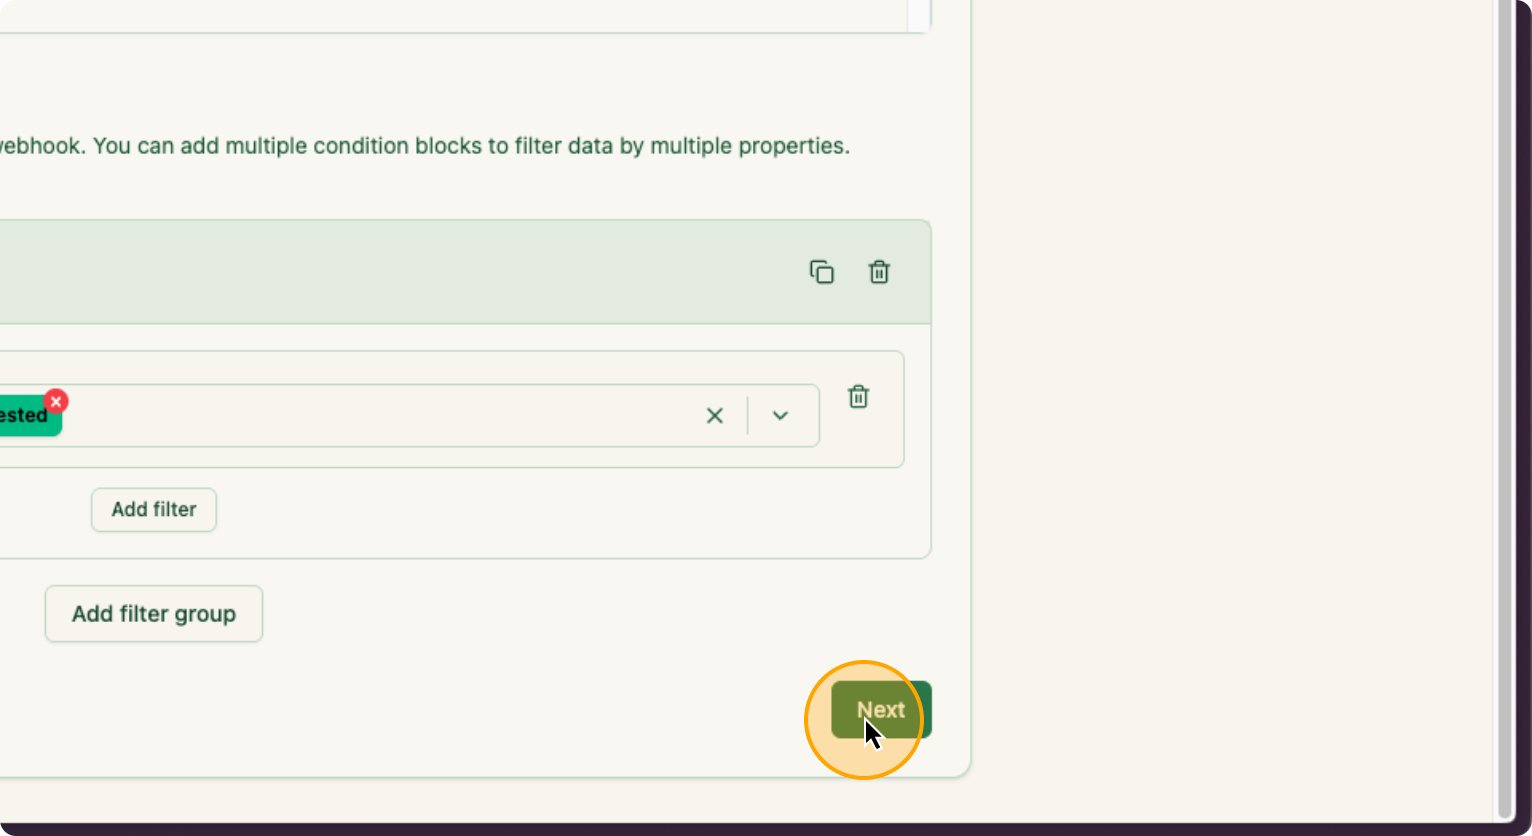
Then click Next.
19. Click on “Next”
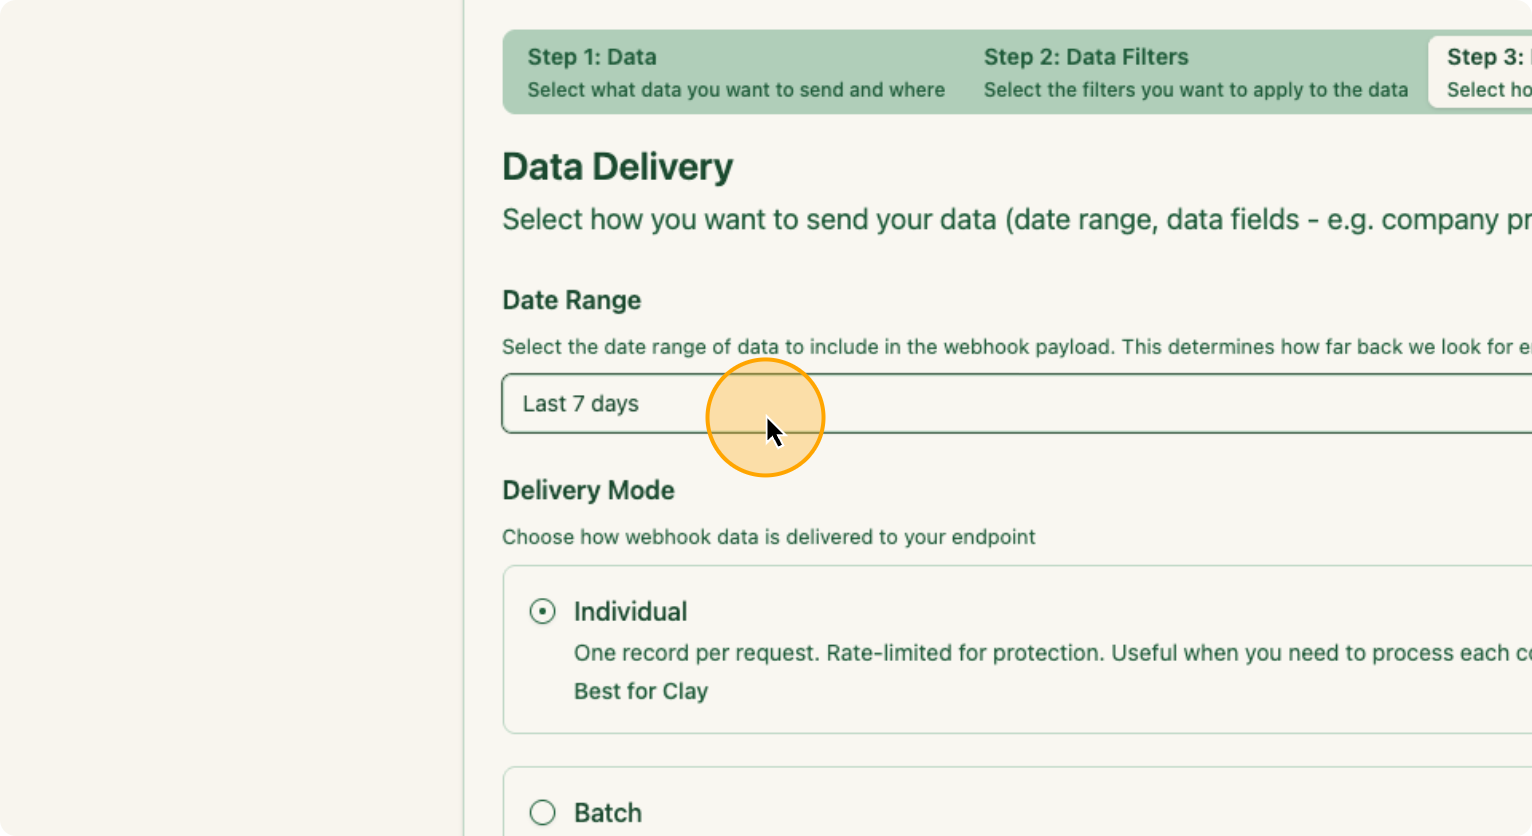
From here, I want it to recur for every 7 days, since I plan to run this weekly. So I am going to change the Date Range to “Last 7 Days”.
20. Click on Date Range
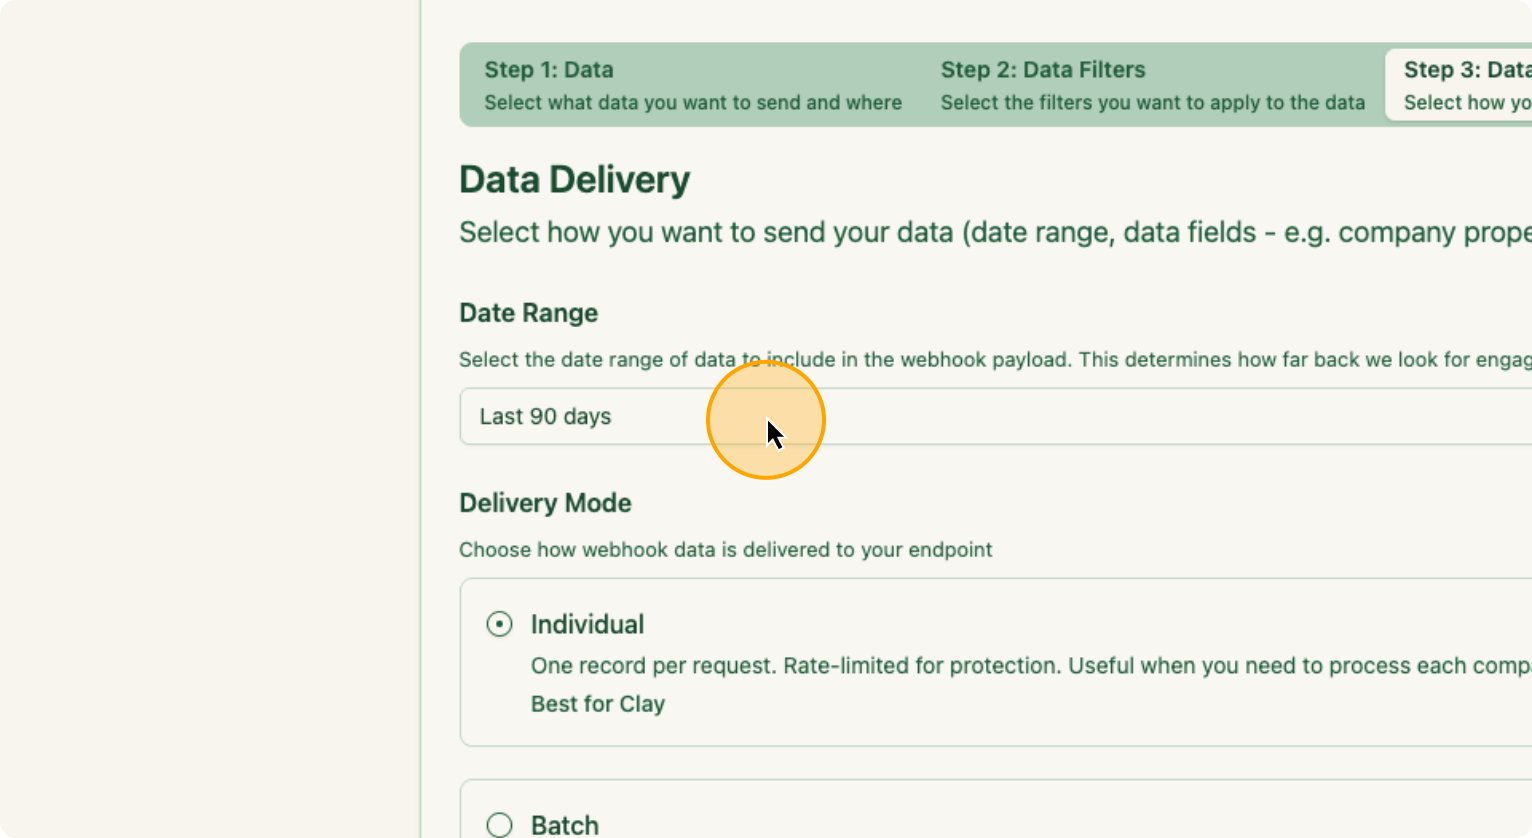
21. Select “Last 7 Days”
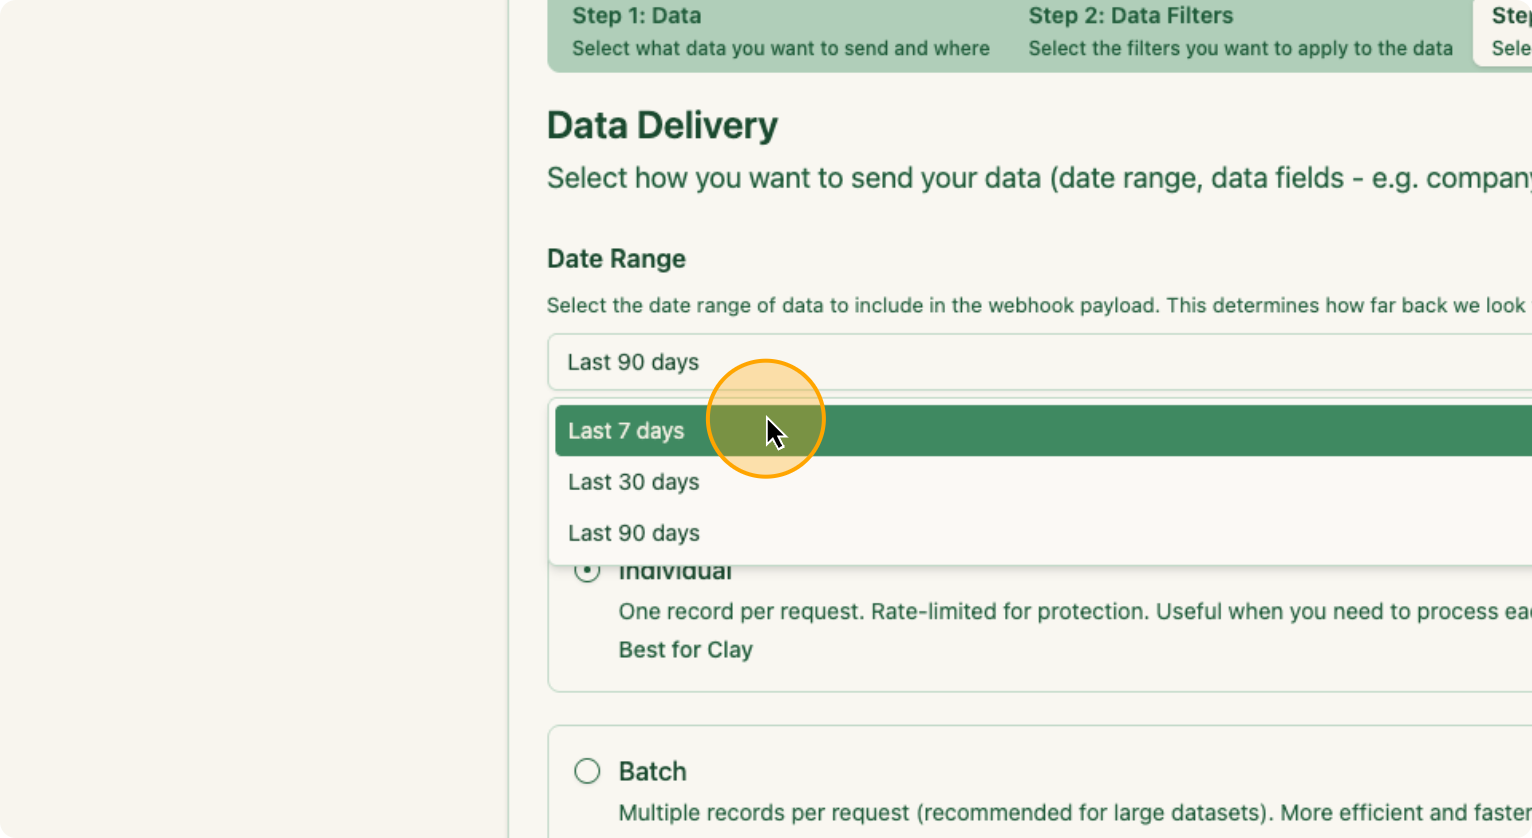
Each week, once this occurs, the companies are automatically included.
22. Click here:
23. Click on “Individual” under Delivery Mode
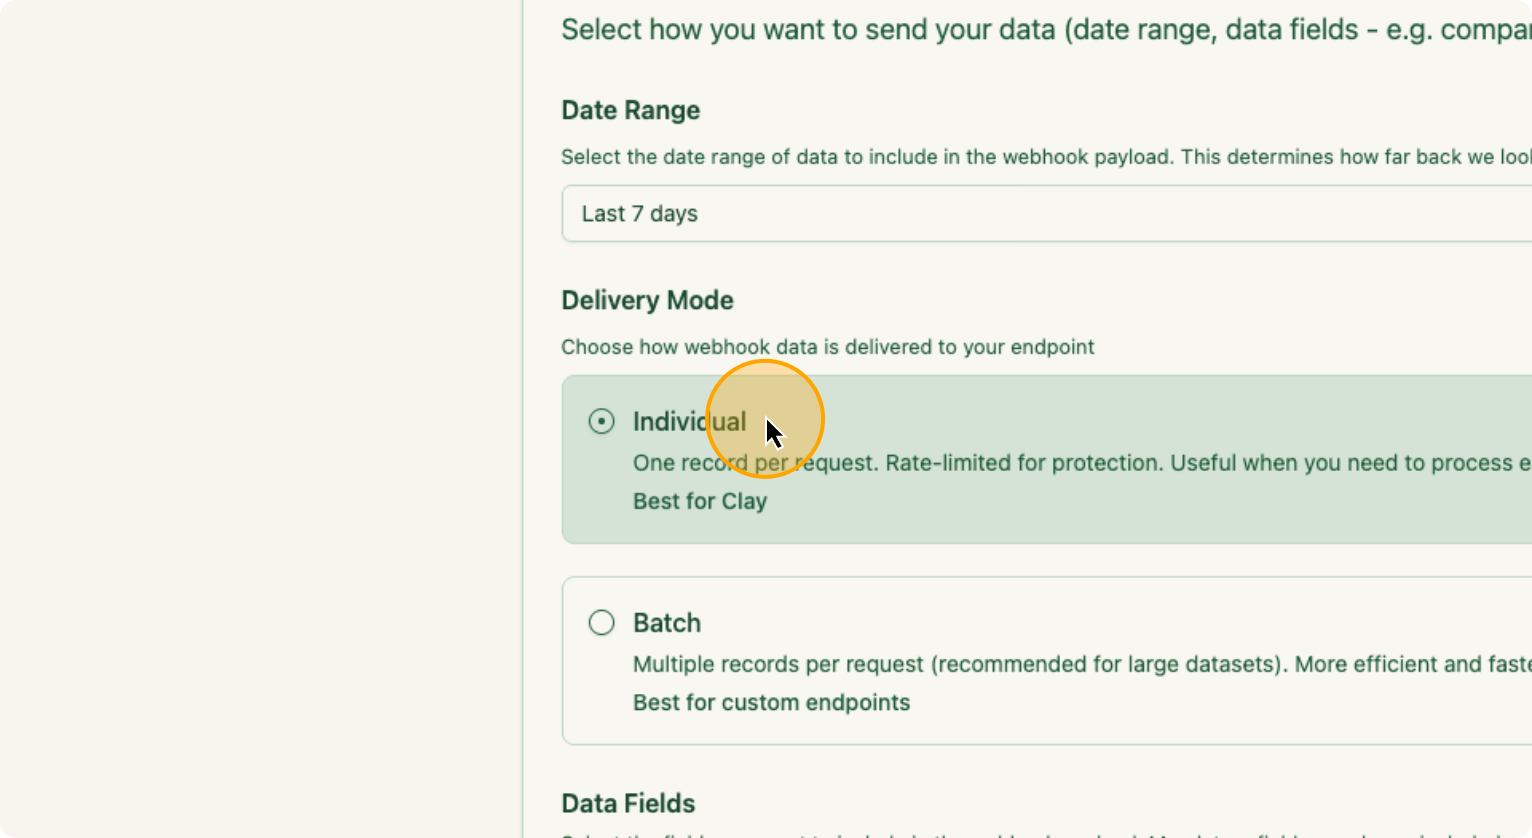
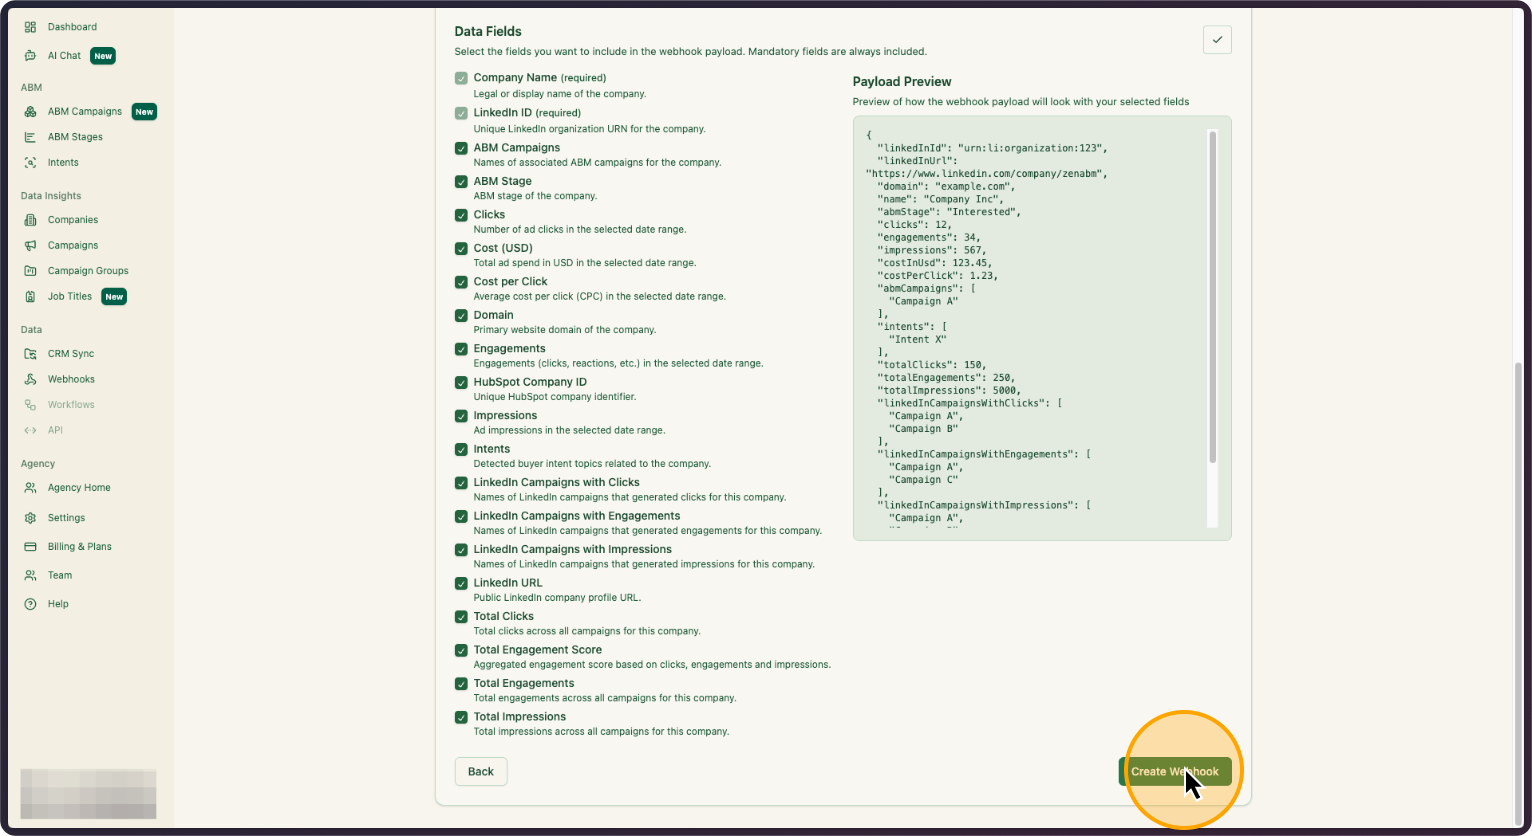
Individual, because that’s what’s best for Clay. I will select all of the “Data Fields”, then create the webhook.
24. Click on “Create Webhook”
Once I do this, I will go back to Clay for Step 2.
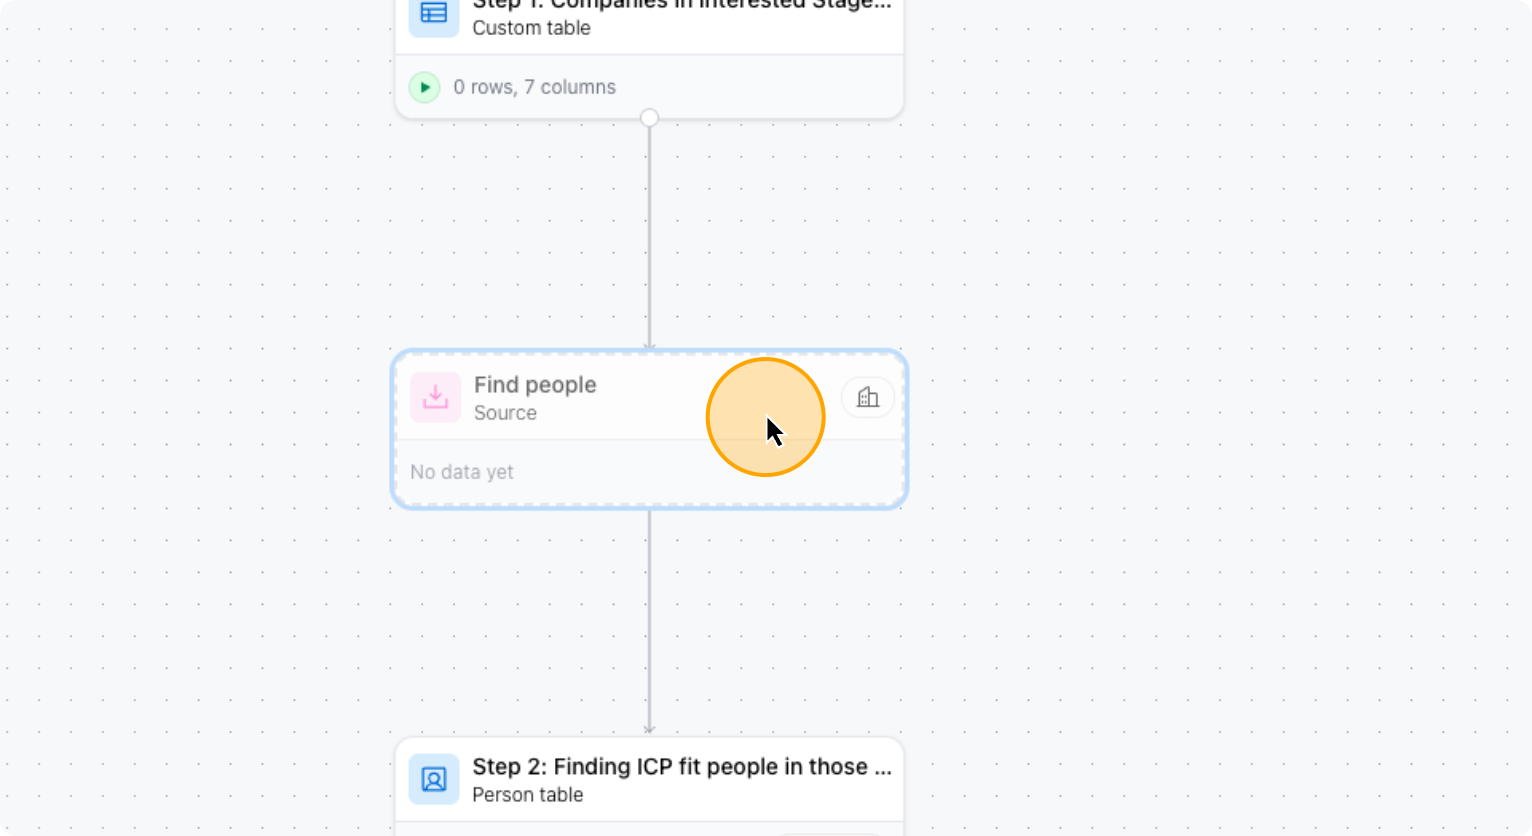
All of these company URLs will be pulled in automatically. I will click on Overview, then Find People, and then Edit Inputs.
25. In “Overview”, Click on “Find People”
26. Click on “Edit inputs”
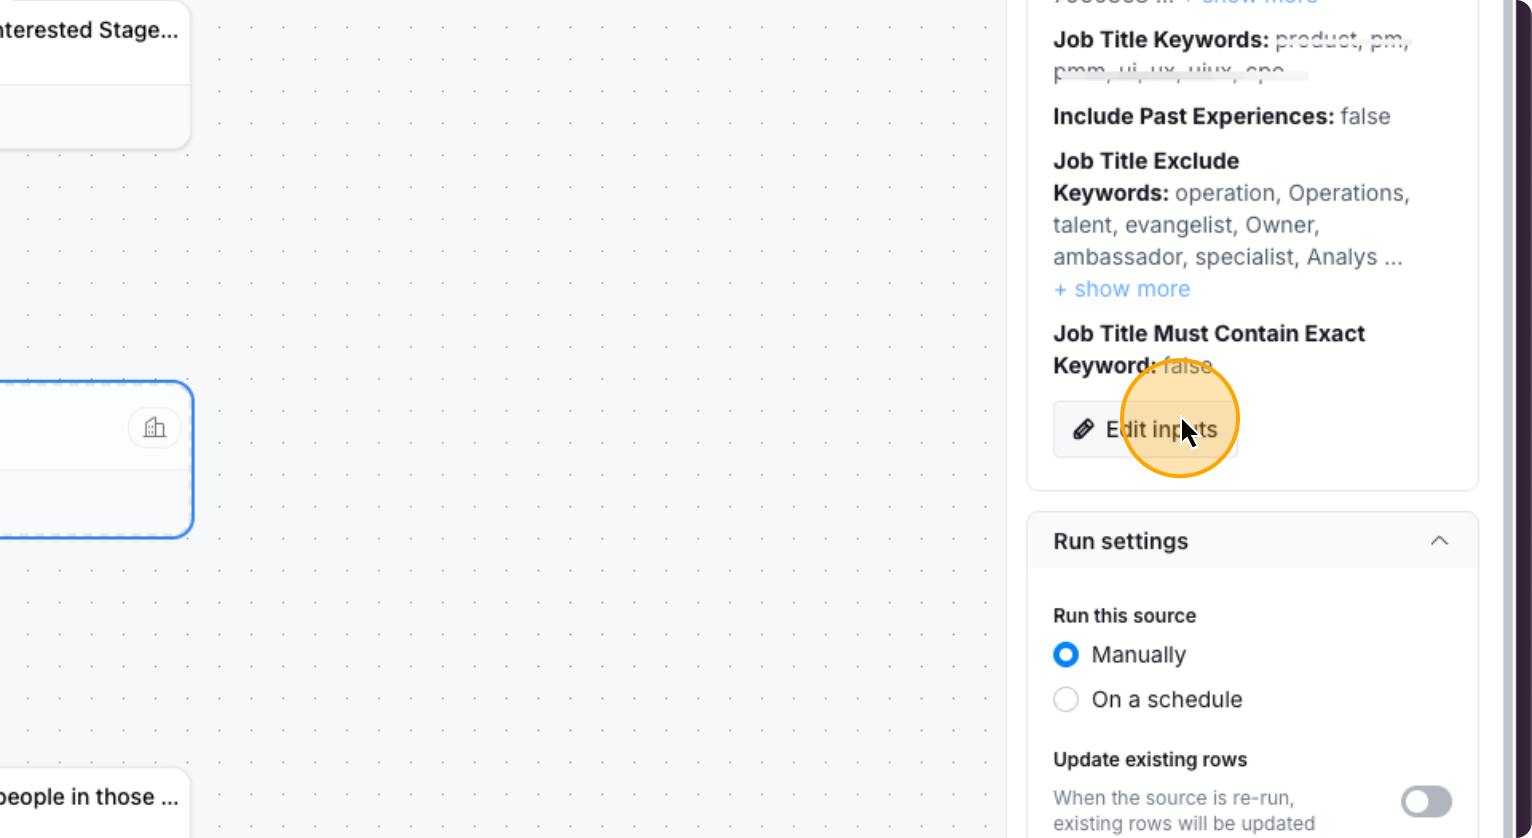
Here, select the filters for your ICP. Including Job Titles, Locations etc.
27. Edit the filters for your ICP here
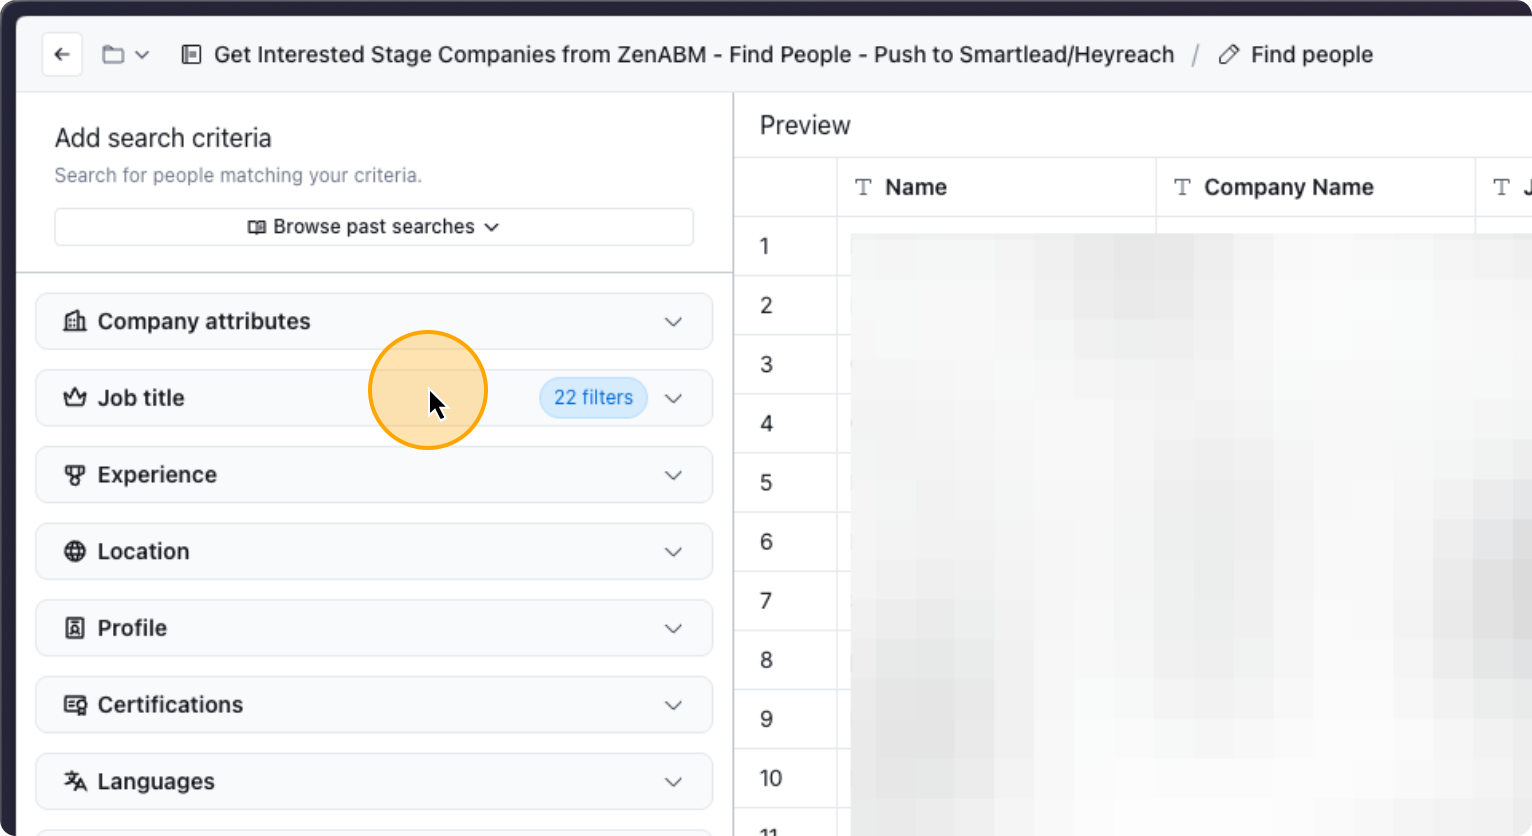
List all the job titles you want to include, as well as those you want to exclude. Add any other relevant details as needed.
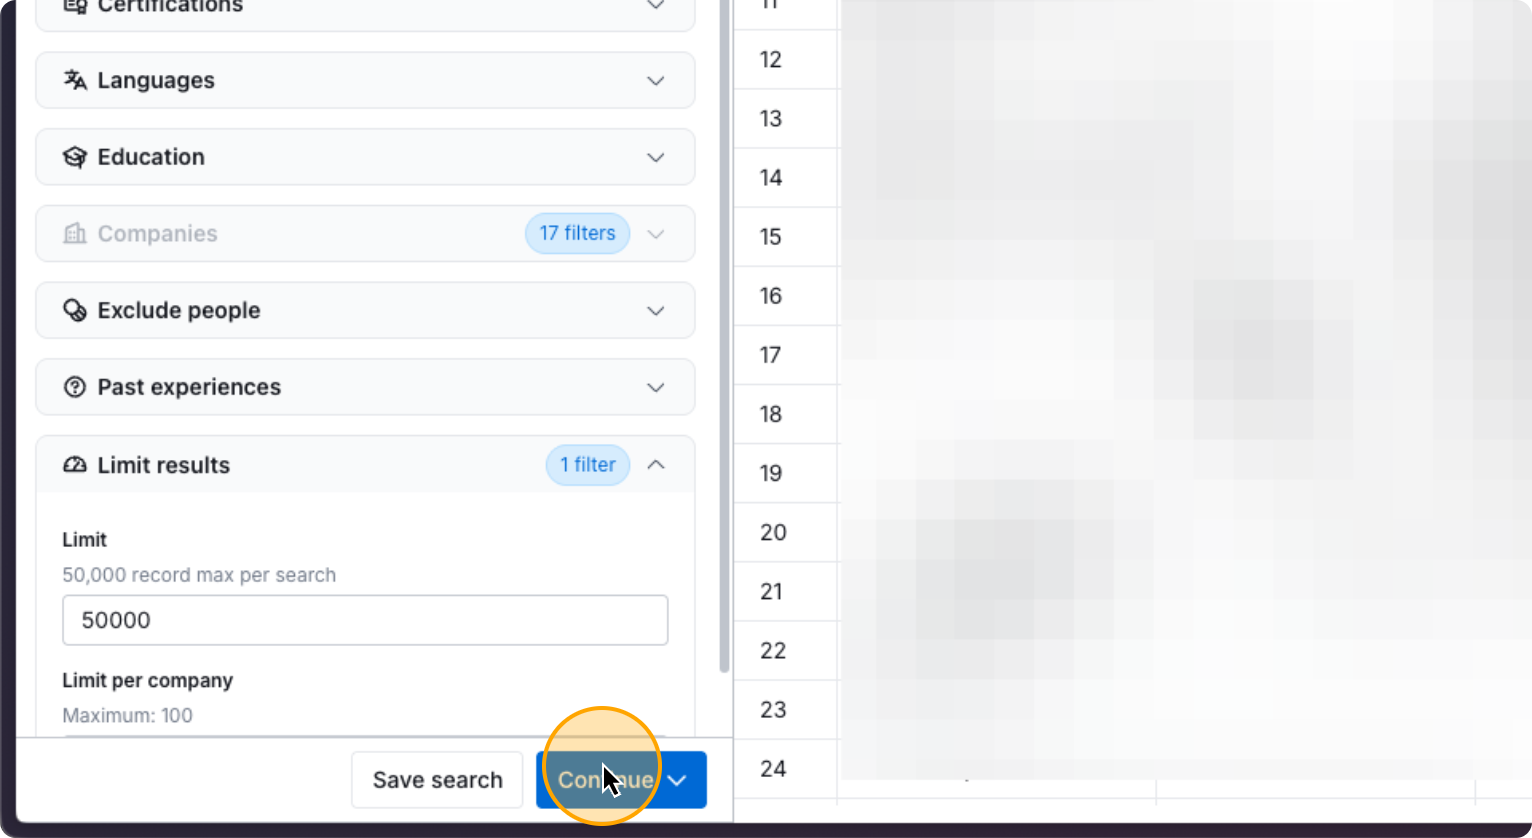
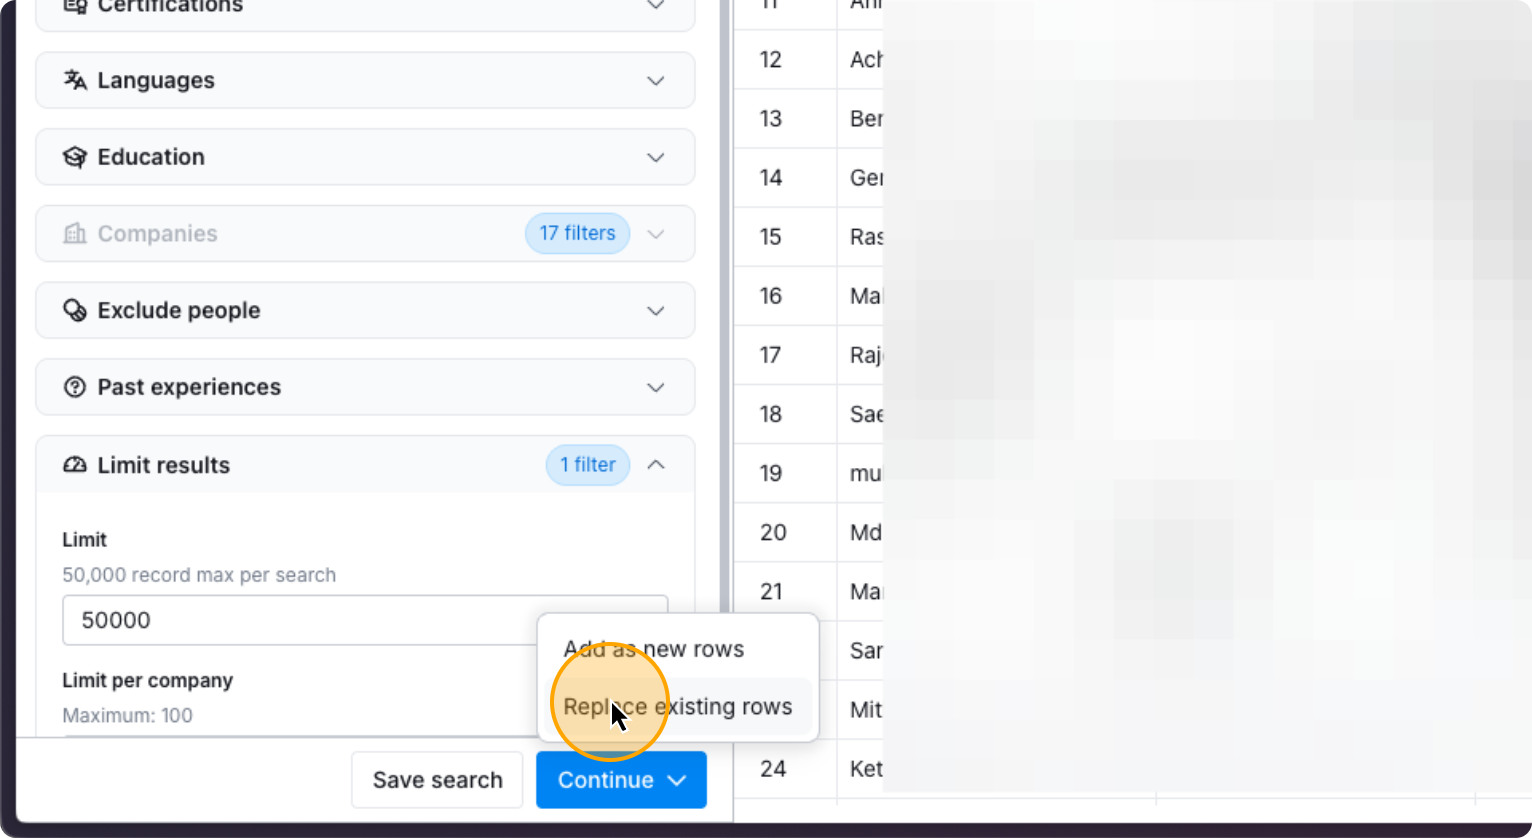
Adjust the filters as needed, then click Continue.
28. Click on “Continue ✓”
Once you do that, click on…
29. Click on “Replace existing rows”
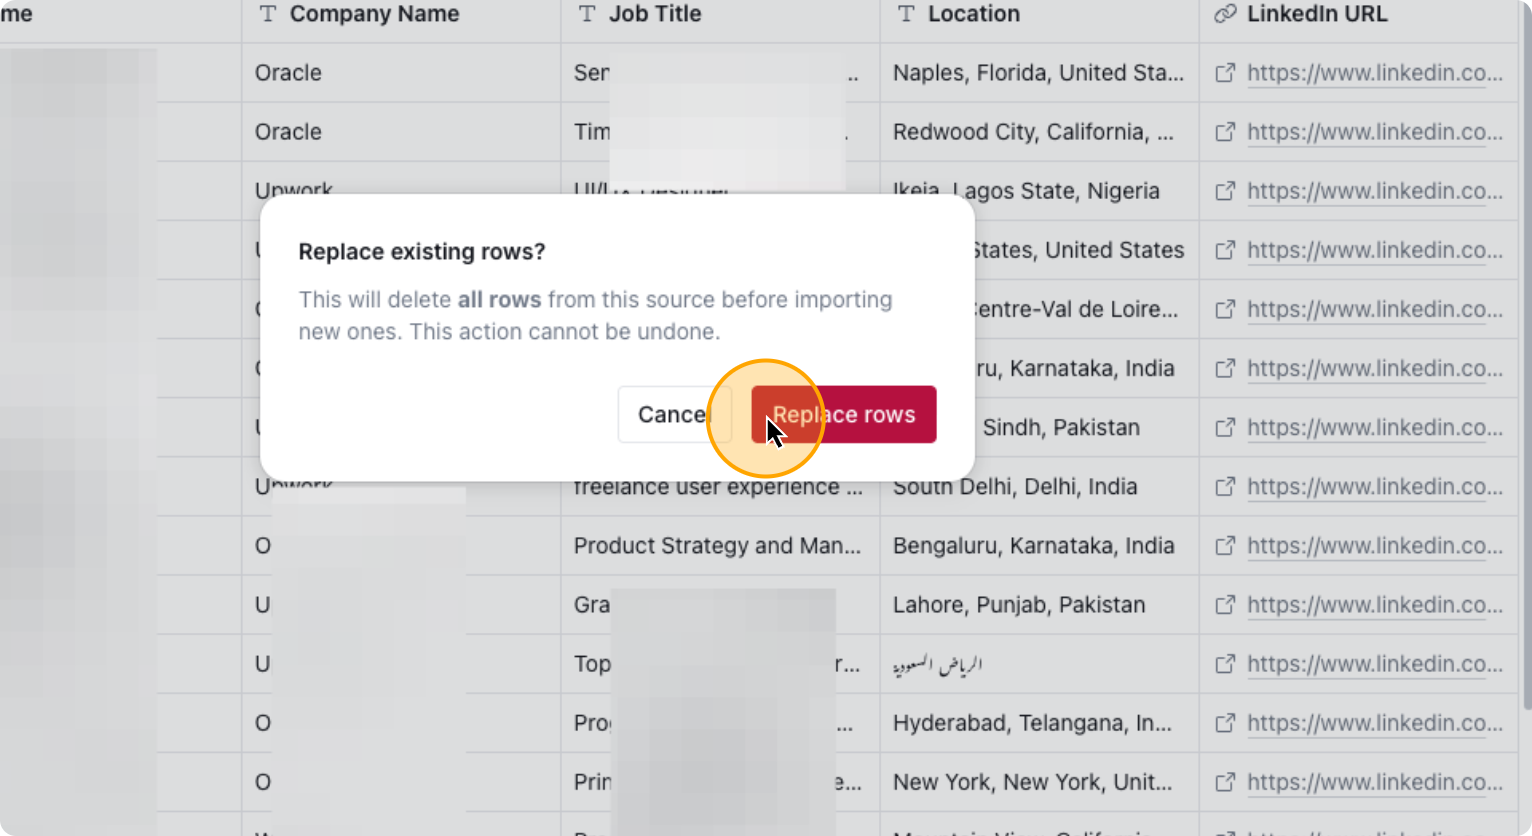
Click on “Replace Rows”, and you’re done.
30. Click on “Replace rows”
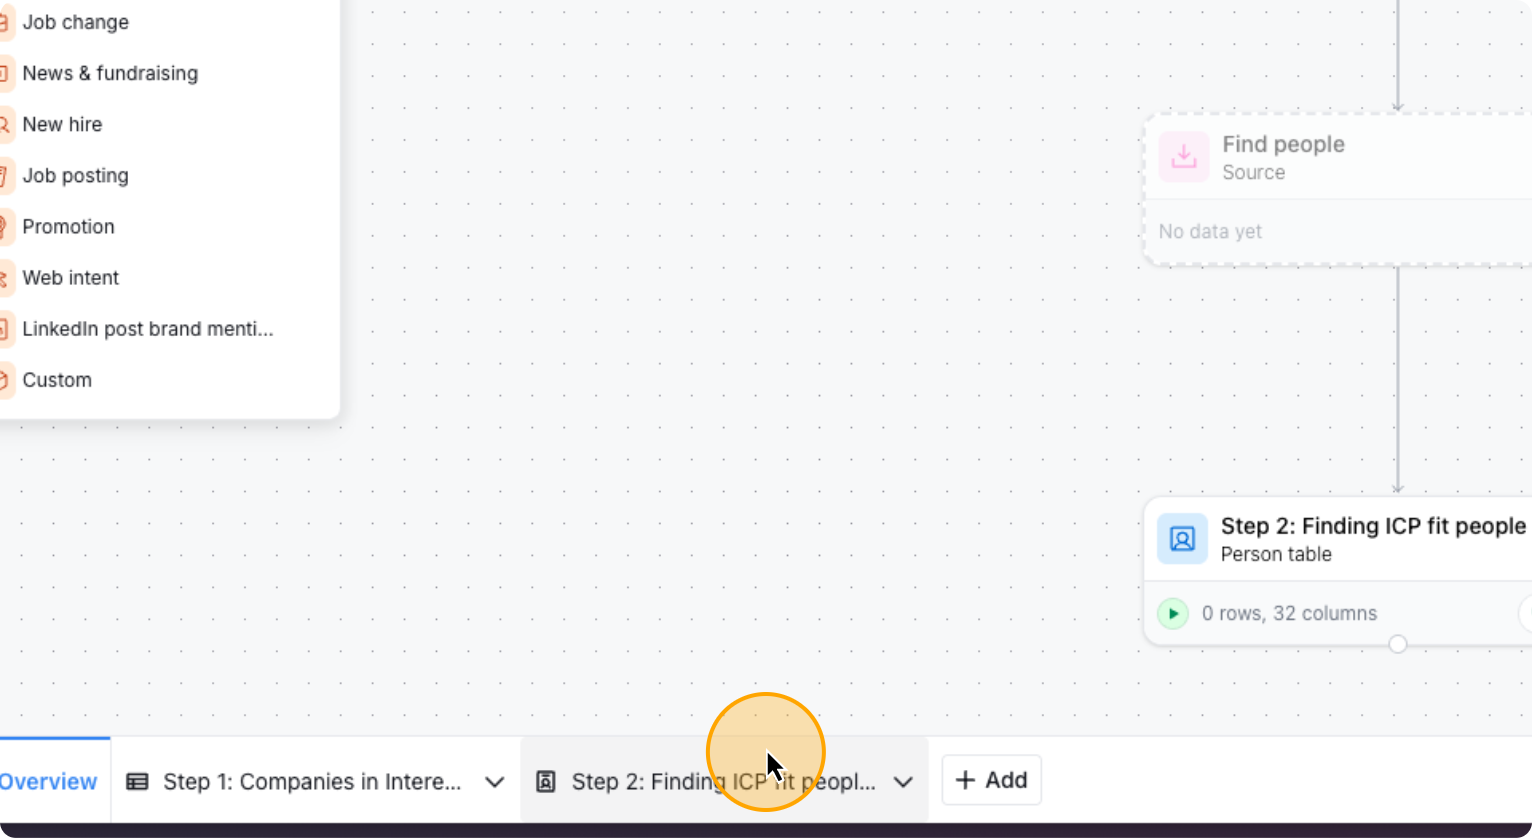
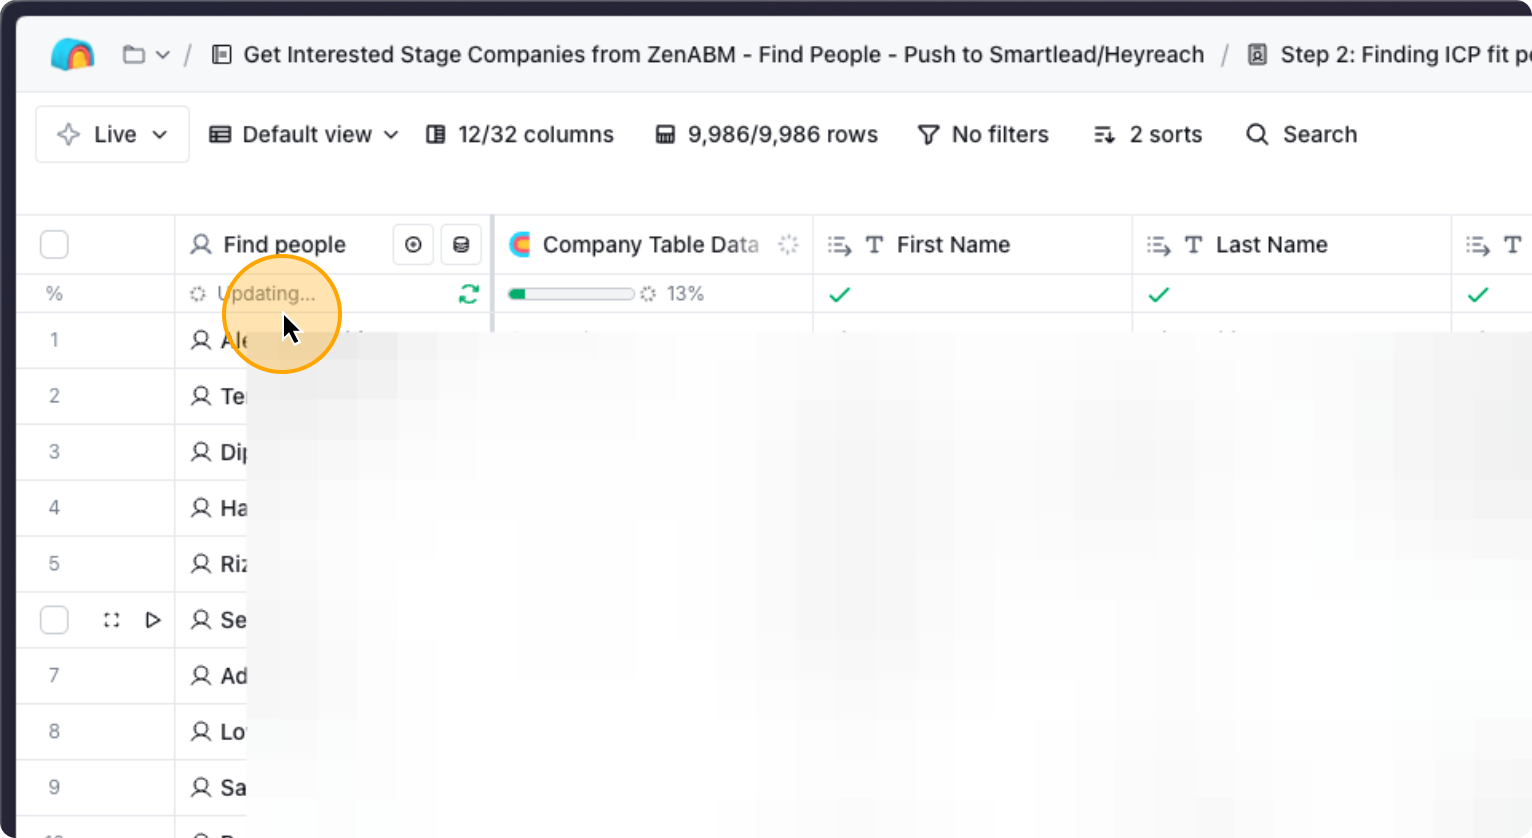
Now It will prospect into your ICP from the Interested Stage companies automatically. Go to Step 2 now.
31. Click on “Step 2”
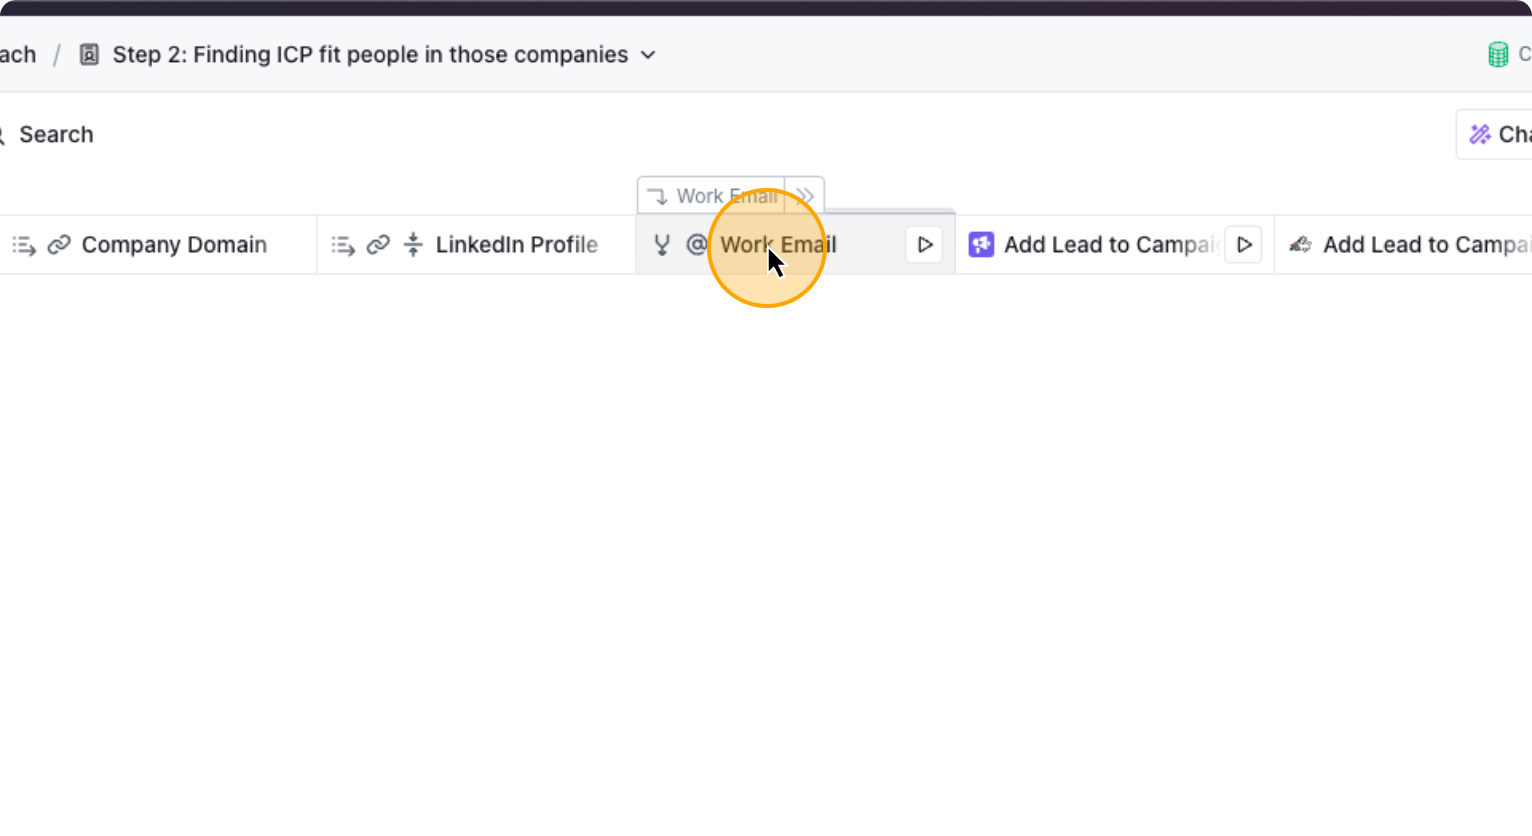
This table, finds the work emails of the prospects and pushes them to the relevant Smartlead and HeyReach campaigns automatically. By default the “Work Email” column is turned off so you don’t spend Clay credits unexpectidly. If you want to automatically find the work emails for your ICP in those interested stage companies, you need to enable “Auto Update” for this column.
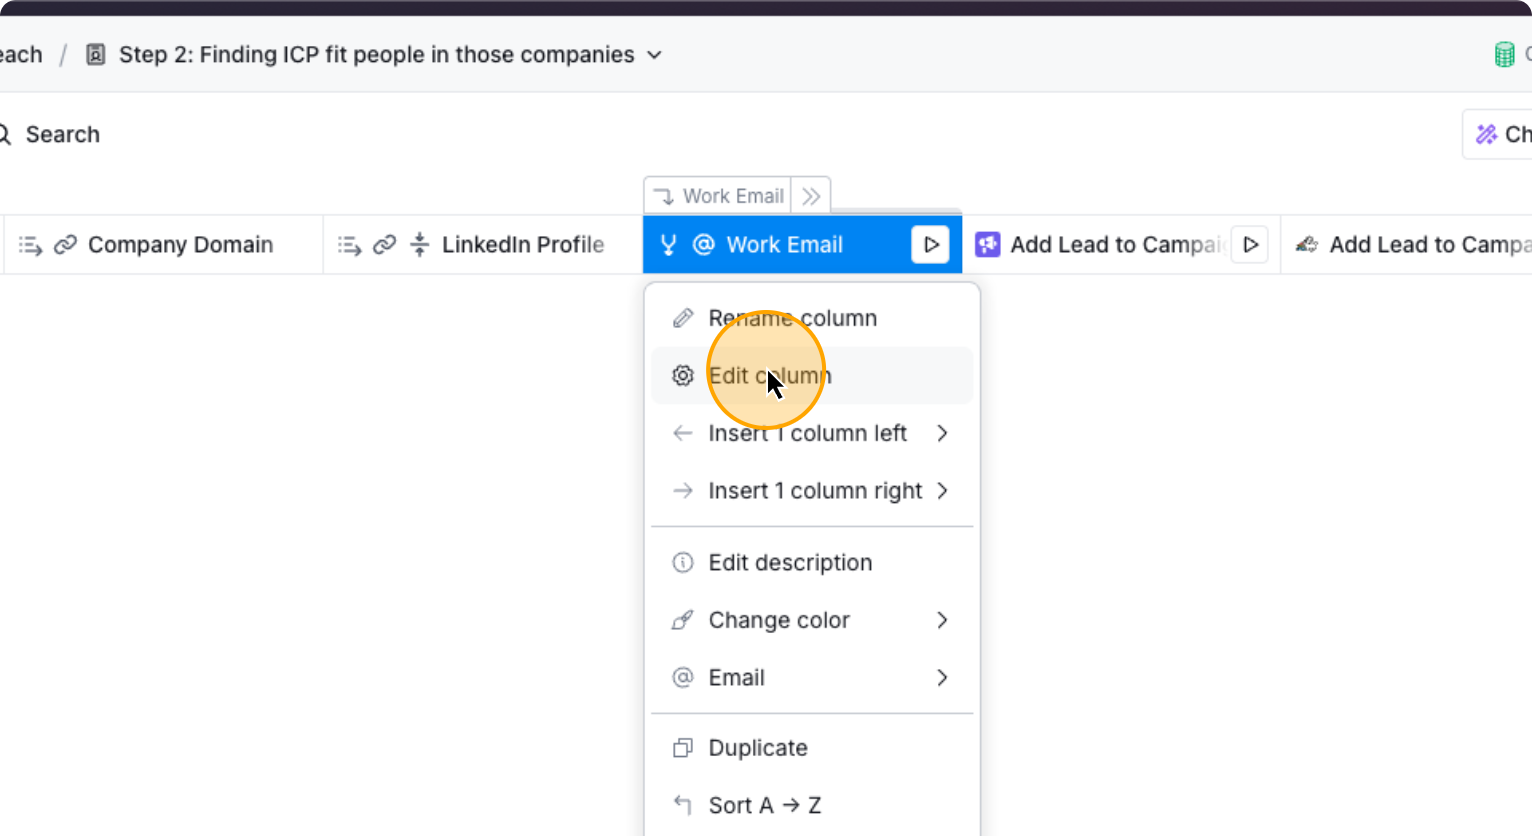
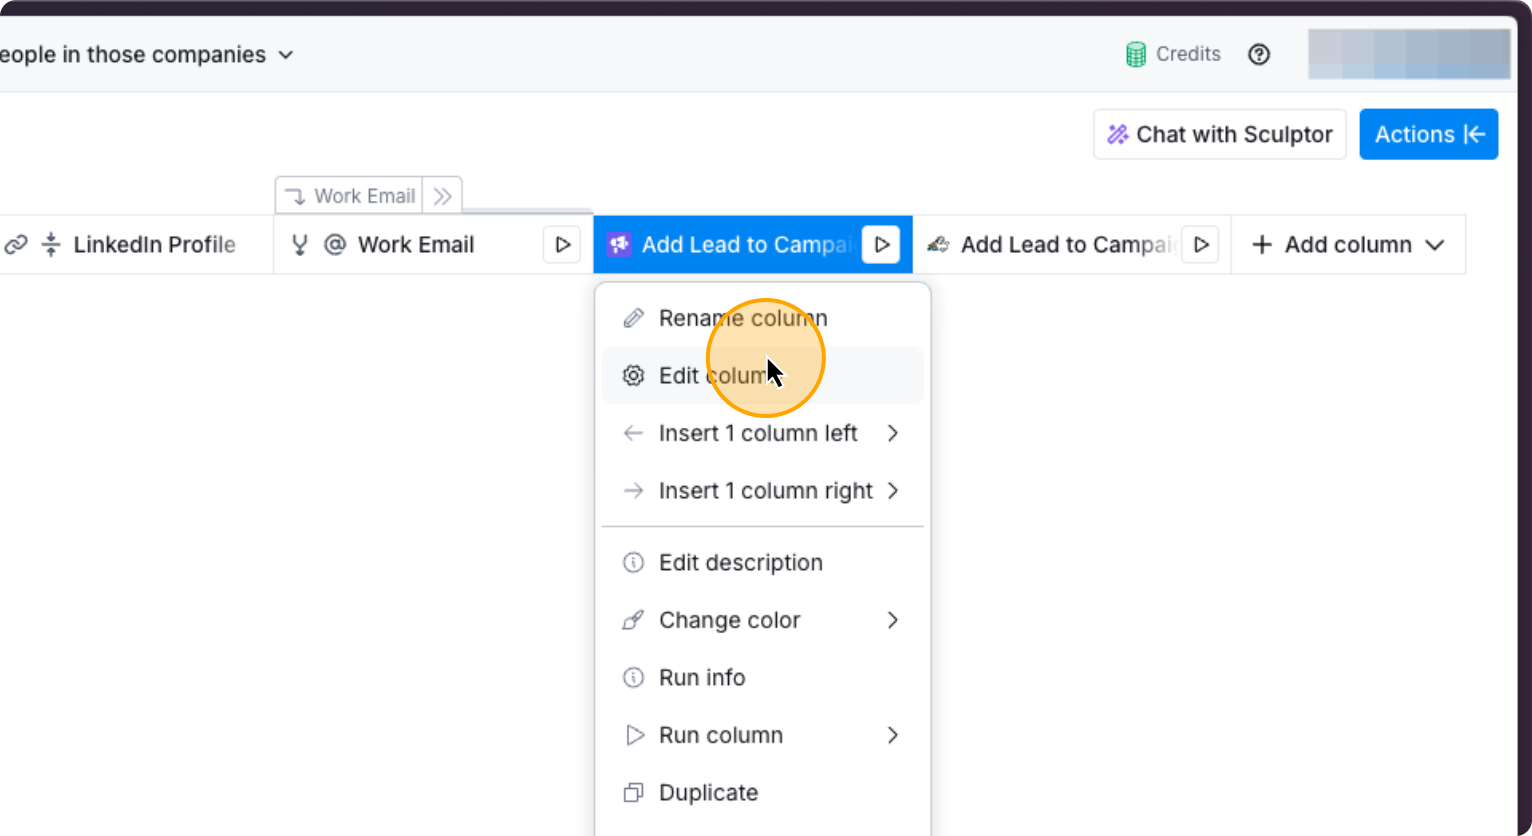
32. Click on “Work Email”
Click on “Edit Column.” Then, you…
33. Click on “Edit column”
34. Click here
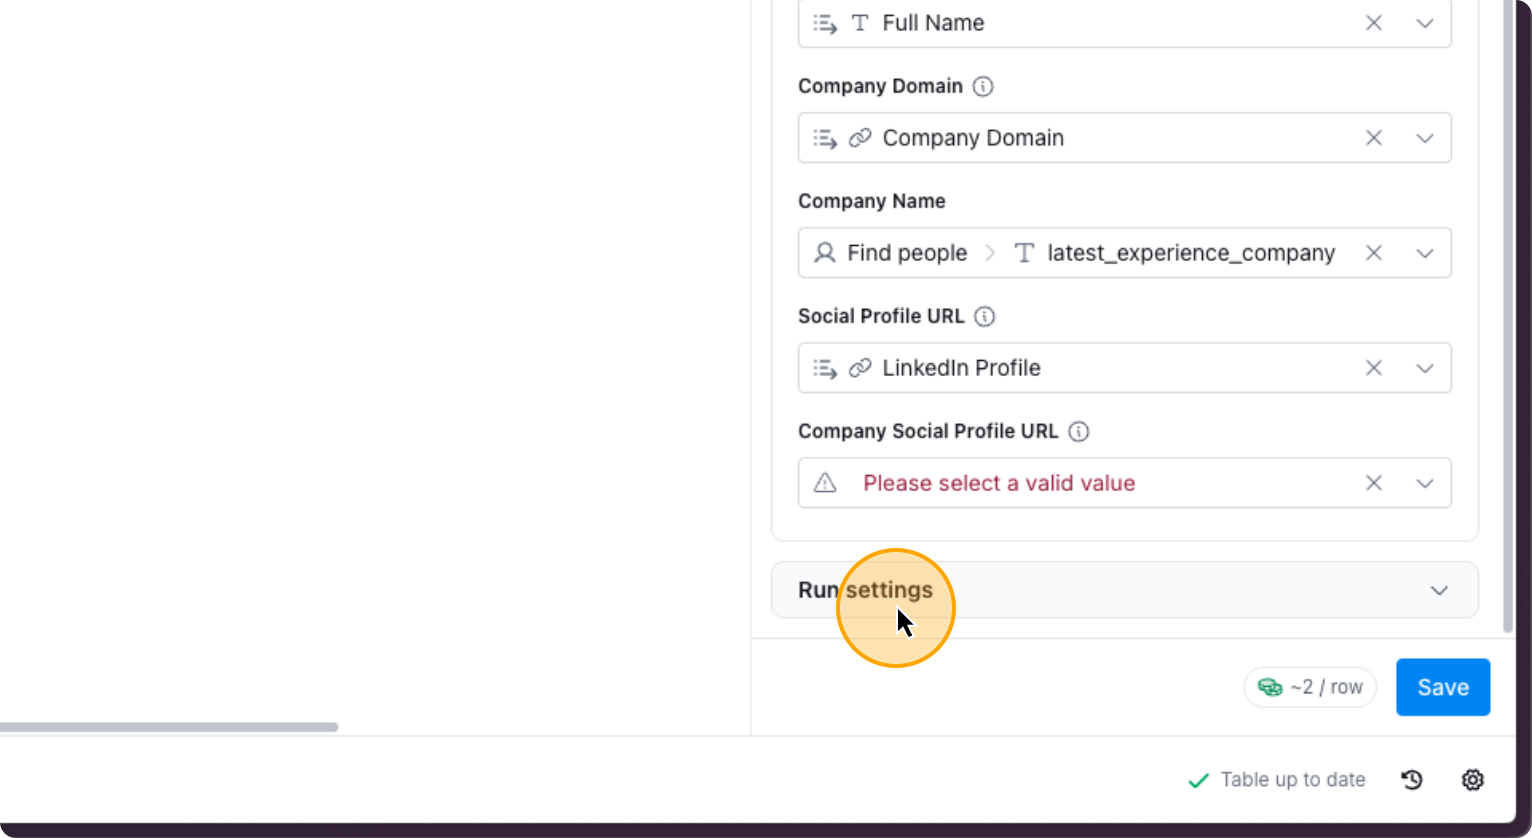
35. Click here

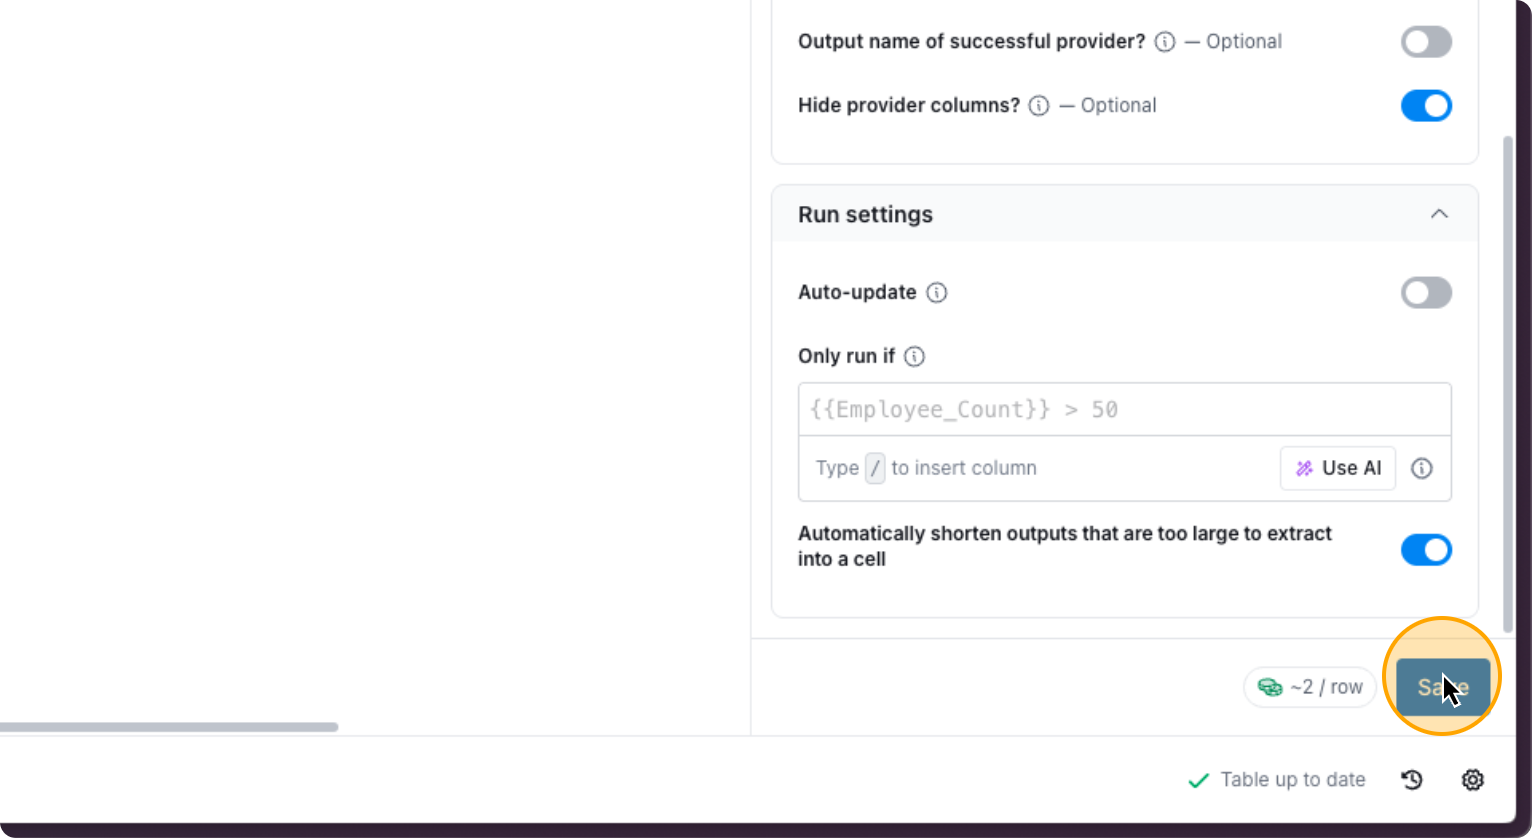
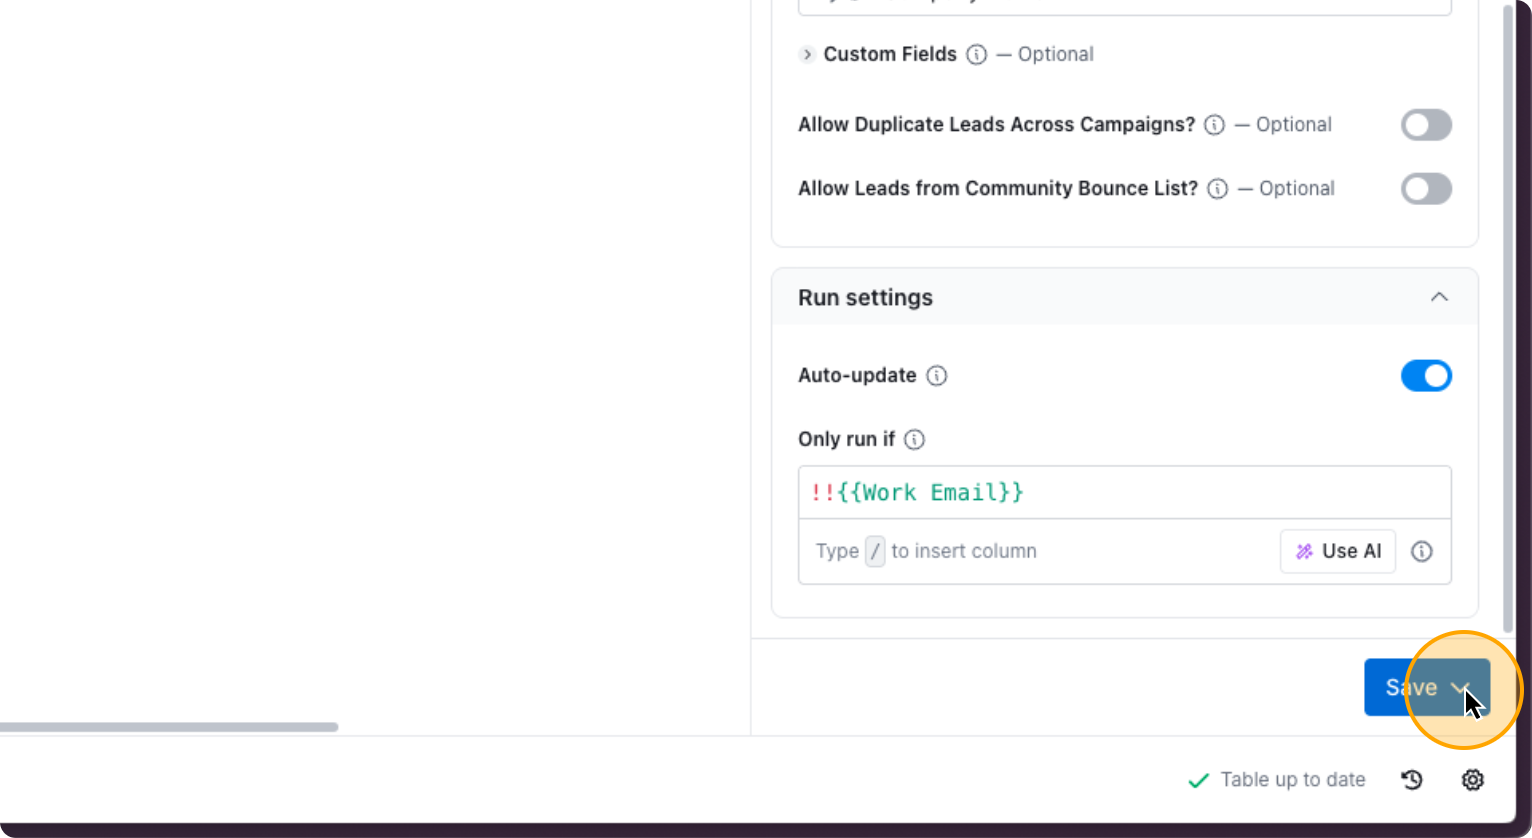
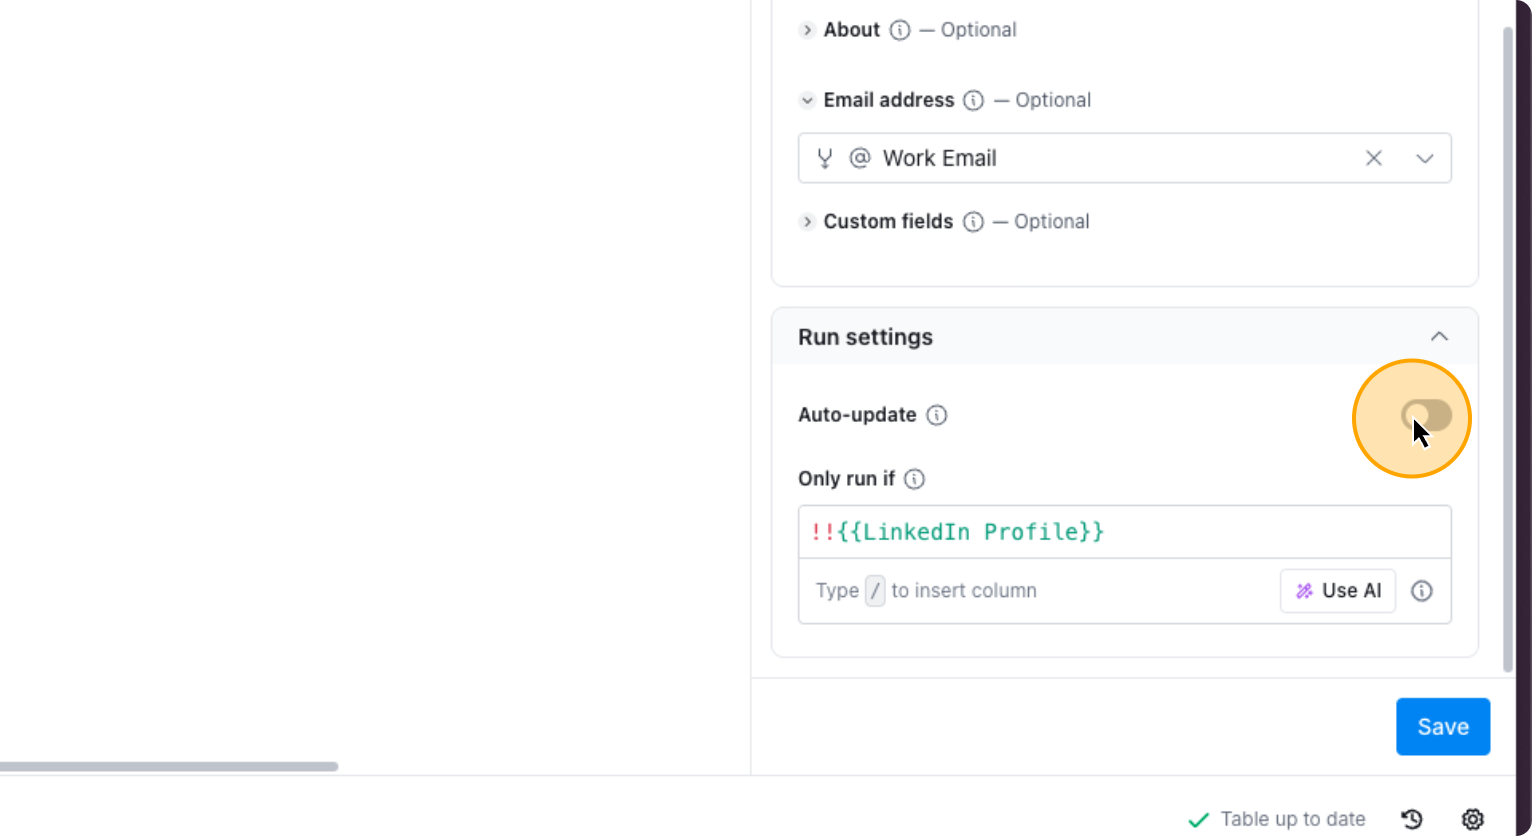
Turn on “Auto-update”.
If you want to change certain settings, you can do so in “Full Configration”. If not, let it be. Click on “Save”.
36. Click on “Save”
Now to select the right Smartlead Campaign to add the prospect to, follow these steps.
37. Click on the column “Add Lead to Campaigns”
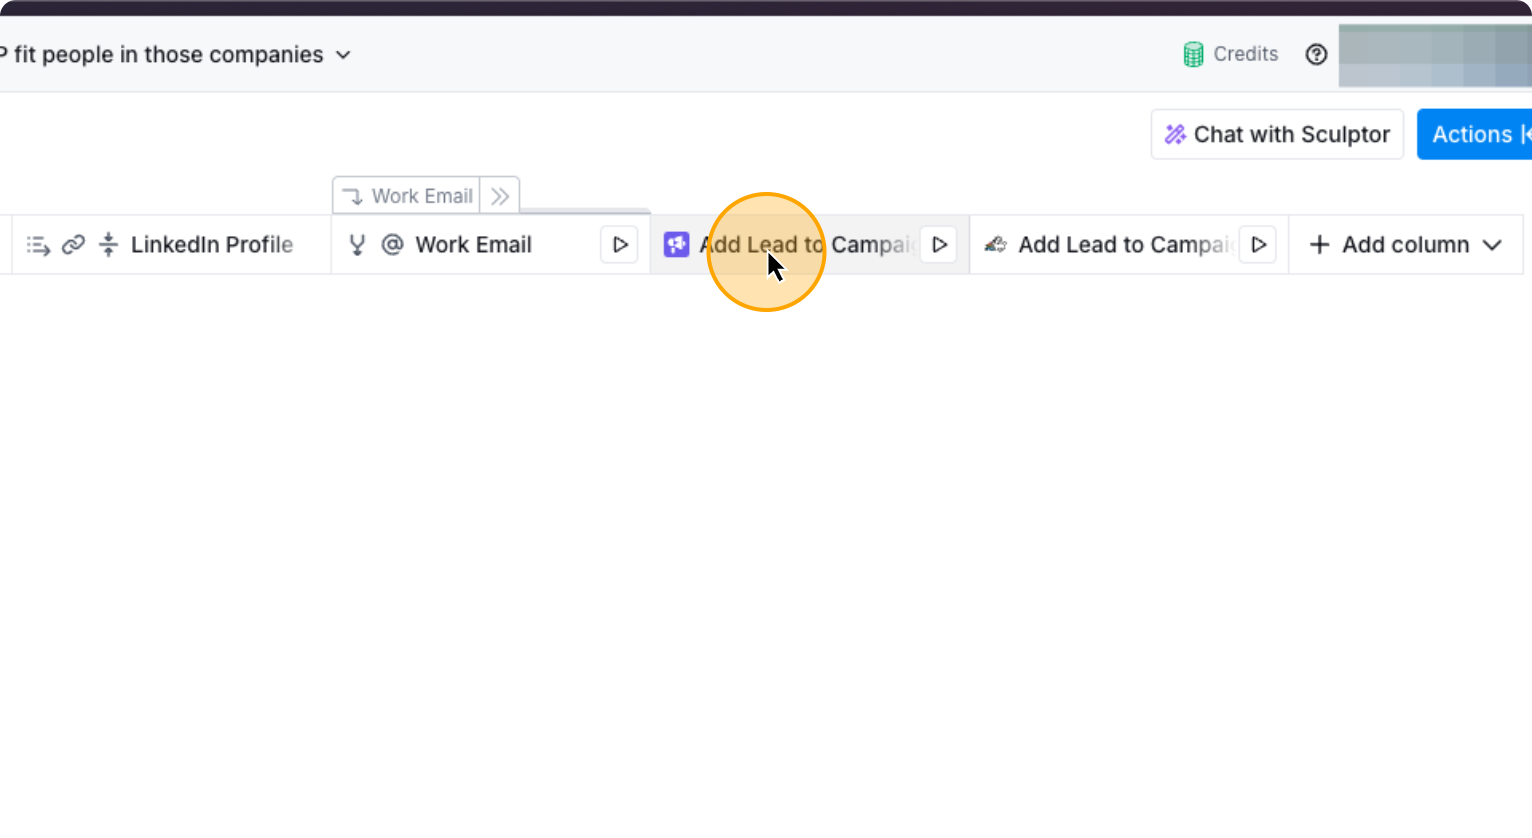
Here you need to select which Smartlead campaign do you want to add the prospect automatically to.
38. Click on “Edit column”
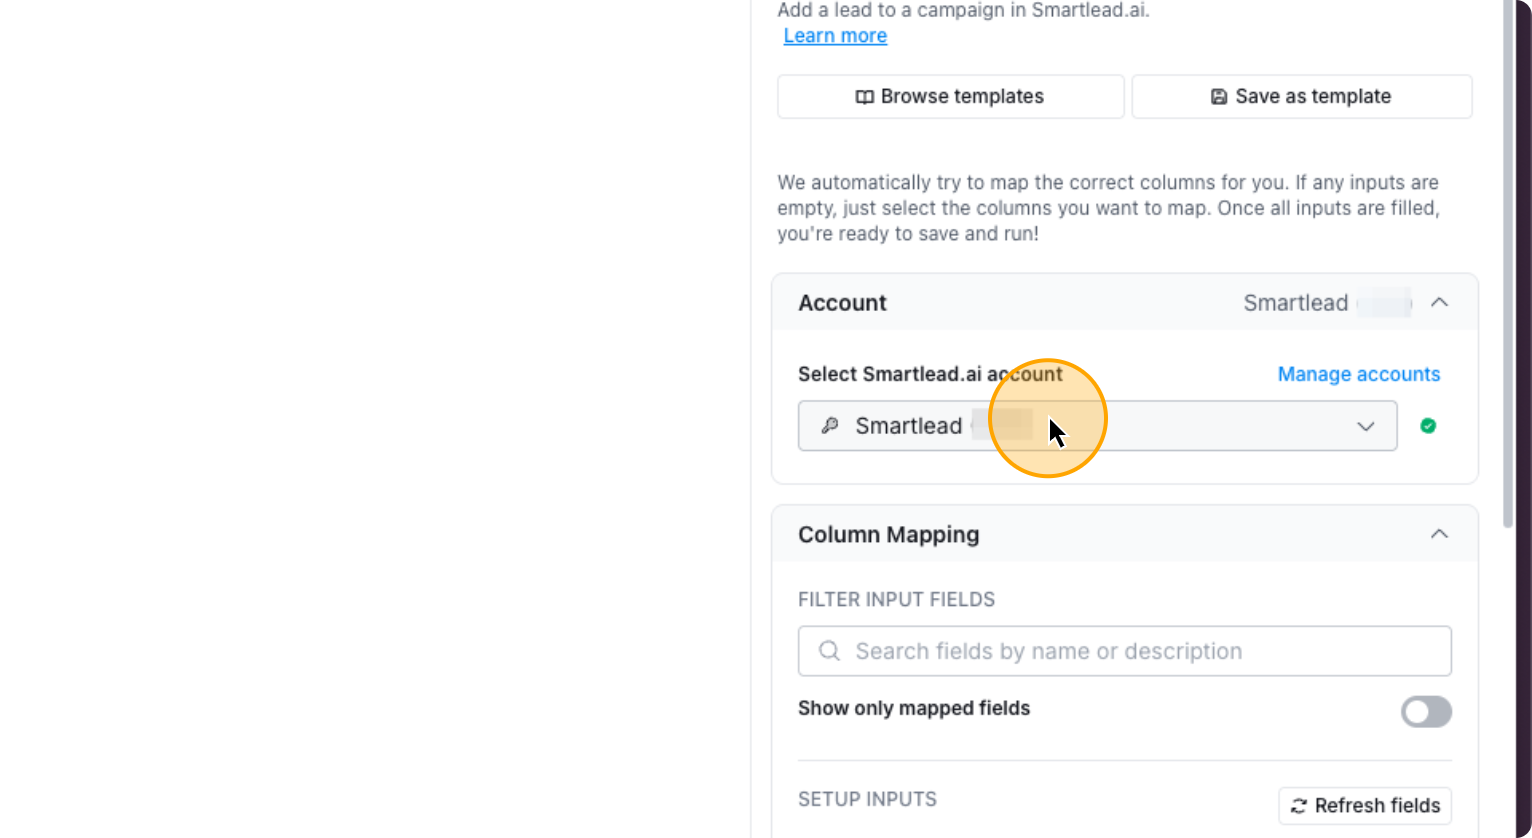
If your Smartlead account is already connected, select your account. Then, choose the campaign you want.
39. Click on “Select Smartlead.ai account”
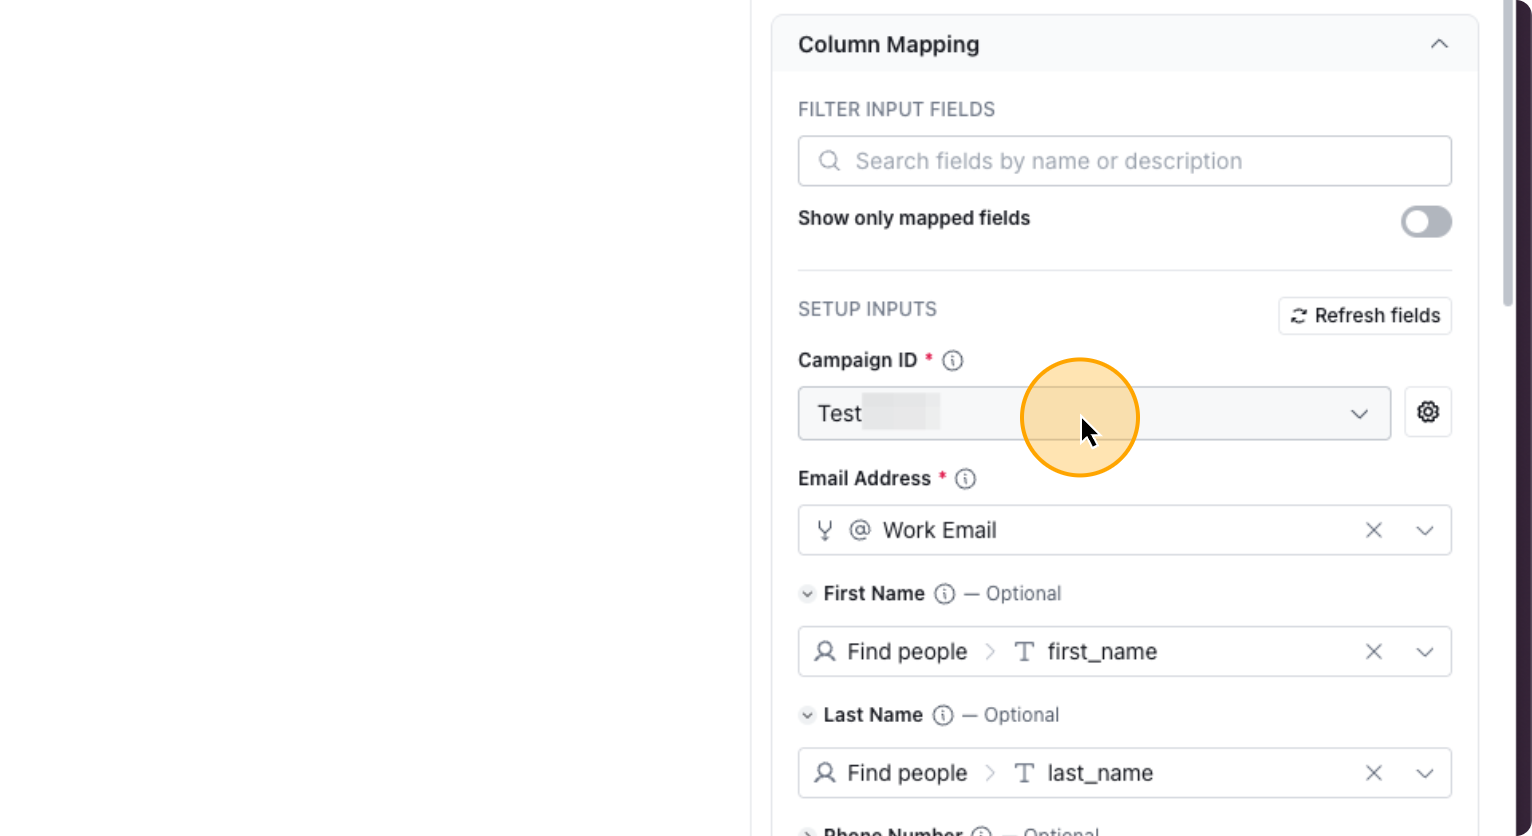
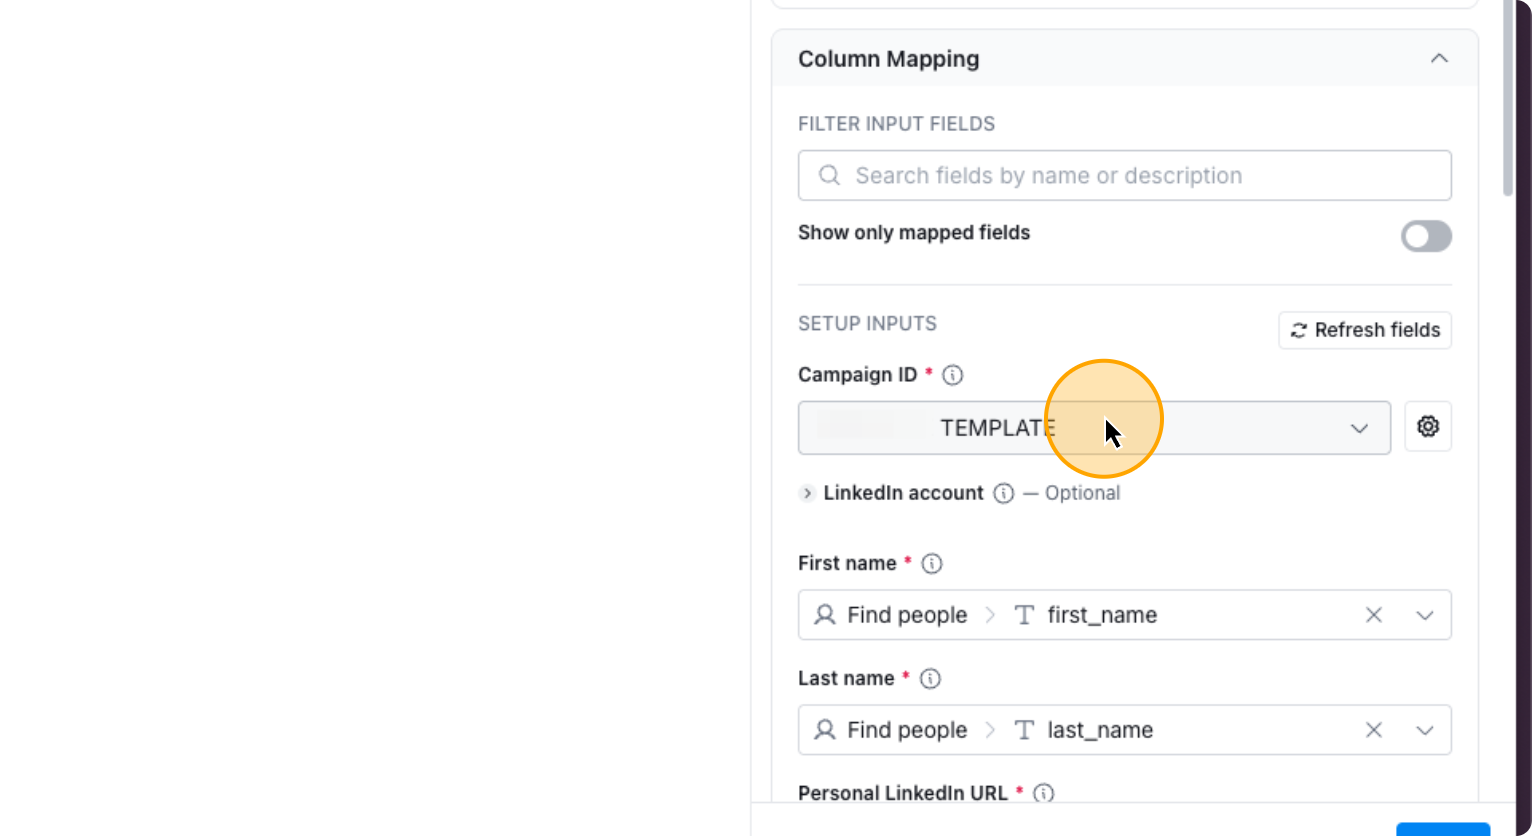
40. Click on “Campaign ID” to select the right campaign
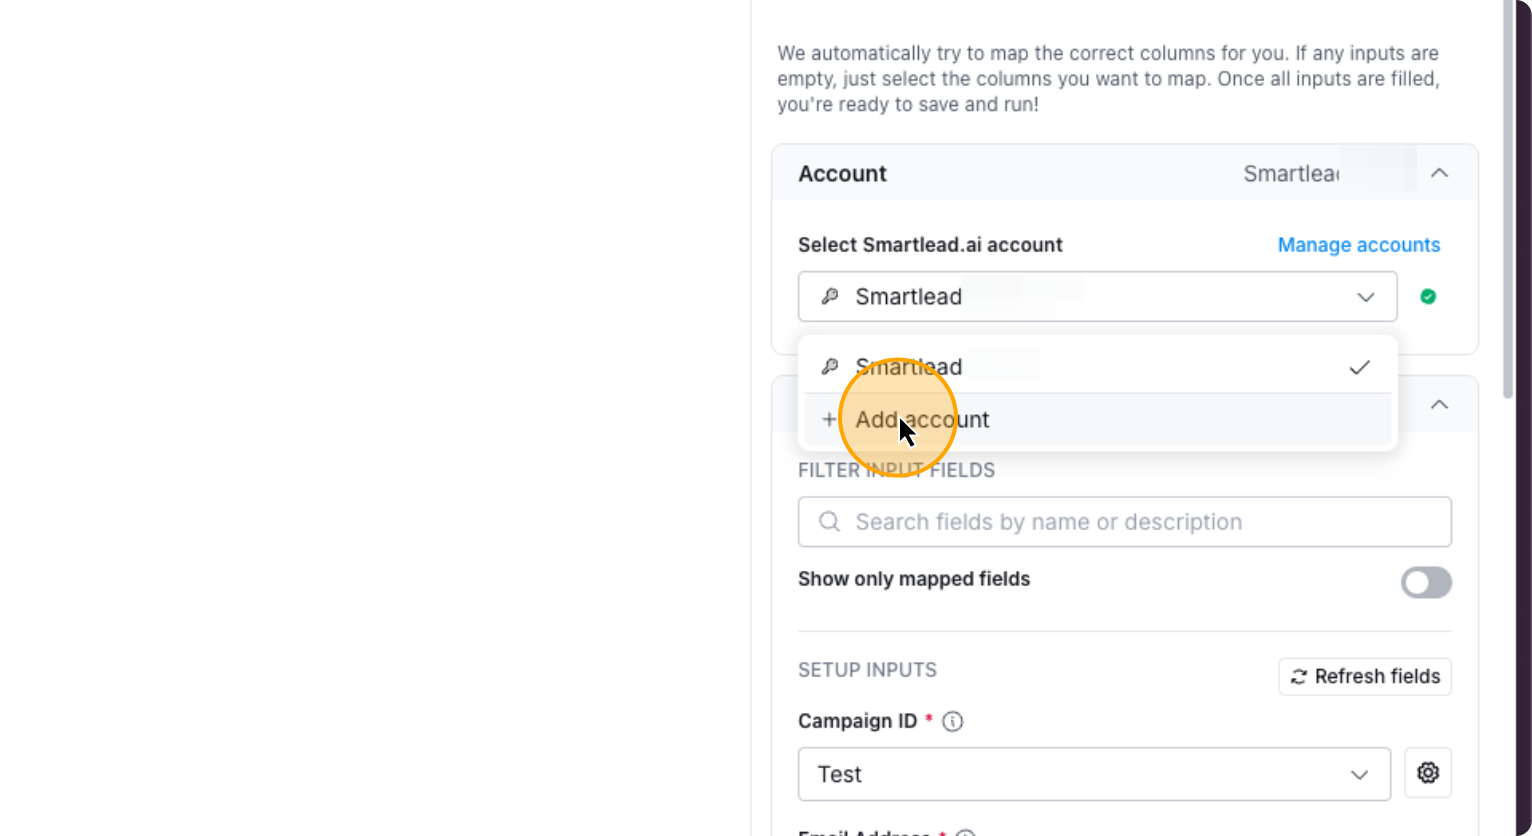
If your smartlead account isn’t connected, click “Add Account” and name your connection.
41. Click on “+ Add account”
To get your Smartlead API key, go to Smartlead and click on Settings.
42. Click here
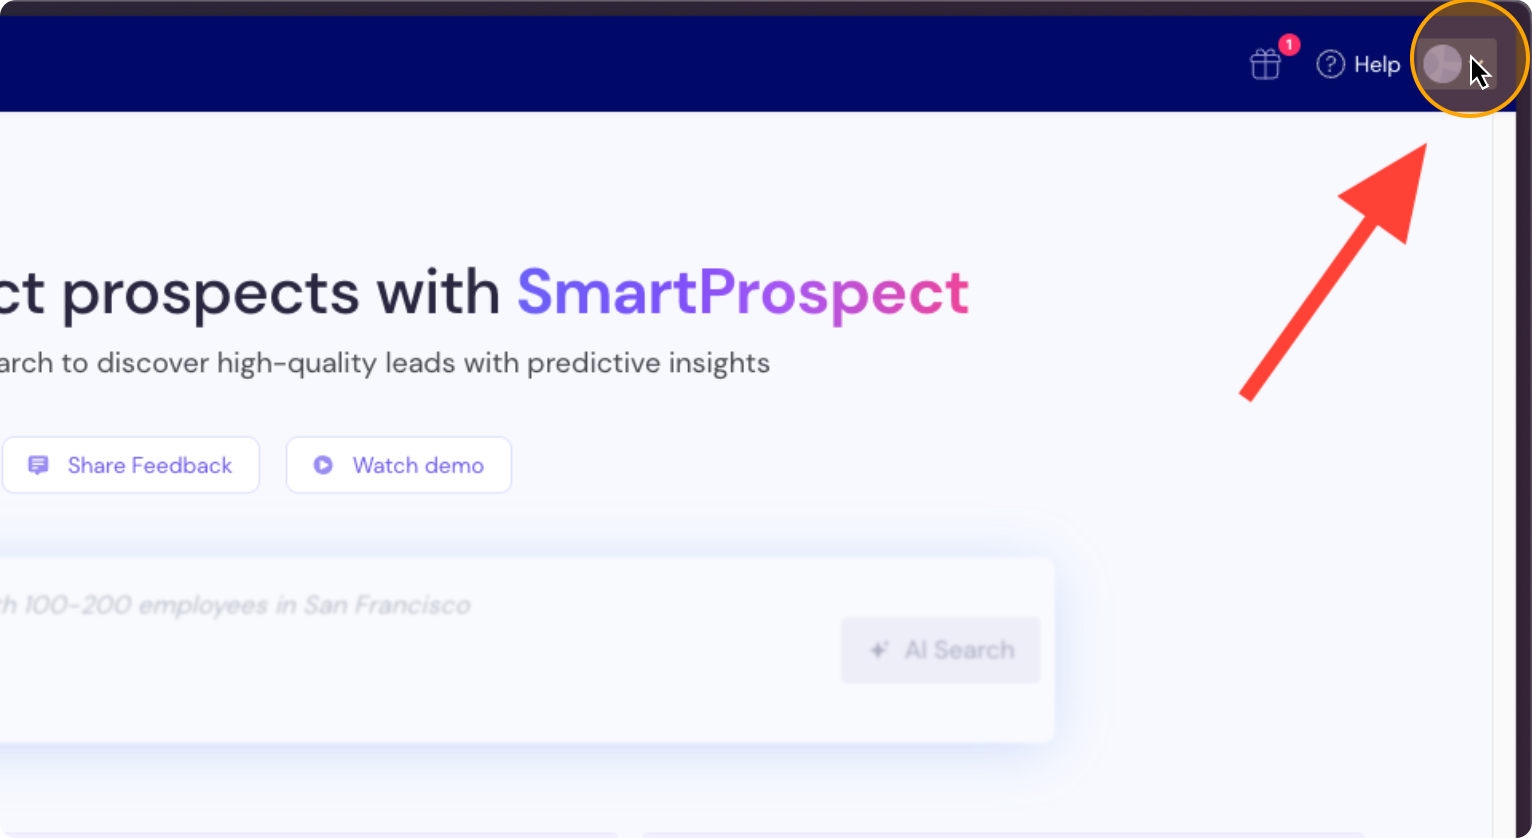
43. Click on “Settings”

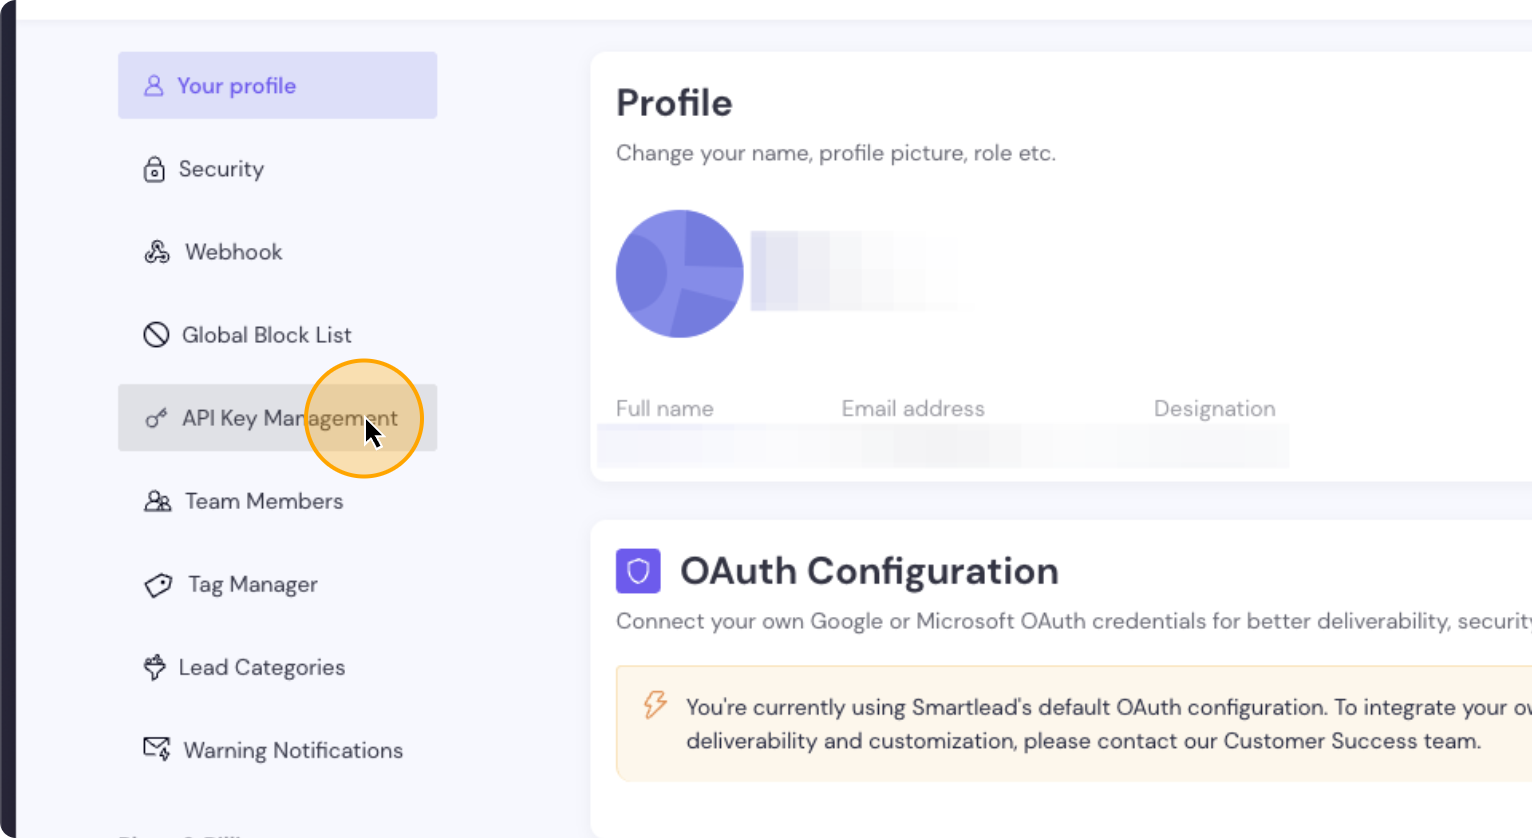
Click on API key management, then copy the API key.
44. Click on “API Key Management”
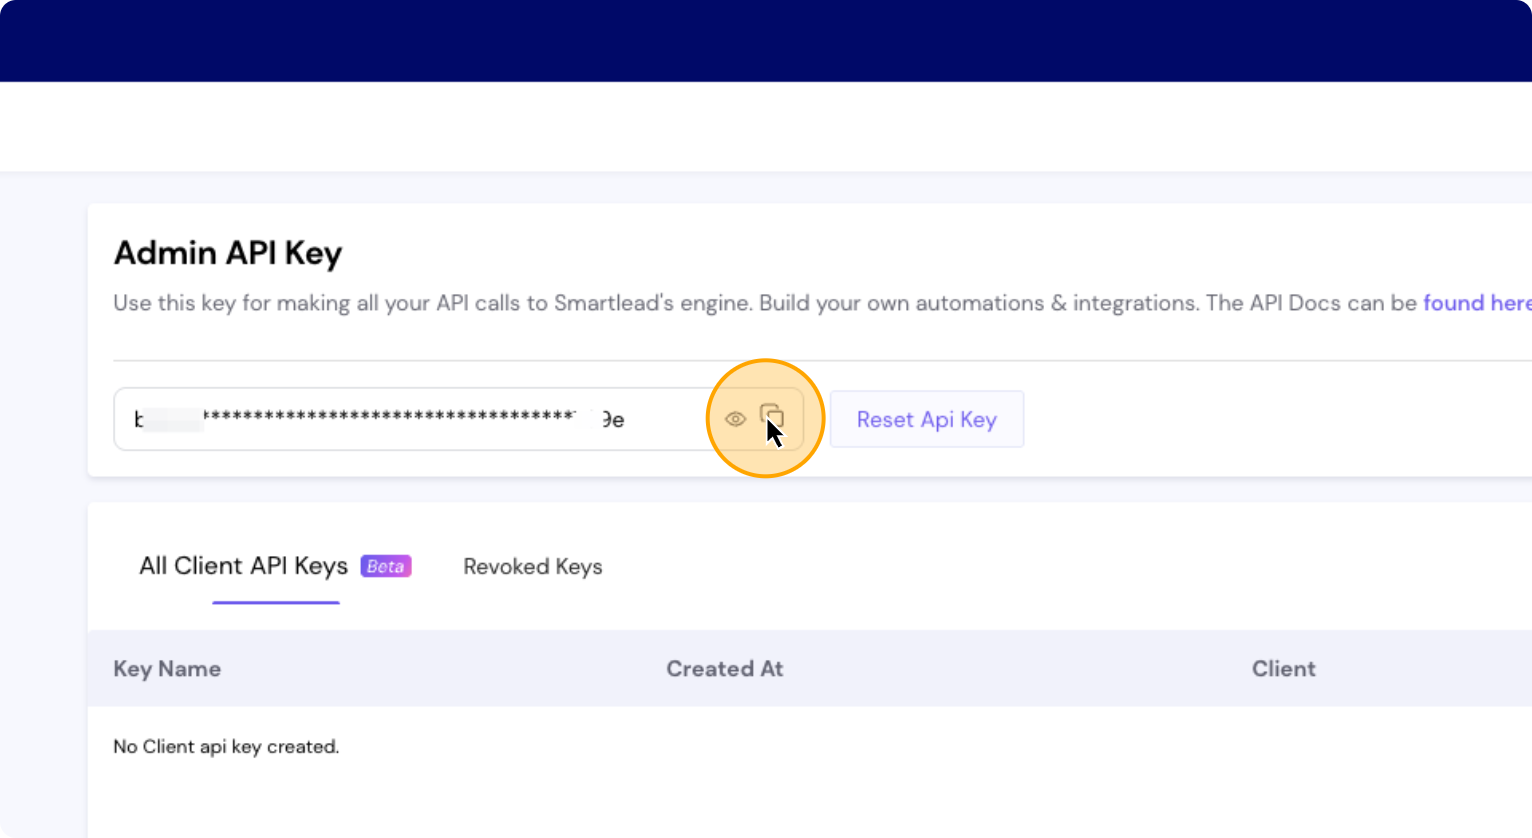
Copy the API key from this location. Click on “Copy.”
45. Click here
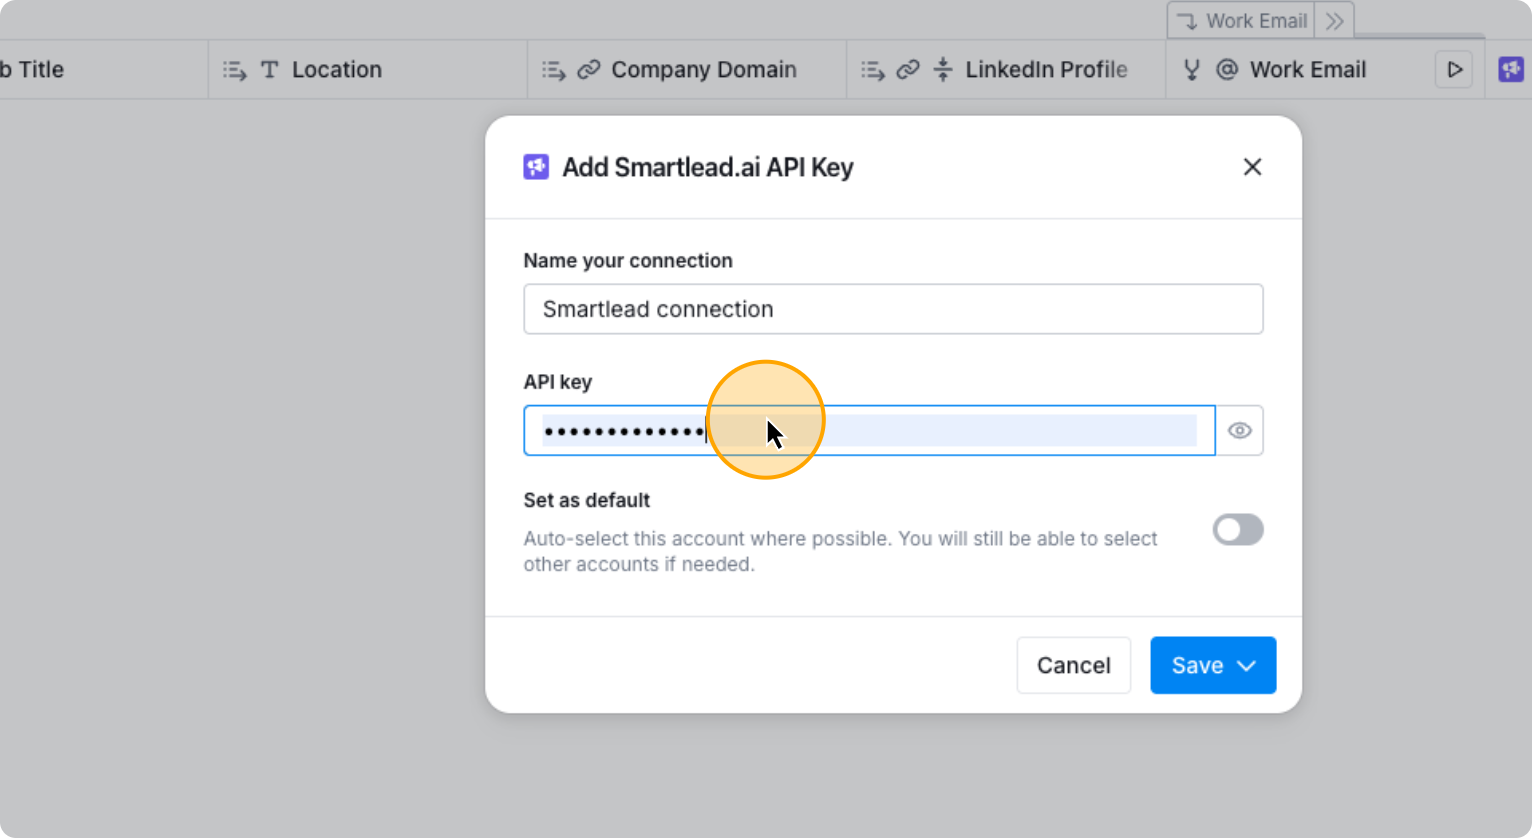
Go back to Clay and name your connection however you like.
In this example let’s name it “Smartlead connection”. Paste the key here. Click save, test, and save.
46. Click here
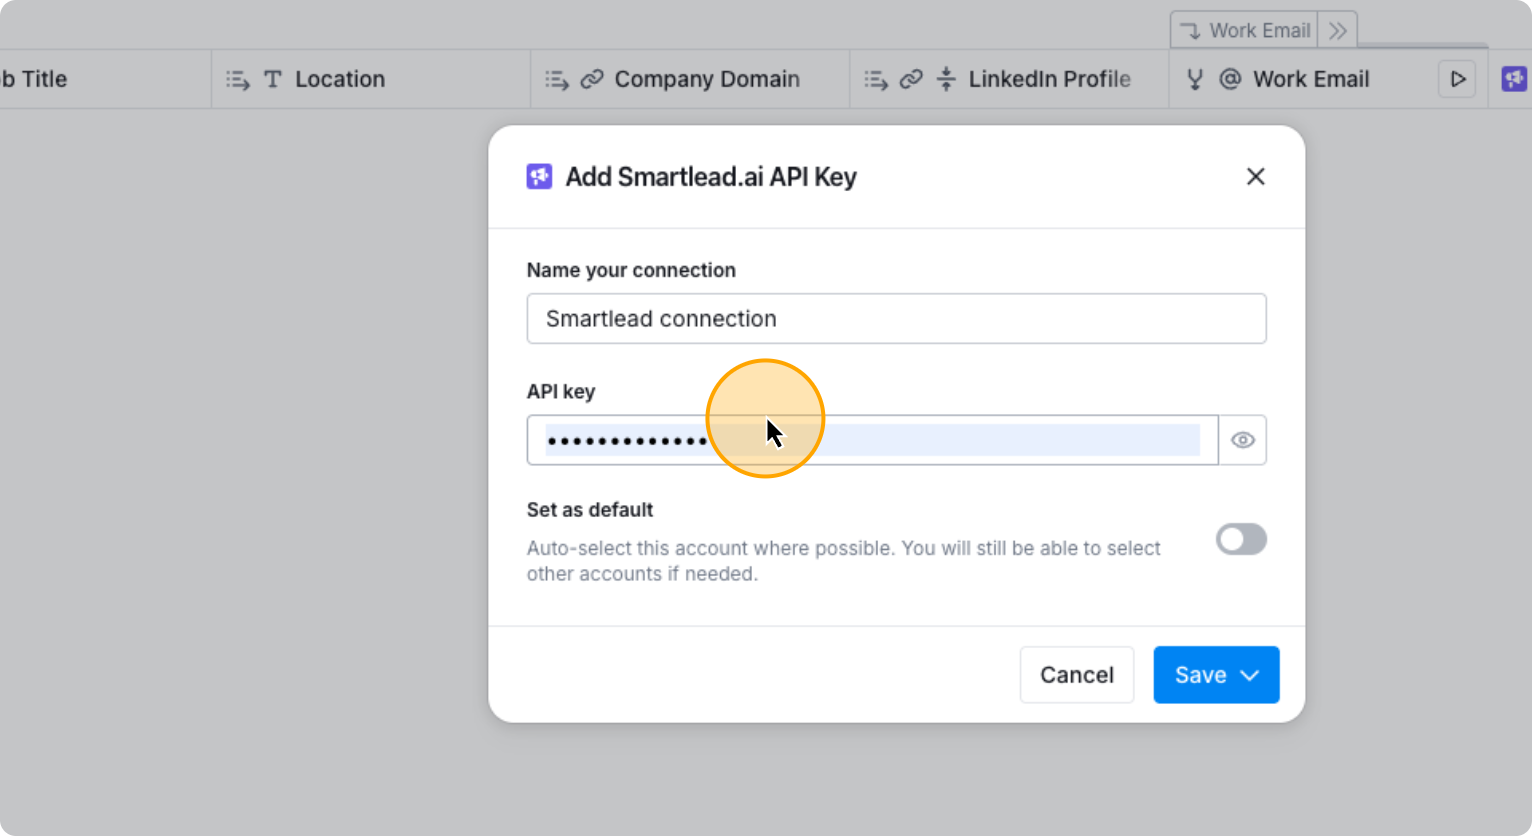
47. Paste the API key you copied from Smartlead here
48. Click on “Test account & save”
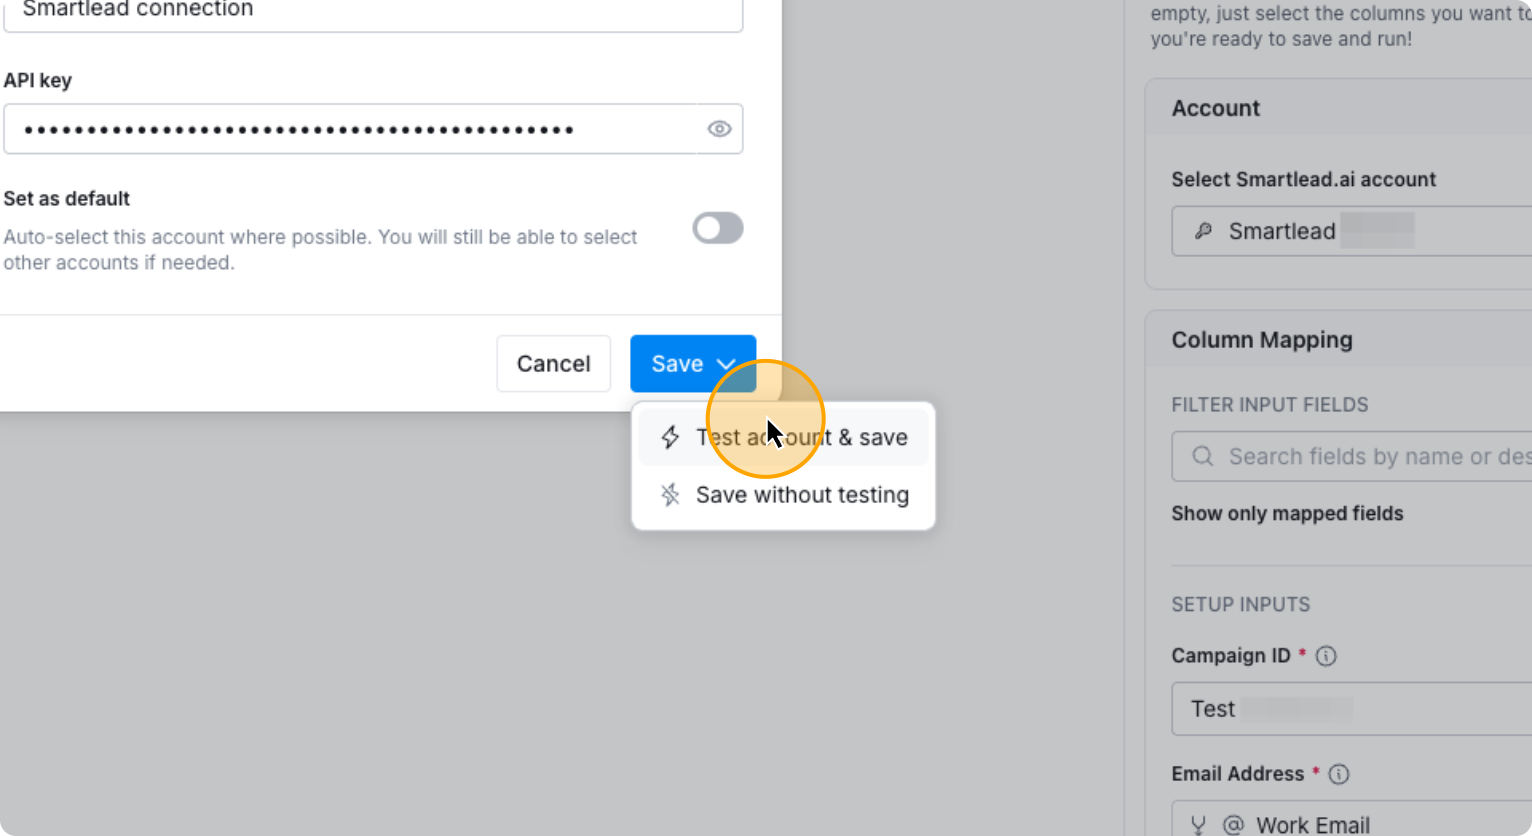
Now your Smartlead account is connected to Clay.
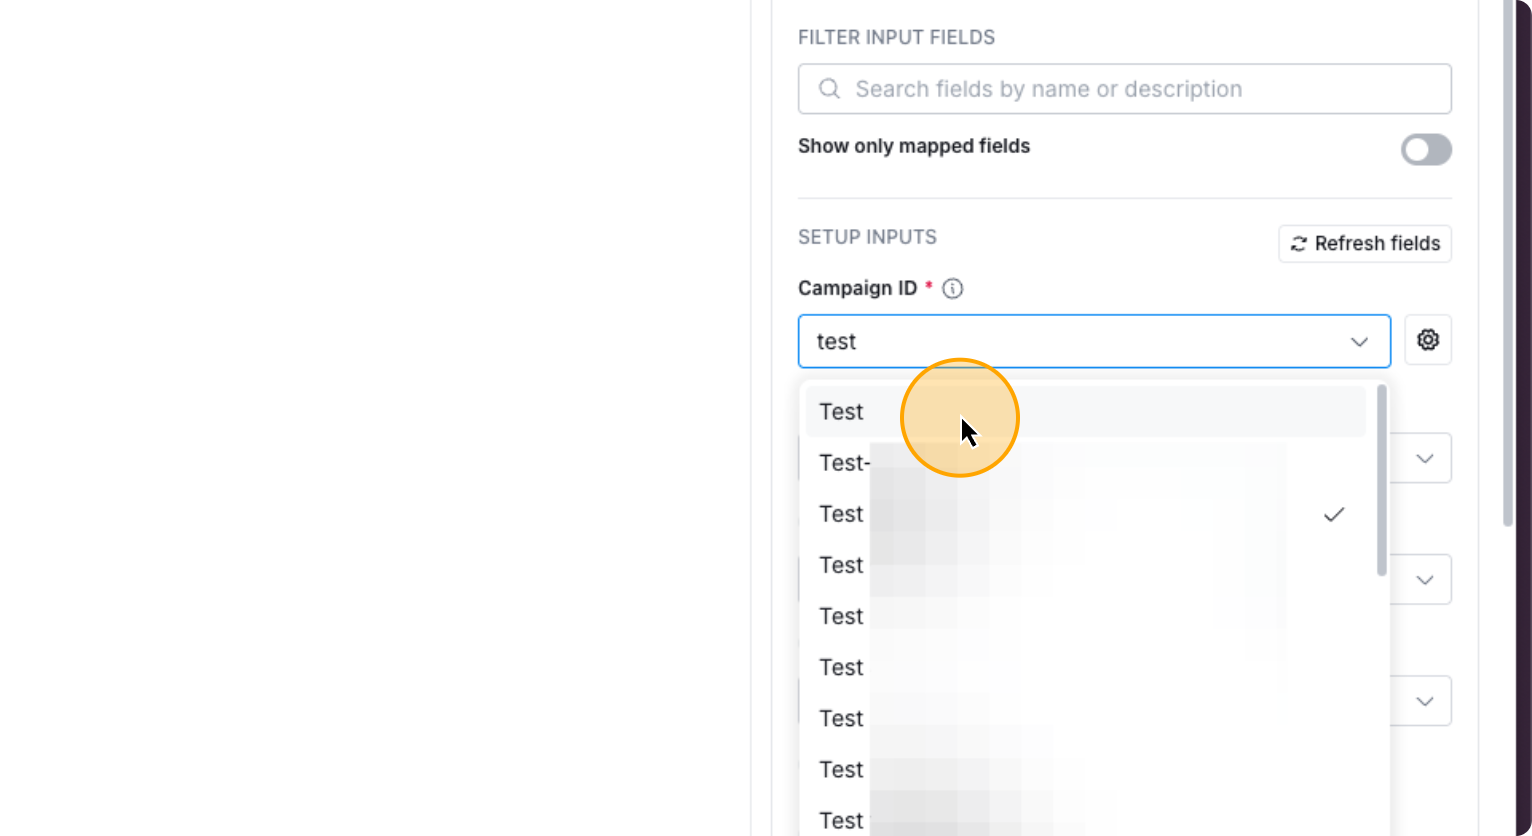
Simply choose the campaign you want to run and the other fields will populate automatically.
49. Select the campaign you want to push the contacts to
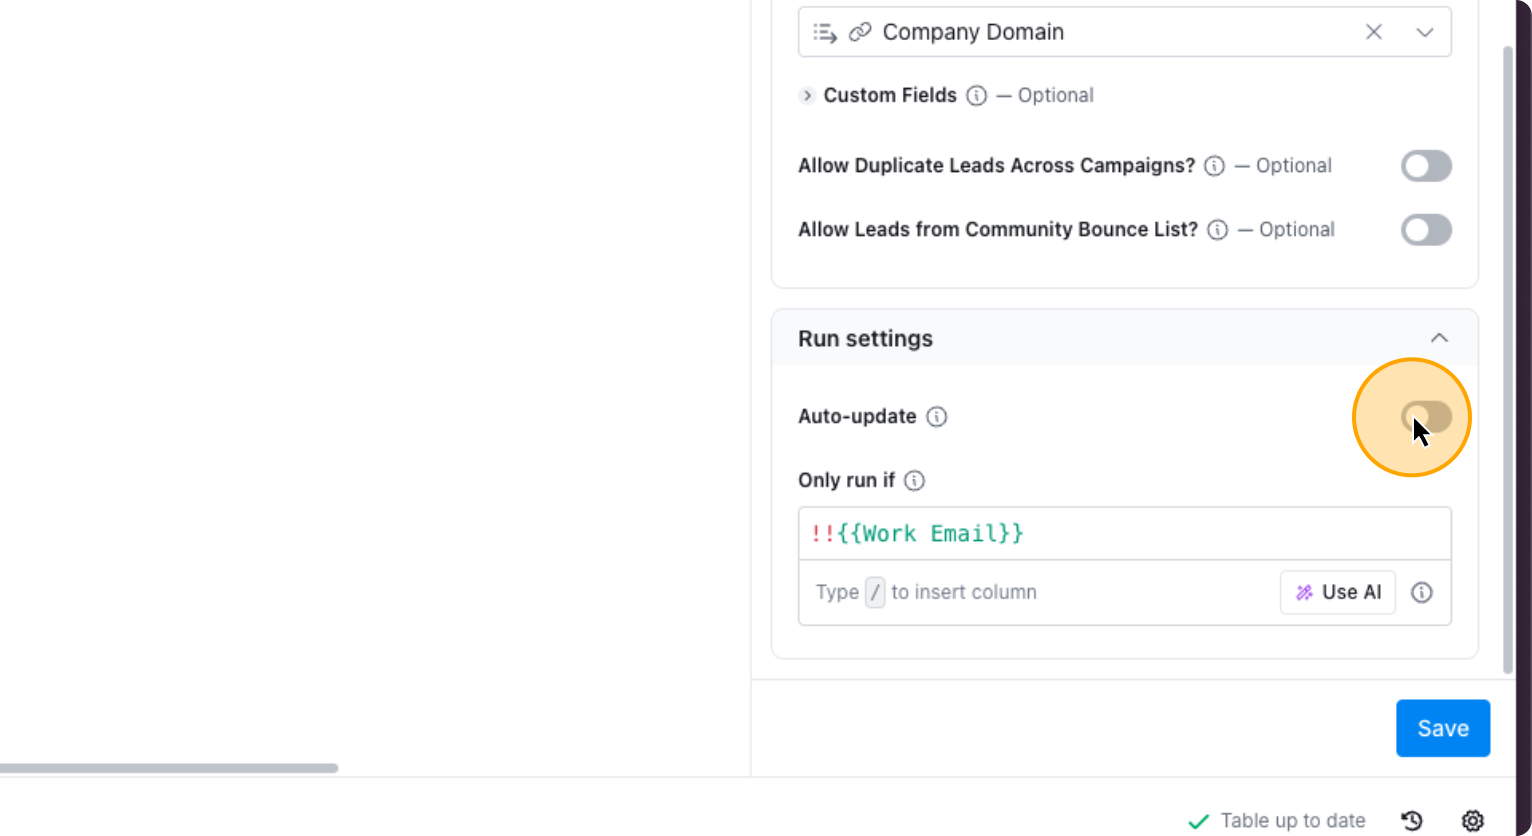
If you want to add custom fields, you can do so.
50. Click on “Custom Fields”

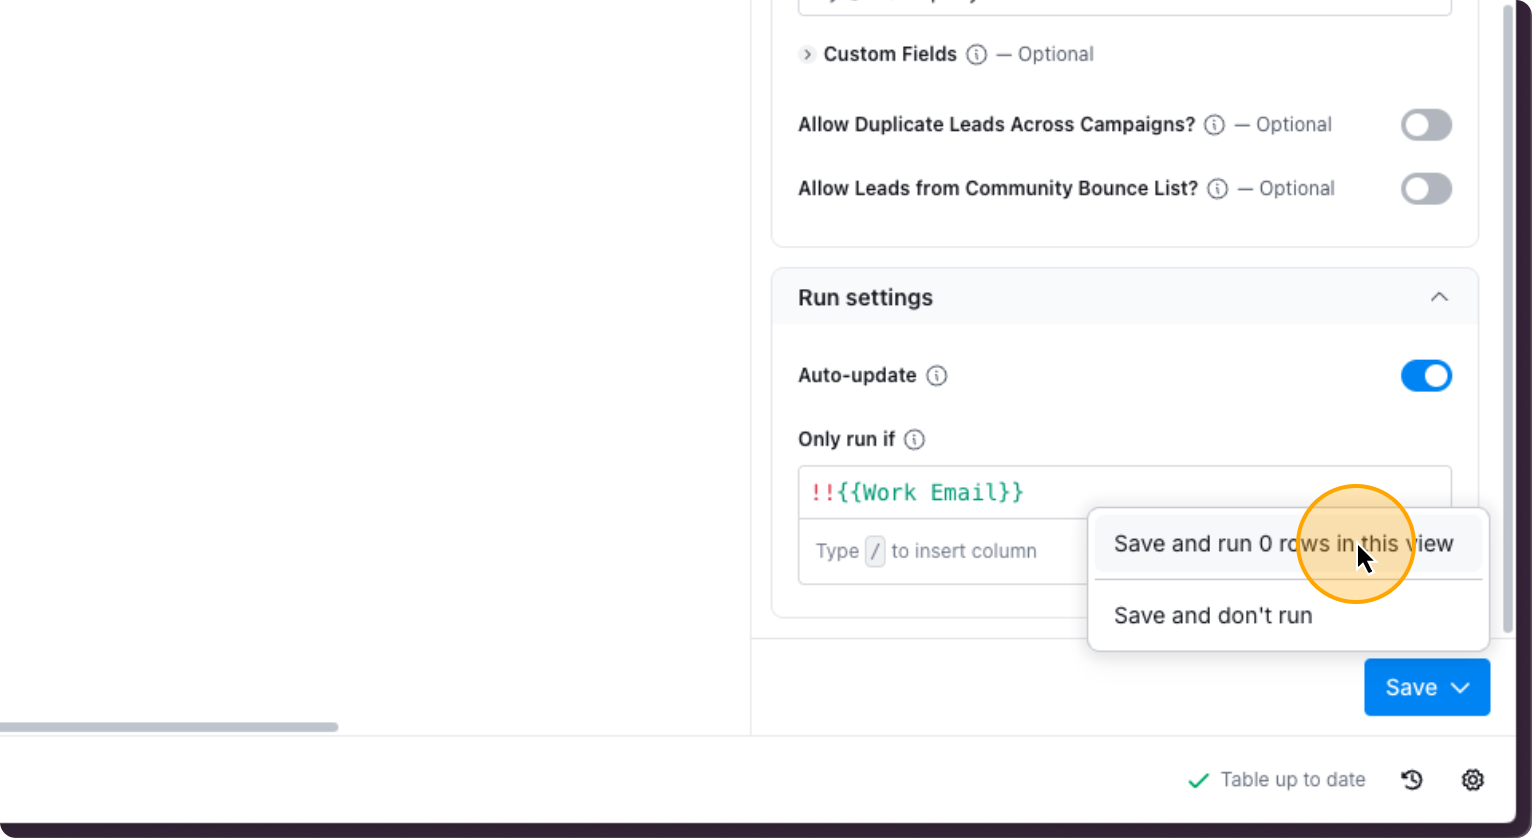
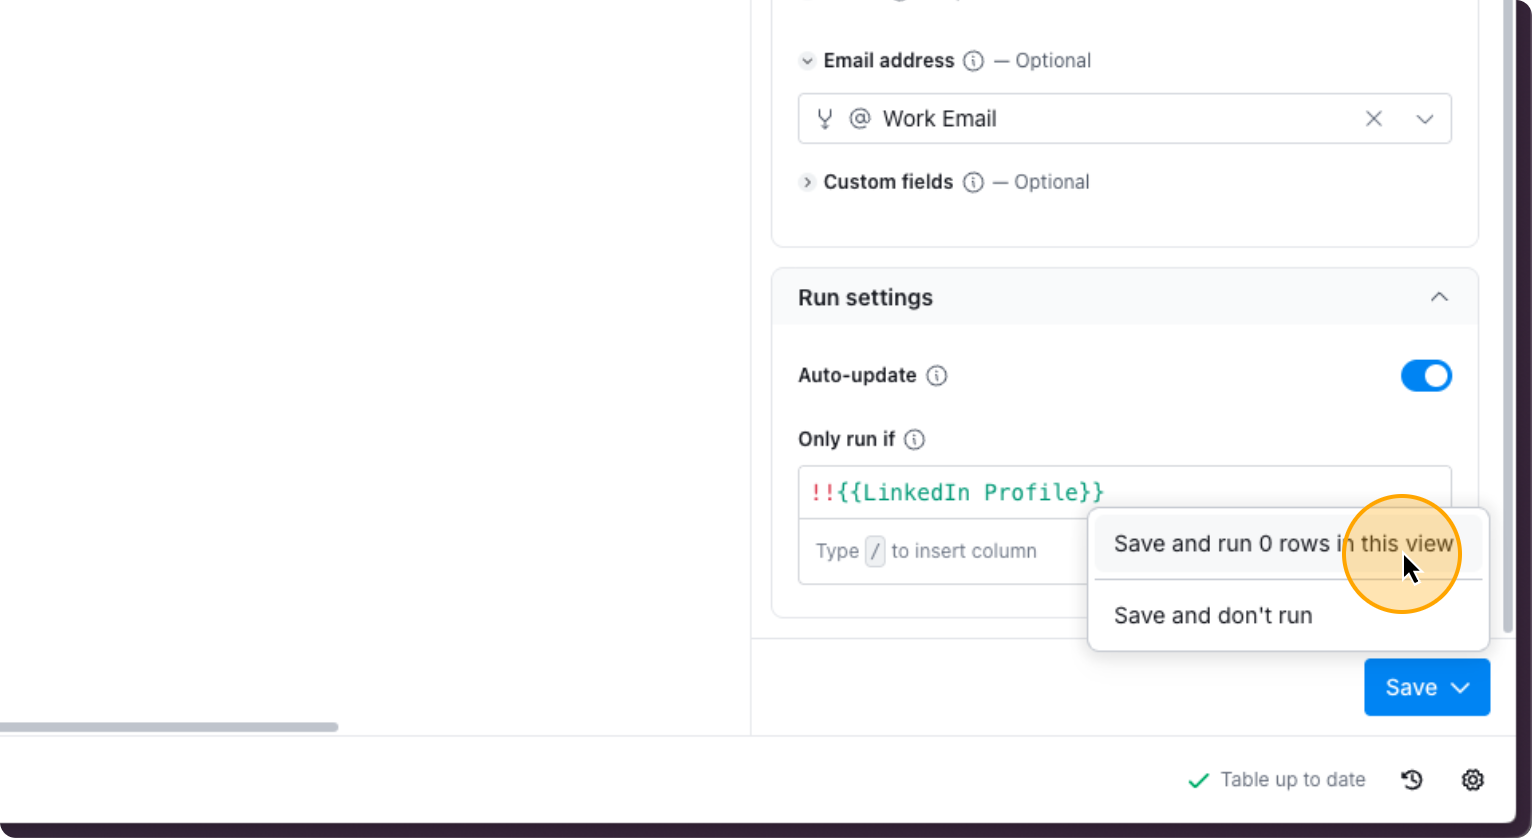
If not, you can leave it as is. To set this to run automatically, click on auto-update. Then select save and run.
51. Click here
52. Click here
53. Click on “Save and run rows in this view”
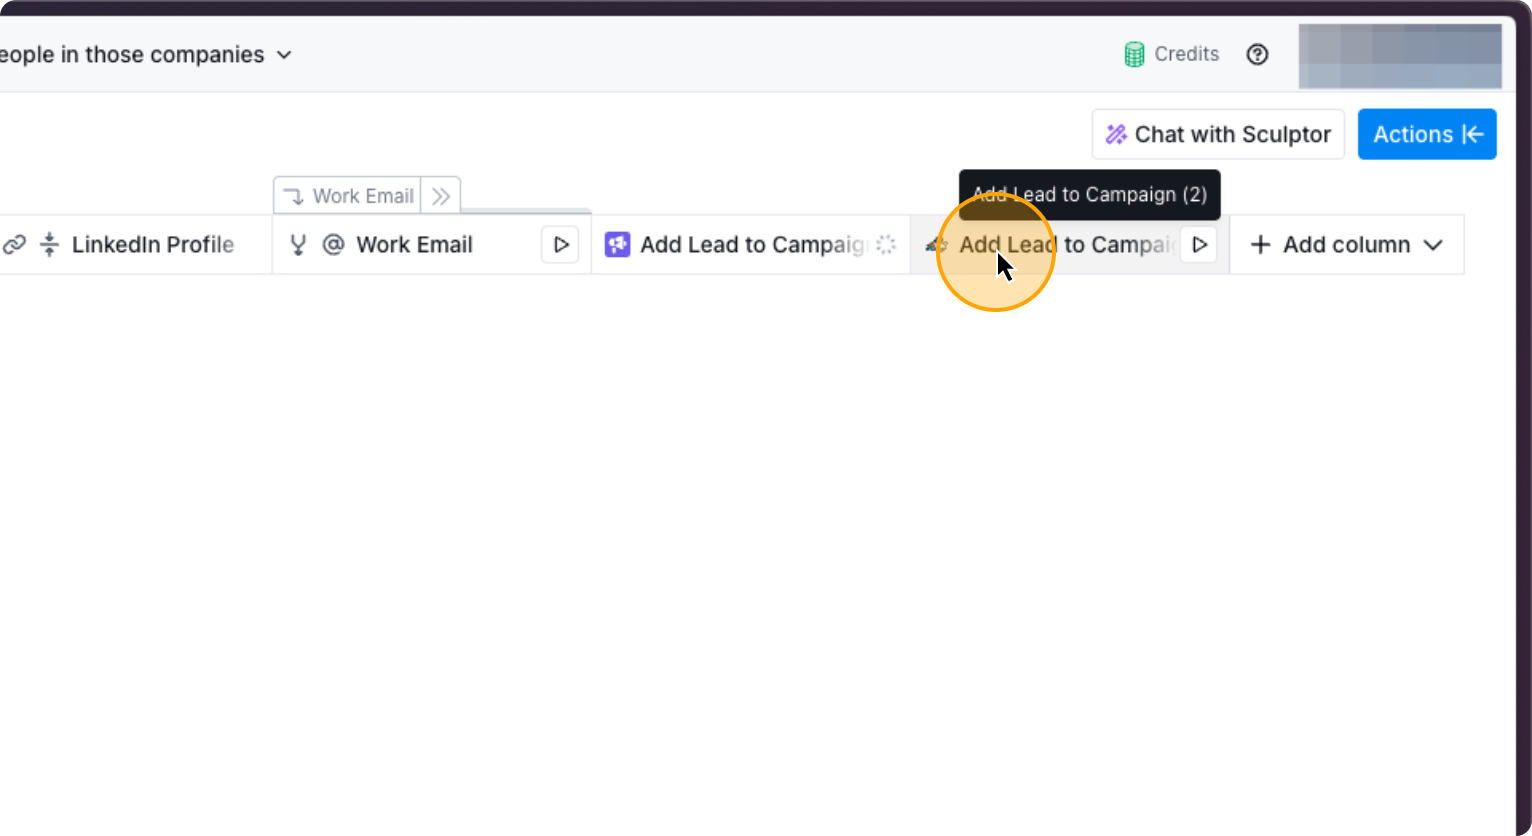
After this, you do the same for HeyReach. If it is connected, you can simply choose any campaign you want. If not, you connect it via API.
54. Click on “Add Lead to Campaign”
55. Click on “Edit column”
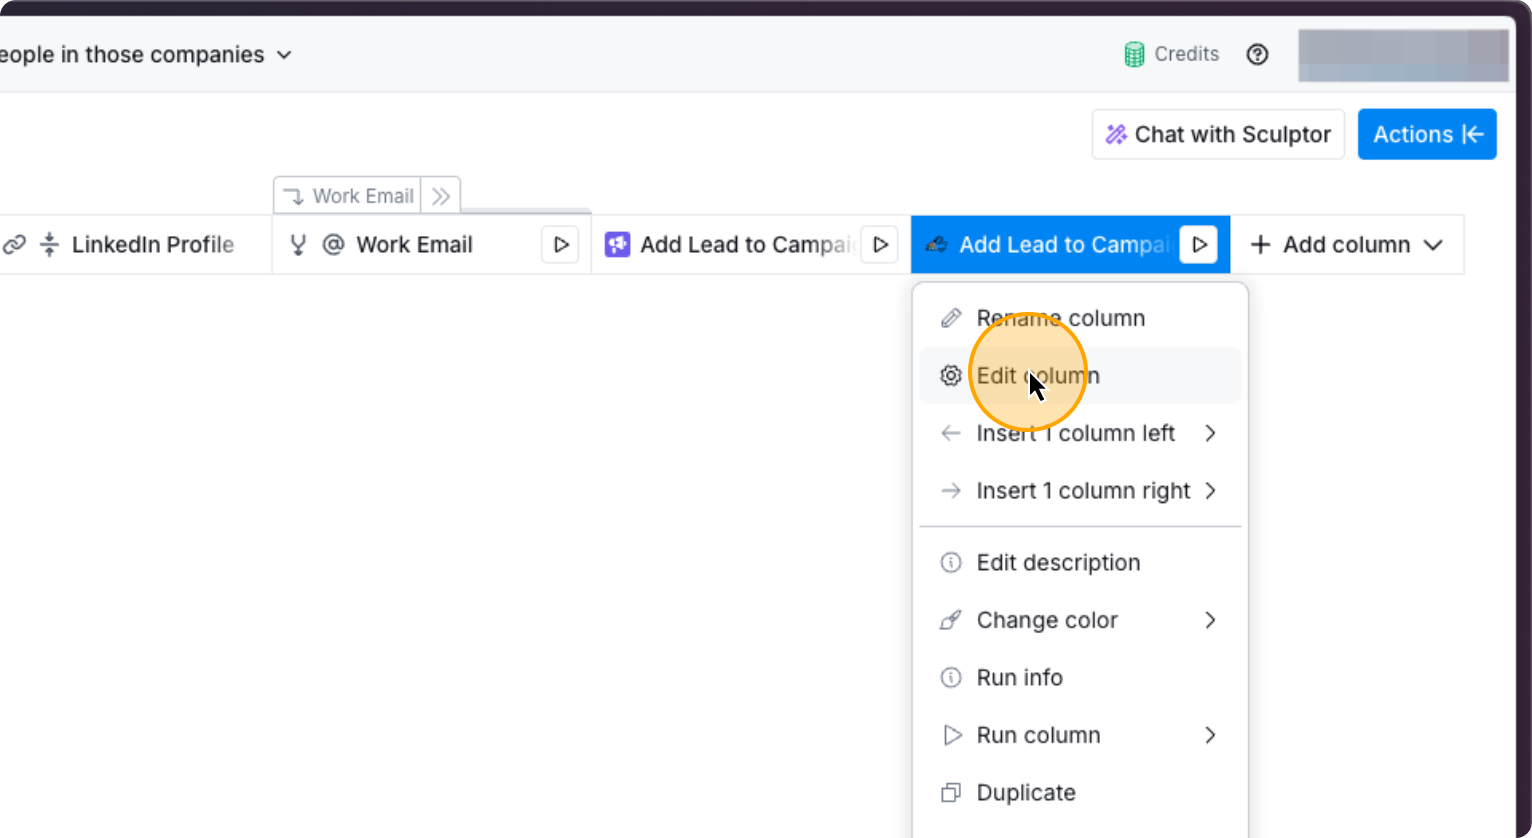
56. Click here
If Heyreach isn’t connected, click Add Account.
57. Click on “+ Add account”
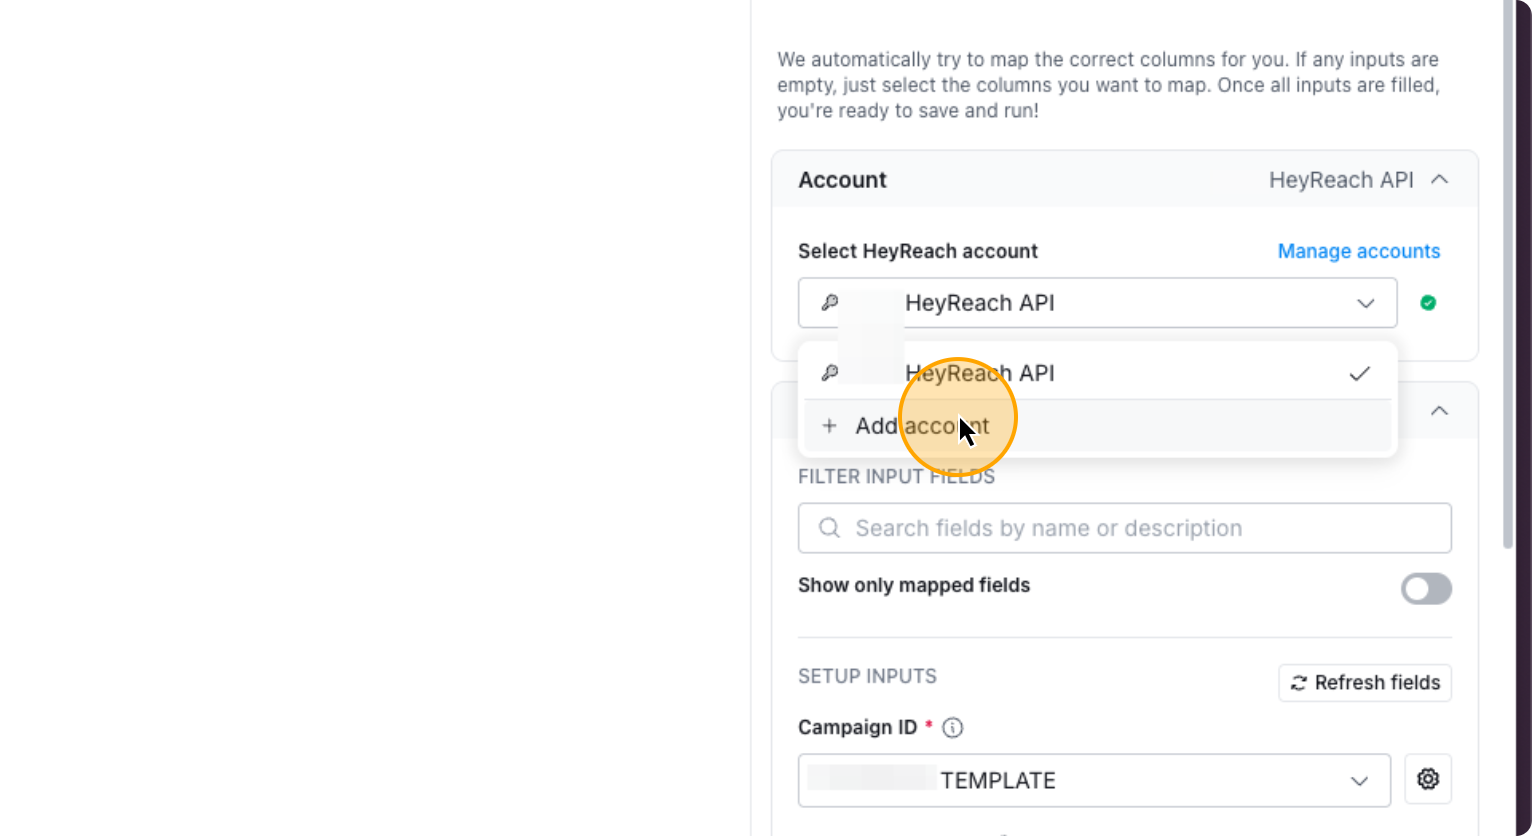
58. Click here
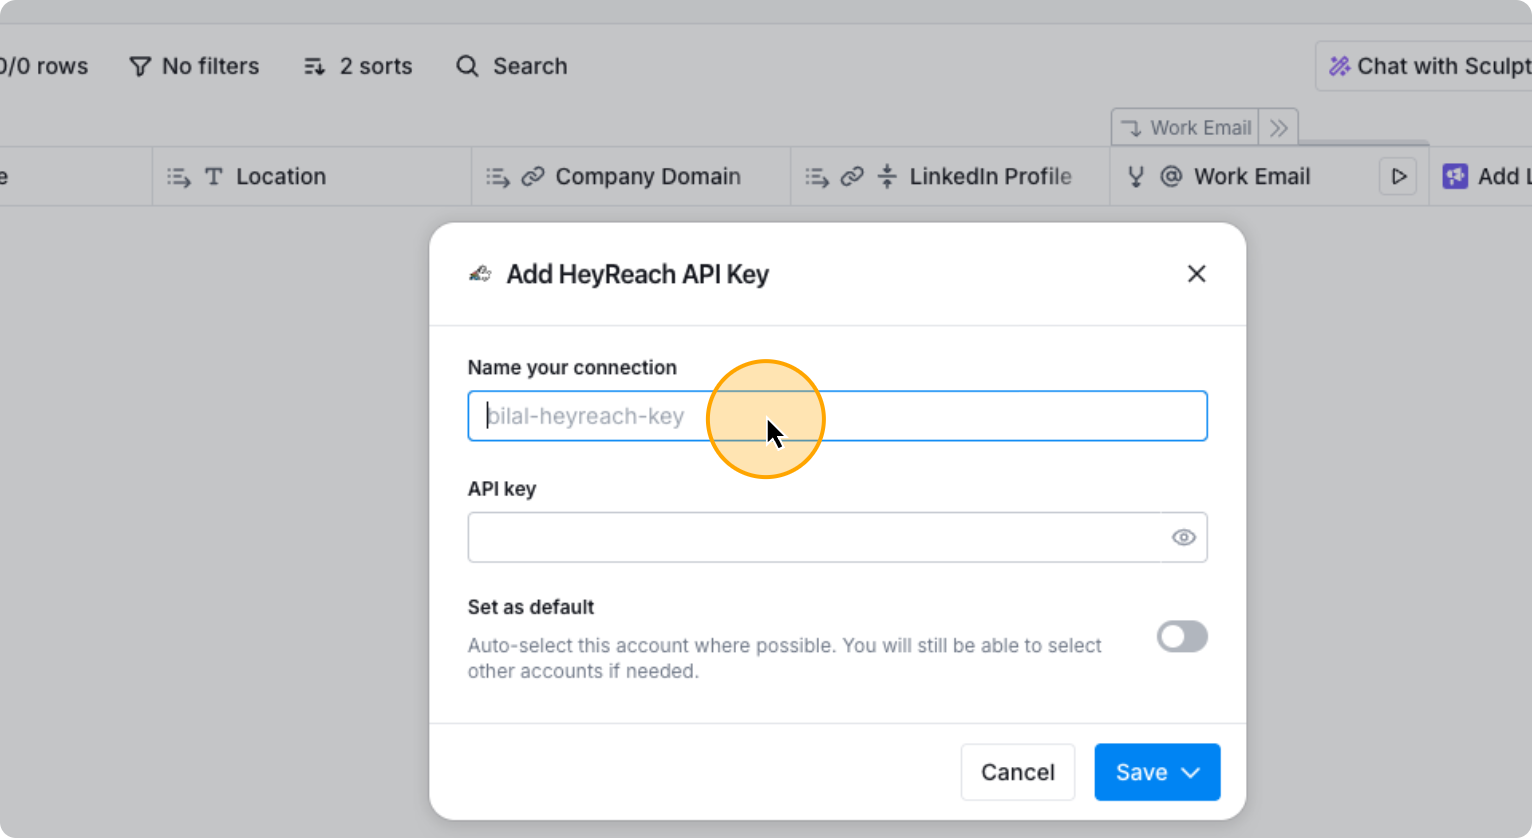
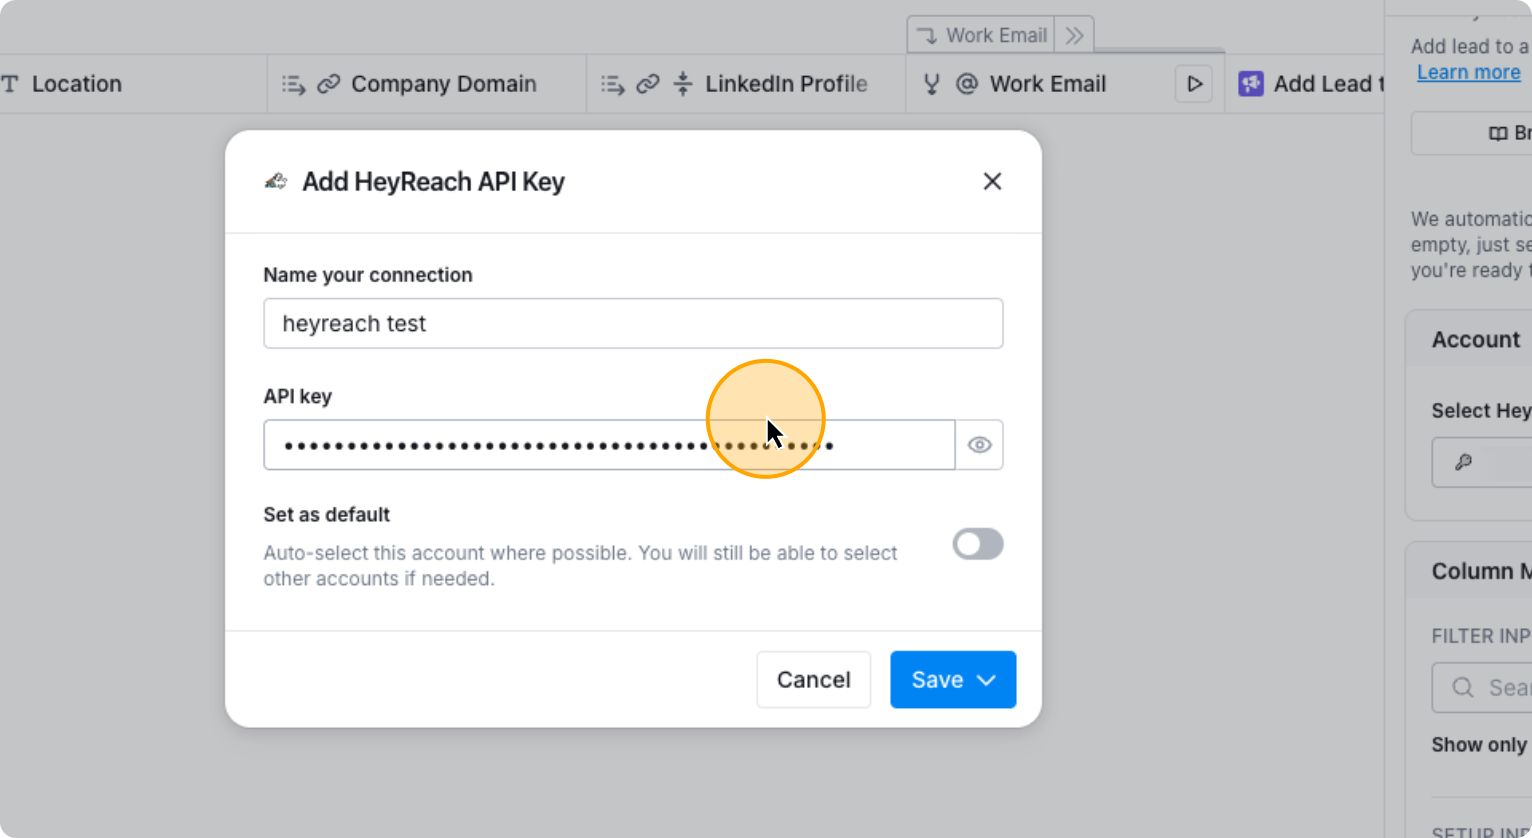
First, name your connection. Then, obtain the API key for HeyReach.
59. Click here
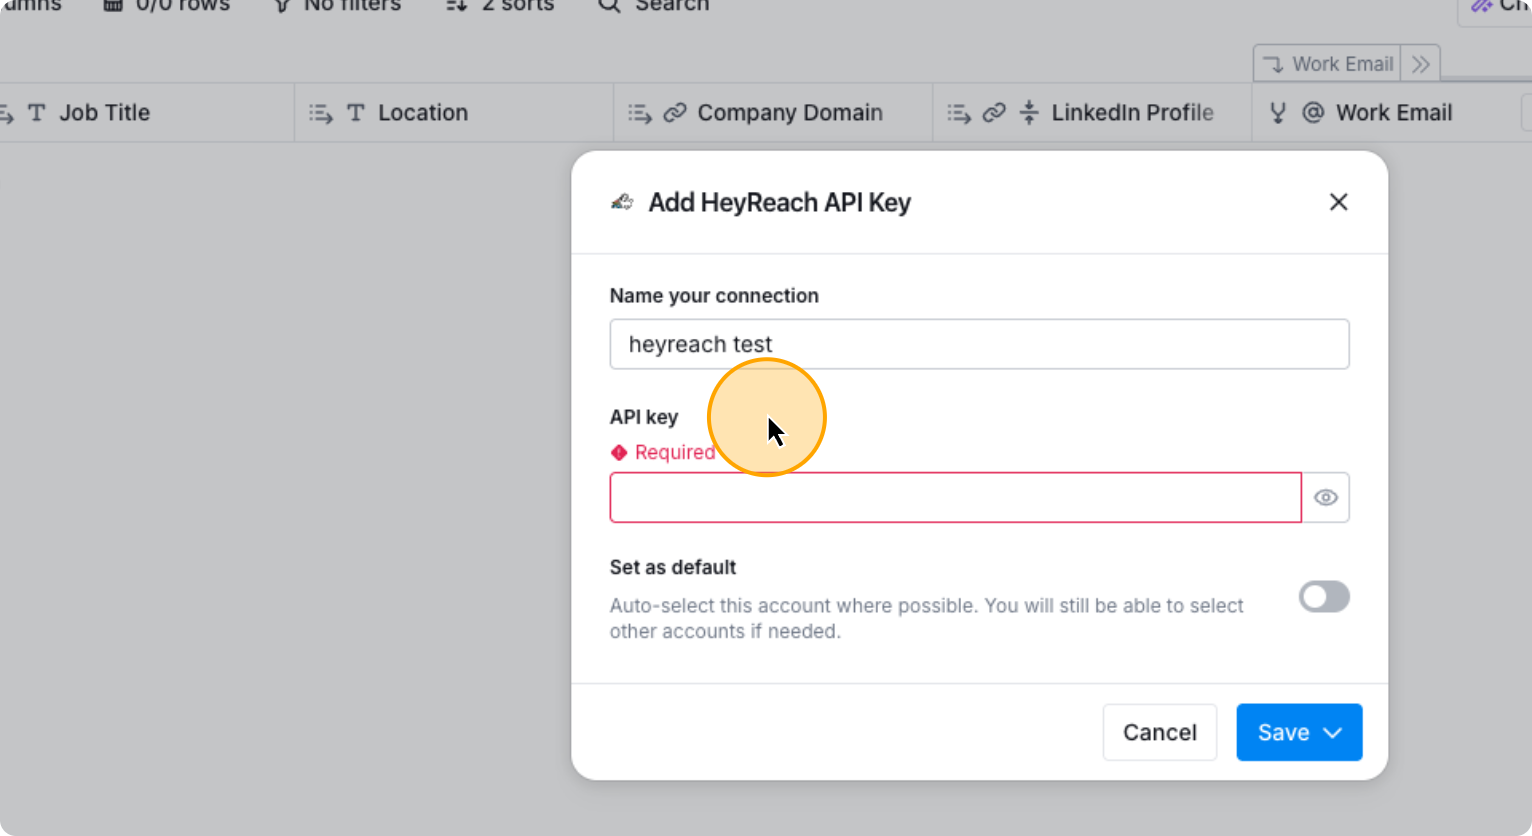
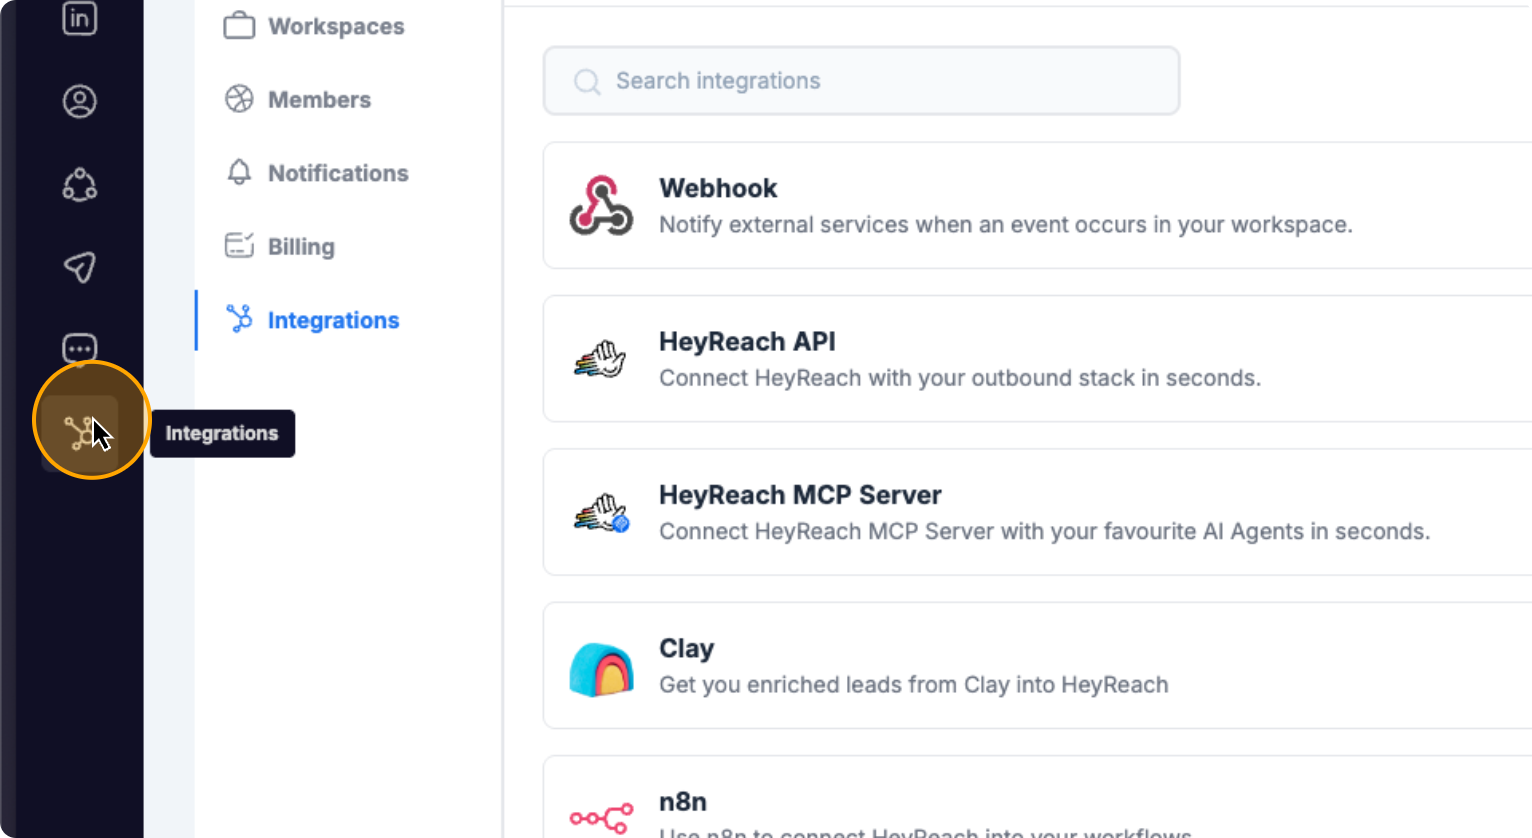
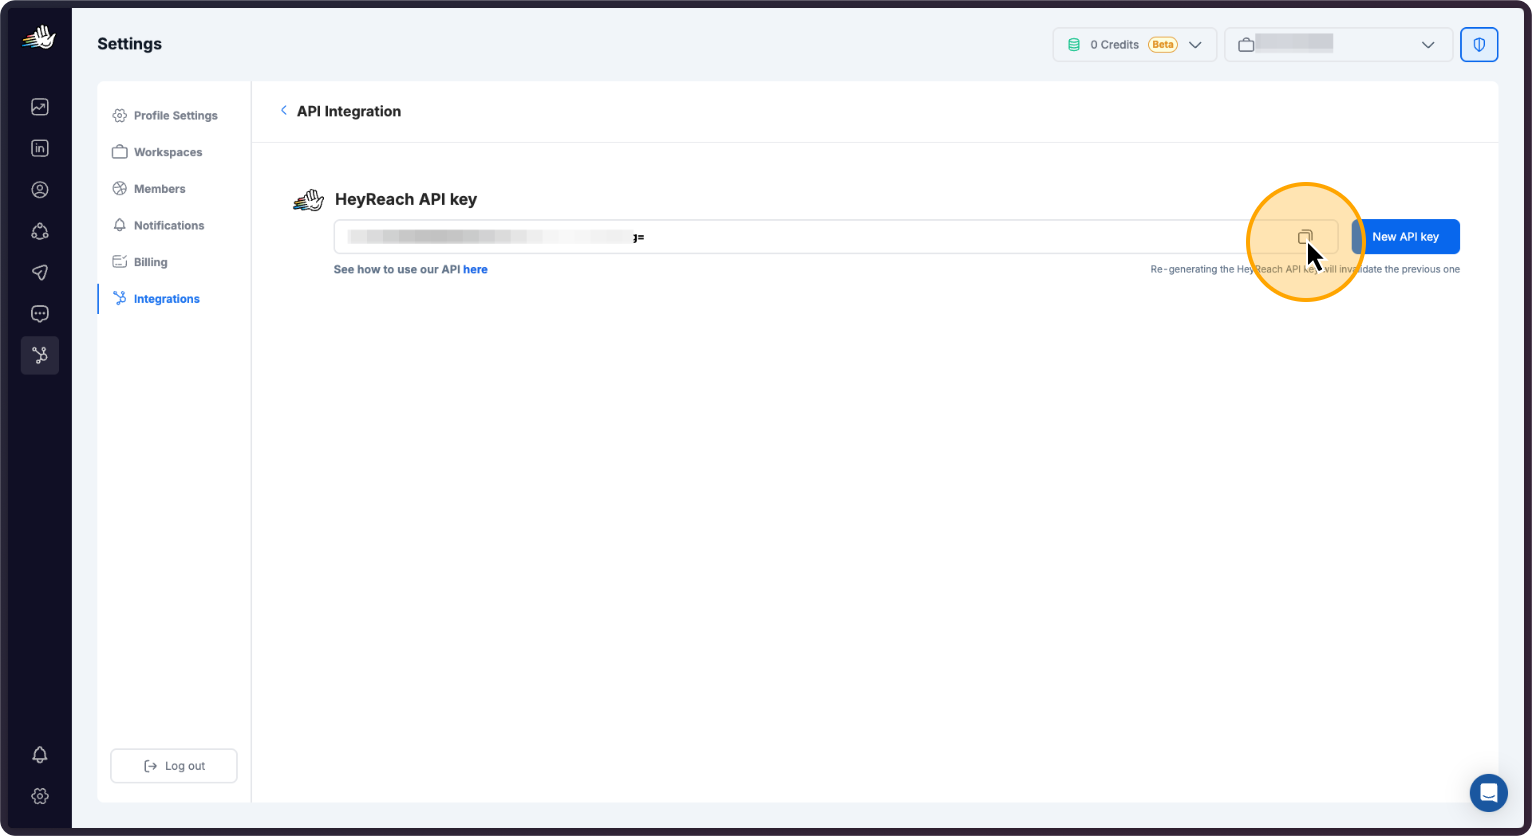
Go to HeyReach and click on Integrations. Select HeyReach API, then click Get API. Copy the API key. Go back to Clay, paste the key, then click Test Account and Save.
60. Go to HeyReach. Then “Integrations”
61. Click on “Get API key”

62. Click here
63. Go back to Clay. And paste the API Key here
64. Click on “Test account & save”
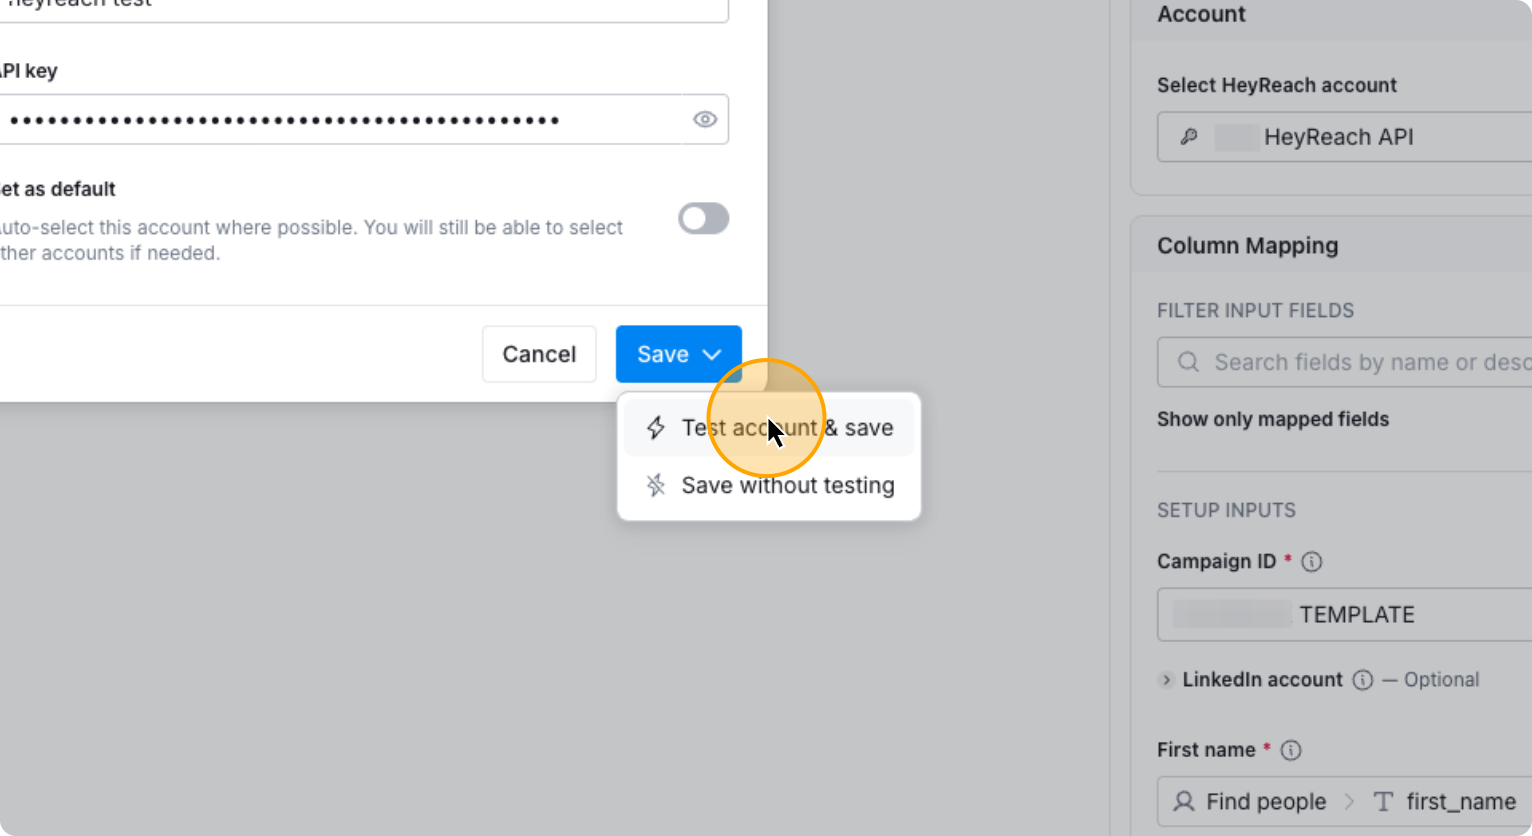
It will save, and that’s it. You can now choose your Heyreach Sequence you want to add the prospects into and add custom fields if needed. It will work automatically.
If you enable auto-update, click Run.
65. Toggle on “Auto-update”
66. Click on “Save and run rows in this view”
Okay. Everything is now set.
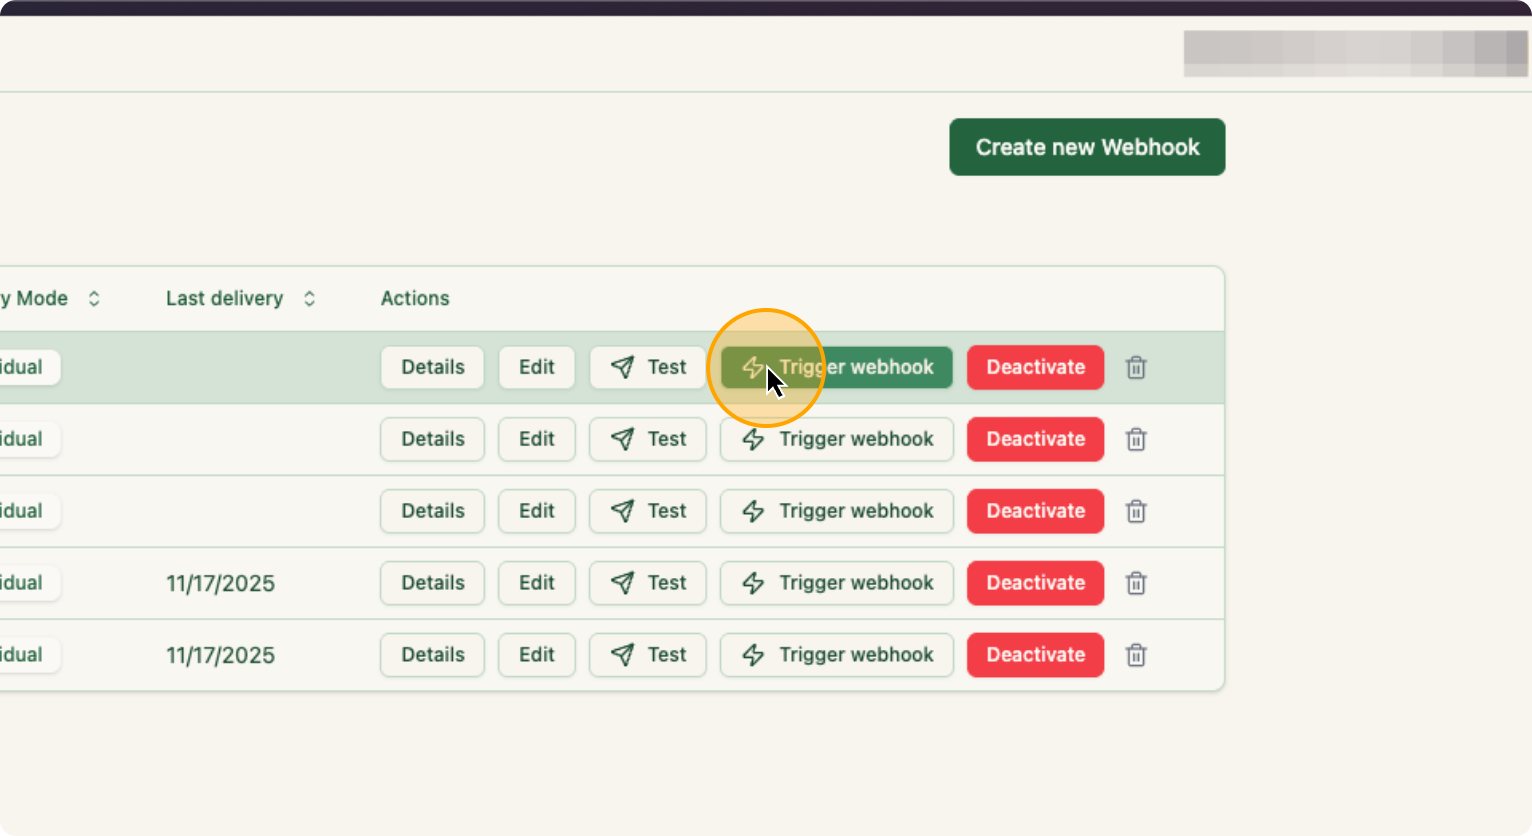
Go to ZenABM and click “Trigger Webhook.” That’s all you need to do.
67. Click on “Trigger webhook”
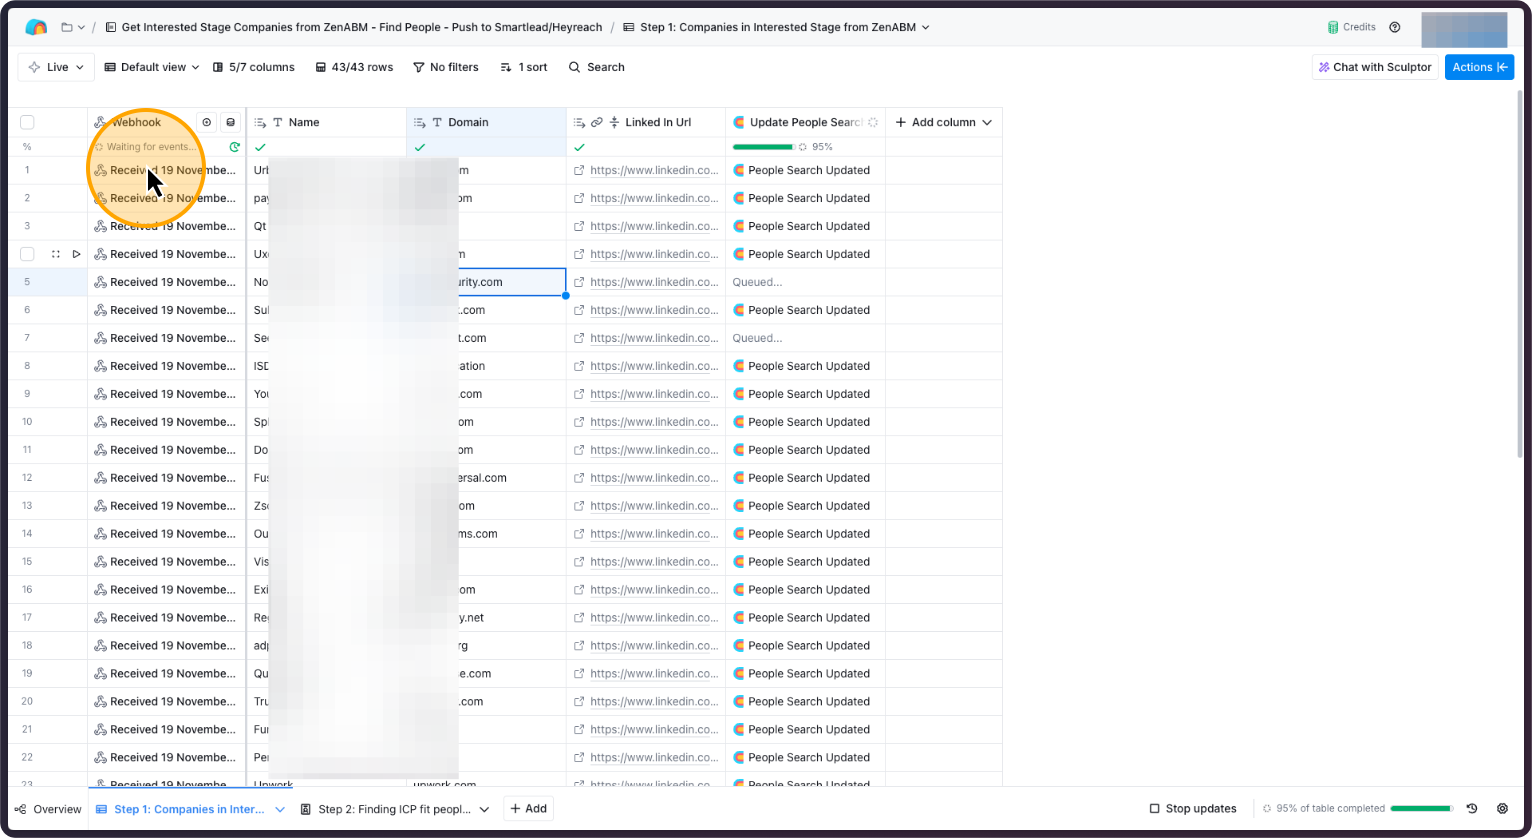
Now, return to your Clay account. You will start to see companies appearing gradually.
Okay, this is how it will look. It will fetch each individual webhook and automatically find people. It will find your ICP in those Interested accounts, find their emails, and add them to the appropriate campaigns.
That is all you need to do.
68. How it will look on Step 1
69. How it will look on Step 2
I know this was a lot – but hope it was helpful! 🙂
If you want to deanonymize your website visitors for free using LinkedIn text ads? Try ZenABM free for 37 days or book a demo to see how ad engagement signals can power your outbound strategy.